
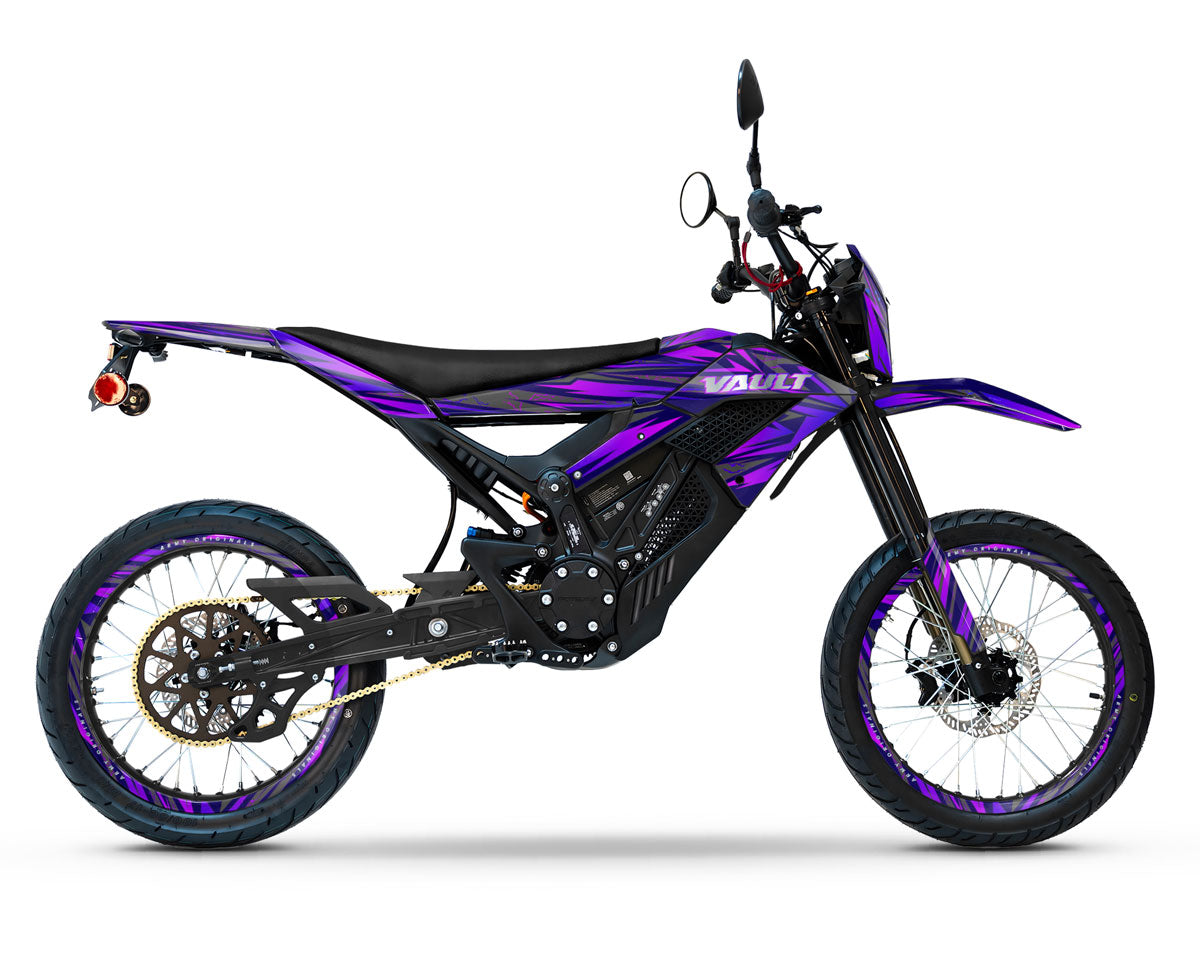
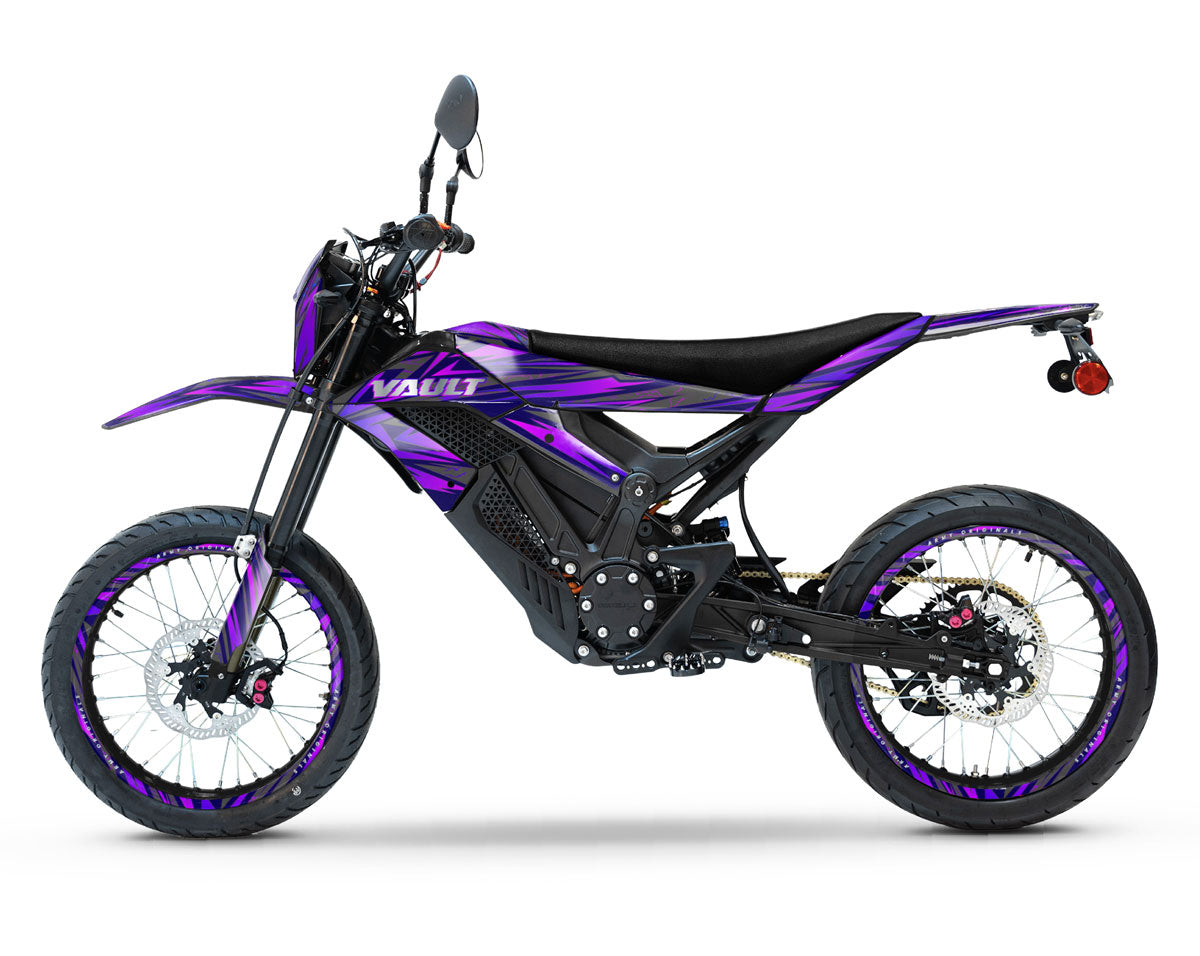
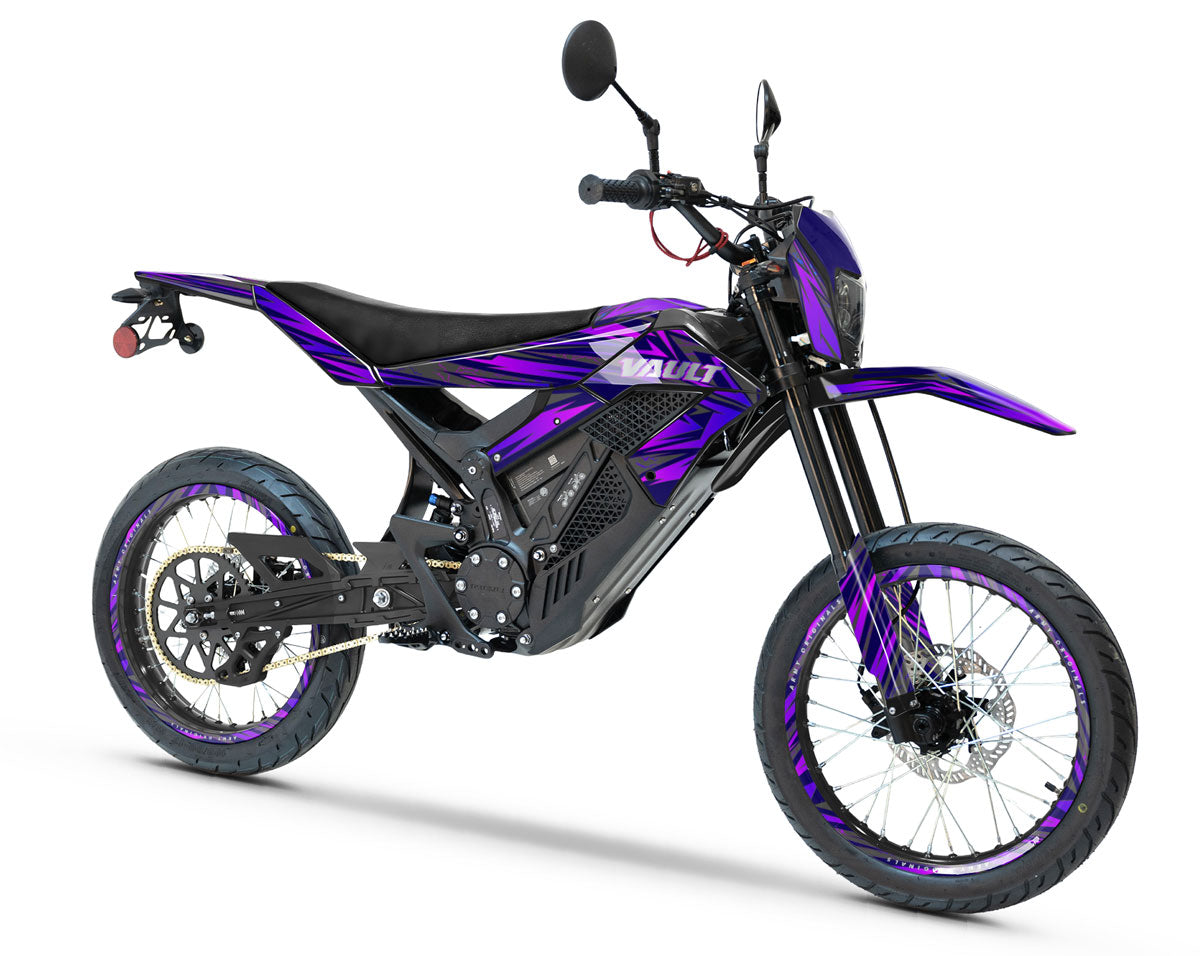
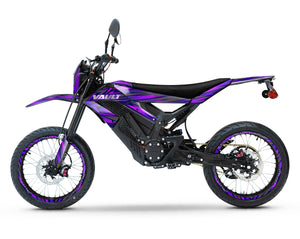
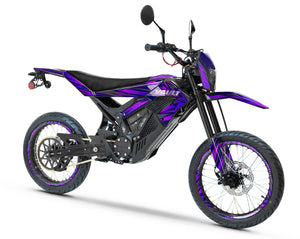
Graphics kit Rieju e-Tango 2024-2026 Purpink
Proof approved before printing | no surprises!
Pose facile, sans bulles
Maquette 24/48h
Modifications illimitées
Qualité premium
Unsure about the model? Send a photo for confirmation. SEND


Product description
The Graphics-kit Purpink for the Rieju e-Tango is the ultimate expression of energy. While the traditional Rieju Tango is known for its versatility, the e-Tango version allows for all kinds of boldness. This kit, with its skillful gradient of Purple and Pink, transforms your machine into an icon of street and modern culture.
A Purple & Pink fusion for your Rieju e-Tango
Why choose one color when you can have the hottest duo right now? The Purpink design does more than dress the bike; it gives it a unique "vibe," blending retro-wave aesthetics with modern boldness.
- Vibrant Purpink Design: A perfect match between electric purple and fuchsia pink. Smooth and dynamic graphics that highlight the speed of your electric motocross. A look impossible to ignore in traffic flow.
- Specific e-Tango 2024-2026 Templates: This motorcycle graphics-kit is modeled exclusively for the e-Tango fairings. It perfectly covers the central battery and perimeter frame, ensuring a finish that kits for the thermal Rieju Tango cannot offer.
- "Armor Tech" 450 Micron Vinyl: Color is good, protection is better. This thick material, worthy of a pro motocross graphics-kit, resists UV rays (no fading of the pink), scratches, and impacts.
- Bubble-free "Easy-Apply" Installation: Installation is a pleasure. Thanks to honeycomb adhesive technology, air naturally escapes. You get a smooth, glossy, and bubble-free result in minutes.
Complete e-Tango kit contents:
Full coloring for your electric bike:
- Front headlight plate (Cross Style)
- Front and rear mudguards
- Full covering of the battery and side panels
- Swingarm and fork protectors
Recommended finishes
To make the Purpink duo pop, the Glossy finish is the top choice: it gives a "candy" and saturated look to the colors. For a truly exclusive and sparkling look, the Glitter option is amazing with pink and purple. The Matte finish is also available for a more "Velvet" and deep effect.
Printing Vinyl Specifications
| Vinyl Type | Technical Features |
|---|---|
| Glossy | Flexible white polymer vinyl with FLO® technology, allowing bubble-free application and printing with intense colors. |
| Holographic | Holographic polymer vinyl with FLO® technology, offering bubble-free application and enhanced opacity thanks to a light gray pigmented adhesive. |
| Chrome | Ultra-adhesive vinyl for difficult plastics, available in Silver Chrome and Holographic Chrome. FLO® technology eliminates bubbles and eases installation. |
| Fluorescent / Neon | Neon cast vinyl with FLO® technology, featuring an ultra-aggressive adhesive for optimal grip on all surfaces. |
Lamination Vinyl Specifications
| Vinyl Type | Technical Specifications |
|---|---|
| Glossy | Flexible transparent vinyl film with optically clear acrylic adhesive. Ensures optimal protection and a glossy finish. |
| Glitter | Transparent glitter vinyl film with holographic effect. Provides a unique shine and long-lasting print protection. |
| Textured | Textured vinyl film offering improved grip. Ideal for enhanced protection and better traction. |
| Matte | Matte vinyl film with anti-glare finish. Durable protection while maintaining a discreet and elegant look. |
Installation tips
Follow these 4 simple steps to install your holographic decal kit on your 50cc motorcycle decal kit and achieve a professional finish:
-
Surface Preparation:
Thoroughly clean the application area of your 50cc with a mild degreaser to remove dust, dirt, and oil traces. A clean surface is essential for your holographic decal kit to adhere properly.
-
Measuring and Marking:
Accurately measure the area to be decorated on your 50cc motorcycle decal kit. Use a non-permanent pencil to lightly mark the outlines to help align the vinyl during application.
-
Applying the Vinyl/Sticker:
Partially peel off the backing of the vinyl or sticker. Carefully position it on the marked area, then gradually remove the backing while smoothing the material with a squeegee or microfiber cloth to eliminate air bubbles and ensure perfect adhesion.
-
Finishing and Checking:
Check that the vinyl is firmly fixed over the entire surface of your 50cc motorcycle decal kit. Remove the protective film and make any necessary touch-ups to highlight the unique effect of your holographic decal kit.
| Lamination ⇩ Impression ⇨ | Brillant | Mat | Holo / Chrome |
|---|---|---|---|
| BRILLANT | |||
| MAT | |||
| PAILLETTES HOLO | |||
| PAILLETTES ROUGES | |||
| PAILLETTES OR | |||
| PAILLETTES ARGENTÉS | |||
| HOLO PRISMATIQUE | |||
| HOLO FRACTURE | |||
| HOLO SUPER PAILLETTES |