


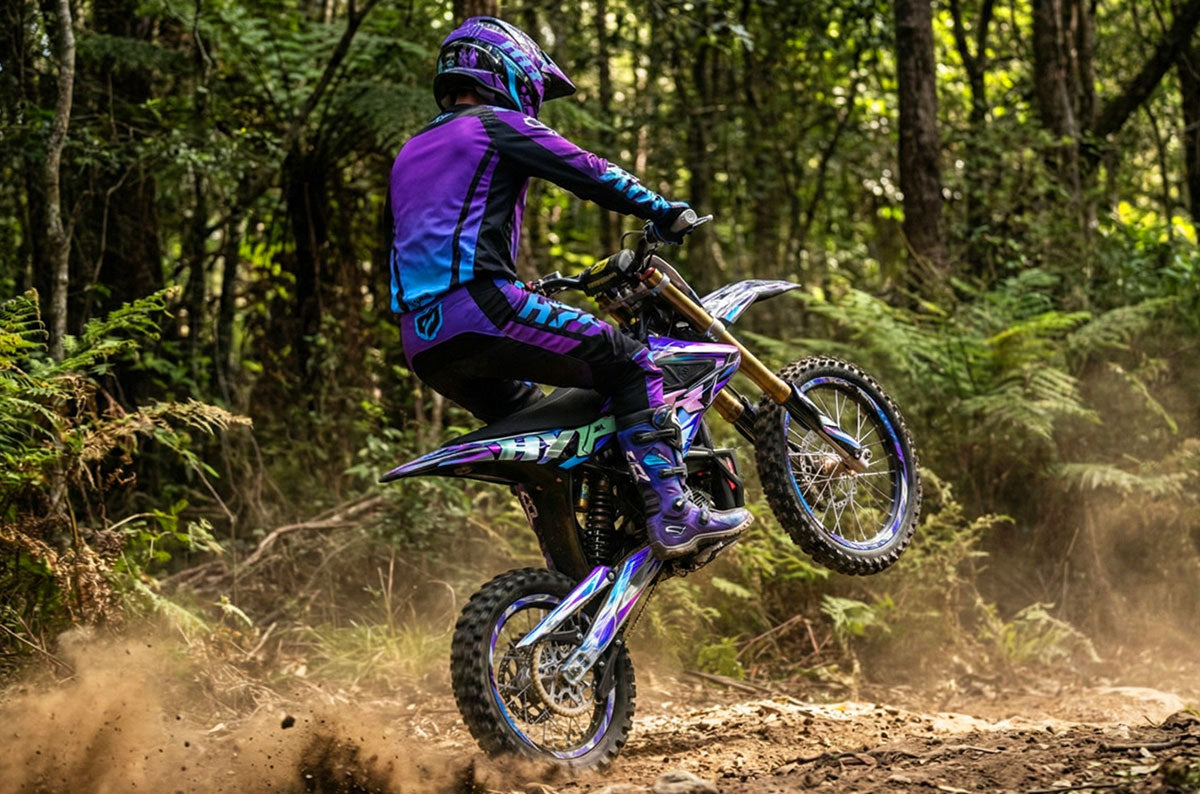


Graphics kit Sur-Ron Hyper Bee Shiro
Proof approved before printing | no surprises!
Pose facile, sans bulles
Maquette 24/48h
Modifications illimitées
Vinyle premium anti-UV


Product description
The Graphics-kit Shiro for the Sur-Ron Hyper Bee is the definition of modern elegance. In a motocross world often flooded with neon colors, the choice of pure white is a bold style statement. "Shiro" transforms your Hyper Bee into a precision machine, highlighting its technological and electric frame.
Absolute purity for your Sur-Ron Hyper Bee
White is not empty; it is powerful. The Shiro design brings incredible brightness to the small Sur-Ron, making it visually more imposing and cleaner. It is the ideal motorcycle graphics-kit for those seeking a neat, timeless, and professional look.
- Shiro "Clean Look" Design: A dominant white base, enhanced by contrasting black logos and subtle graphic lines. A "Stormtrooper" or laboratory style that gives a premium look to your electric mini motocross.
- Adjusted Hyper Bee Templates: This kit is tailor-made for the specific plastics of the Hyper Bee. It perfectly covers the battery and vents, ensuring a uniform white finish without showing the original color.
- "Armor Tech" 450 Micron Vinyl: White stays white. Thanks to our UV and yellowing protection, this thick material keeps its bright clarity. It also effectively protects against scratches and mud (which cleans very easily on our smooth finish).
- Easy Bubble-Free Application: Perfection without effort. Our honeycomb glue technology allows air to escape instantly during application. Result: a smooth surface, without bubbles, for a spotless white.
Contents of the complete Hyper Bee kit:
A full whitening for a "Like New" effect:
- Front plate and handlebars
- Front and rear mudguards
- Complete covering of the battery and frame sides
- Swingarm and fork protectors
Recommended finishes
White is the perfect base to play with textures. The Glossy finish will give a beautiful "Ceramic" effect. The Matte finish will turn your Hyper Bee into a "Snow Camo" or tactical prototype. For a luxurious pearly look, the Holographic option on a white background creates discreet but sublime rainbow reflections in the sun.
Printing Vinyl Specifications
| Vinyl Type | Technical Features |
|---|---|
| Glossy | Flexible white polymer vinyl with FLO® technology, allowing bubble-free application and printing with intense colors. |
| Holographic | Holographic polymer vinyl with FLO® technology, offering bubble-free application and enhanced opacity thanks to a light gray pigmented adhesive. |
| Chrome | Ultra-adhesive vinyl for difficult plastics, available in Silver Chrome and Holographic Chrome. FLO® technology eliminates bubbles and eases installation. |
| Fluorescent / Neon | Neon cast vinyl with FLO® technology, featuring an ultra-aggressive adhesive for optimal grip on all surfaces. |
Lamination Vinyl Specifications
| Vinyl Type | Technical Specifications |
|---|---|
| Glossy | Flexible transparent vinyl film with optically clear acrylic adhesive. Ensures optimal protection and a glossy finish. |
| Glitter | Transparent glitter vinyl film with holographic effect. Provides a unique shine and long-lasting print protection. |
| Textured | Textured vinyl film offering improved grip. Ideal for enhanced protection and better traction. |
| Matte | Matte vinyl film with anti-glare finish. Durable protection while maintaining a discreet and elegant look. |
Installation tips
Follow these 4 simple steps to install your holographic decal kit on your 50cc motorcycle decal kit and achieve a professional finish:
-
Surface Preparation:
Thoroughly clean the application area of your 50cc with a mild degreaser to remove dust, dirt, and oil traces. A clean surface is essential for your holographic decal kit to adhere properly.
-
Measuring and Marking:
Accurately measure the area to be decorated on your 50cc motorcycle decal kit. Use a non-permanent pencil to lightly mark the outlines to help align the vinyl during application.
-
Applying the Vinyl/Sticker:
Partially peel off the backing of the vinyl or sticker. Carefully position it on the marked area, then gradually remove the backing while smoothing the material with a squeegee or microfiber cloth to eliminate air bubbles and ensure perfect adhesion.
-
Finishing and Checking:
Check that the vinyl is firmly fixed over the entire surface of your 50cc motorcycle decal kit. Remove the protective film and make any necessary touch-ups to highlight the unique effect of your holographic decal kit.
When will I receive my order?
We will strive to send your order as quickly as possible. Once your order has been sent, you will receive an email containing further information. Delivery times vary depending on your location.
24/7 assistance by email
Our team is available to assist you before, during, and after your order.
We answer all your questions: customization, compatibility, installation, order tracking, or after-sales service.
📨 Contact email: contact@armysctv.com
⏱ Average response time: within 24 hours (excluding Sundays and public holidays)
🤝 Free advice: choice of finishes, colors, design, maintenance…
If technical assistance or adjustments are needed, we remain available until you have fully received your decoration kit.
We are also reachable via Instagram for any quick questions.
Fast & tracked delivery
🚚 Relay point or home delivery
📦 Production: 3–5 business days
📮 Delivery: 2–5 business days (4-6 days Europe)
🎁 Free delivery from €150 (France) and €200 (rest of the world)
🔎 Email tracking + support in case of issues
Satisfied or refunded
🔄 Return within 14 days
🛠 Free reshipment in case of error
🤝 Support after purchase
Our deadlines
We work custom-made to ensure a perfect finish for your motorcycle.
🖌 Mockup creation
24 hours to 4 business days depending on the complexity of the design.
✔️ Client approval
You receive the mockup by email.
Any requested modification may slightly adjust the deadline.
🖨 Production & printing
Once approved, manufacturing takes on average 3 to 5 business days.
📦 Shipping
Tracked delivery within 3 to 7 business days, depending on the destination.
⚡ Express Mockup Option
24-hour mockup option available at purchase
Technical information
🛡 Premium anti-UV vinyl
🎨 8-color HD printing
🔥 Protective lamination
✂️ Custom cutting
📏 Thickness 400–600 microns
👍 Easy bubble-free application
These technical features guarantee a durable decoration kit, easy to apply and designed to withstand both on-road and off-road conditions.
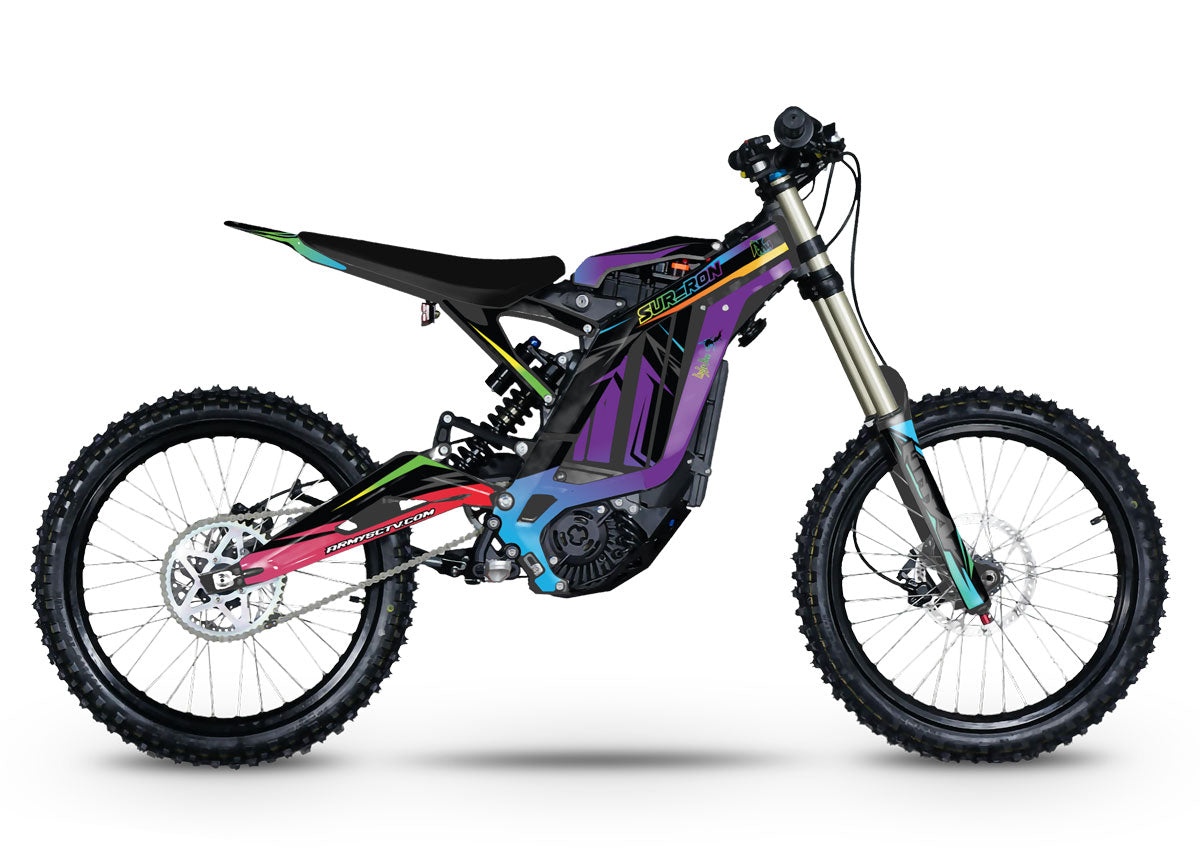
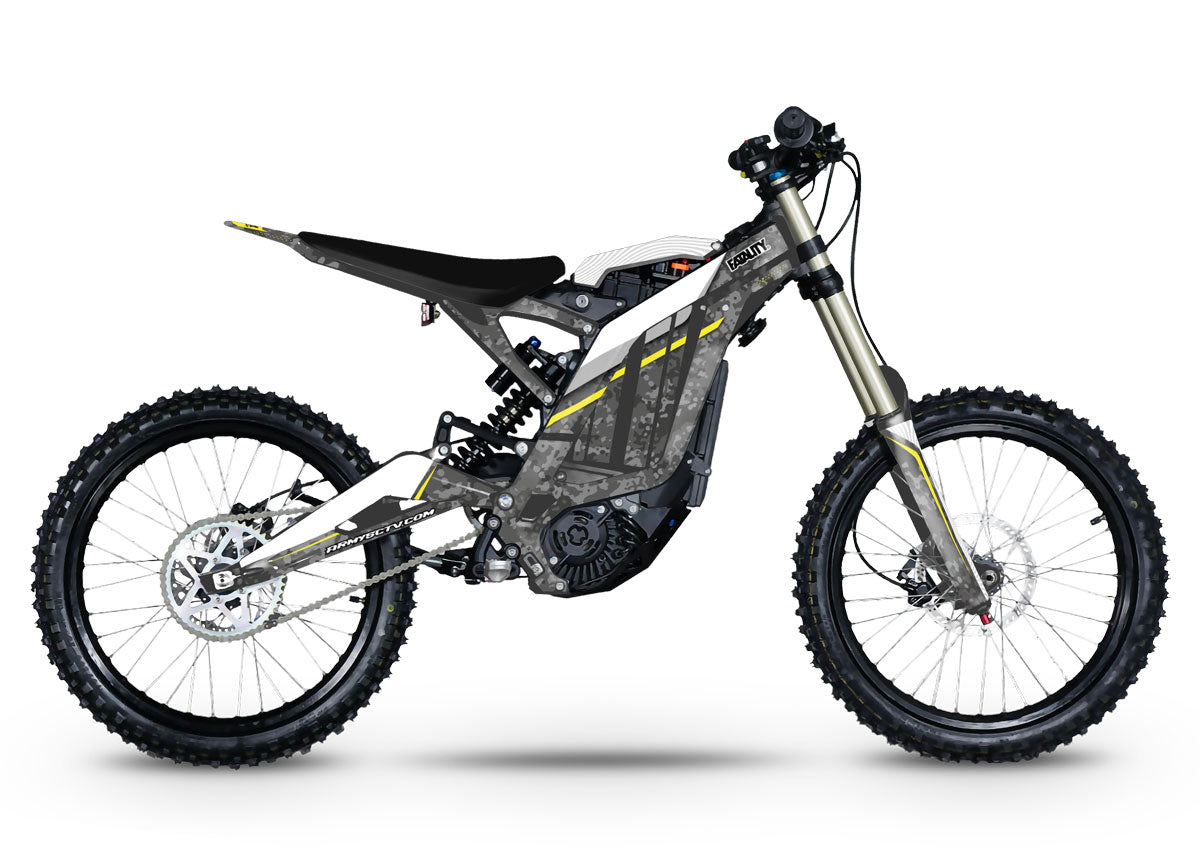
Electric Motocross Graphics-kit: Beauty in the Service of E-Performance
Step into the age of customization 2.0 with our graphic wraps designed for the leading models in electric motocross. Our technicians have developed exclusive cutting patterns for the Talaria Sting (MX3, MX4, MX5) range, as well as for urban and freeride versions like the Talaria XXX and the Komodo. We also offer full expertise for owners of Sur-Ron, with templates precisely tailored to the millimeter for the legendary Light Bee, the powerful Ultra Bee, and the enduro model Storm Bee. Our high-performance vinyls protect your specific parts and frame from stone chips and wear during your off-road sessions.
Top-Quality Finishes:
Holographic Vinyls, Chrome & Glossy

PRINTING
Holo / Chrome
Dynamic holographic reflections for a futuristic and personalized look.

FINISH
Glossy / Matte
Glossy enhances, matte offers a simple and elegant style.

IMPRESSION
Fluorescent / Neon
Ultra bright colors for a modern racing style and maximum visibility.

FINISH
Galactic Series
Cosmic glitter finish for a luxurious, deep, and exclusive look.

FINISH
Holo Spectrum
Multicolored holo effect with spectacular prismatic reflections.

FINISH
Ultracurve
Glossy surface with smooth gradients for a modern and high-quality style.
The process of creating your E-Moto project
1. Digital design and frame fitting
As soon as your order is confirmed, our artists transfer your ideas onto the specific template of your machine (Talaria Sting, Sur-Ron Ultra Bee, etc.). We pay special attention to the cutouts for battery covers and frame mounts to achieve a factory-like finish. A digital proof is sent to you by email.
2. Custom adjustments and approval
You remain in control of the creation. Color changes, adding sponsors, including numbers or your social networks: we revise your design freely and without limit. Production only begins after your final written approval.
3. Advanced manufacturing and shipping
Your kit is printed on the chosen material and protected by the lamination of your choice. Thanks to our "Air Free" technology, applying it to the compact frames of E-Bikes is easier and guaranteed bubble-free. Each kit is carefully cut, checked, and shipped in reinforced packaging.
Specific FAQ Talaria & Sur-Ron
Are the decoration kits compatible with additional frame guards?
Our kits are based on original fairings and frames. If you have installed plastic or carbon frame guards (such as side protectors), please let us know when ordering so that we can adjust the size of the adhesive parts for a perfect fit.
Which finish is best suited for intense Enduro use?
For riders of Talaria MX4 or Sur-Ron Ultra Bee who practice off-road riding, we recommend the Frozen finish (frosted matte). Its texture is especially resistant to rubbing from knee pads and effectively hides fine scratches compared to a classic glossy finish.
Does the kit include the stickers for the rims and the fork?
Our basic kits include the vents, plates, mudguards, and fork guards. We also offer matching designs as an additional option for the rim edges and swingarms to provide complete visual harmony for your electric motocross.