
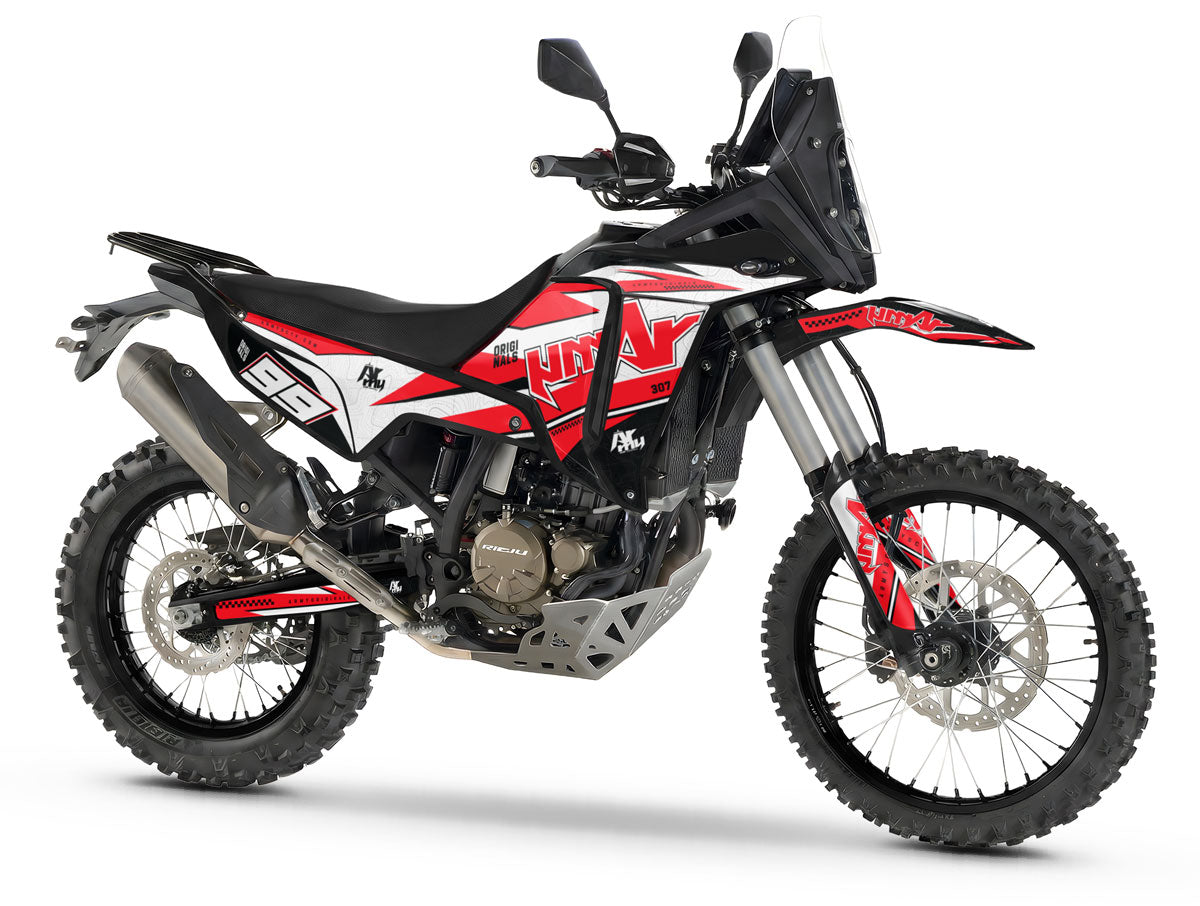
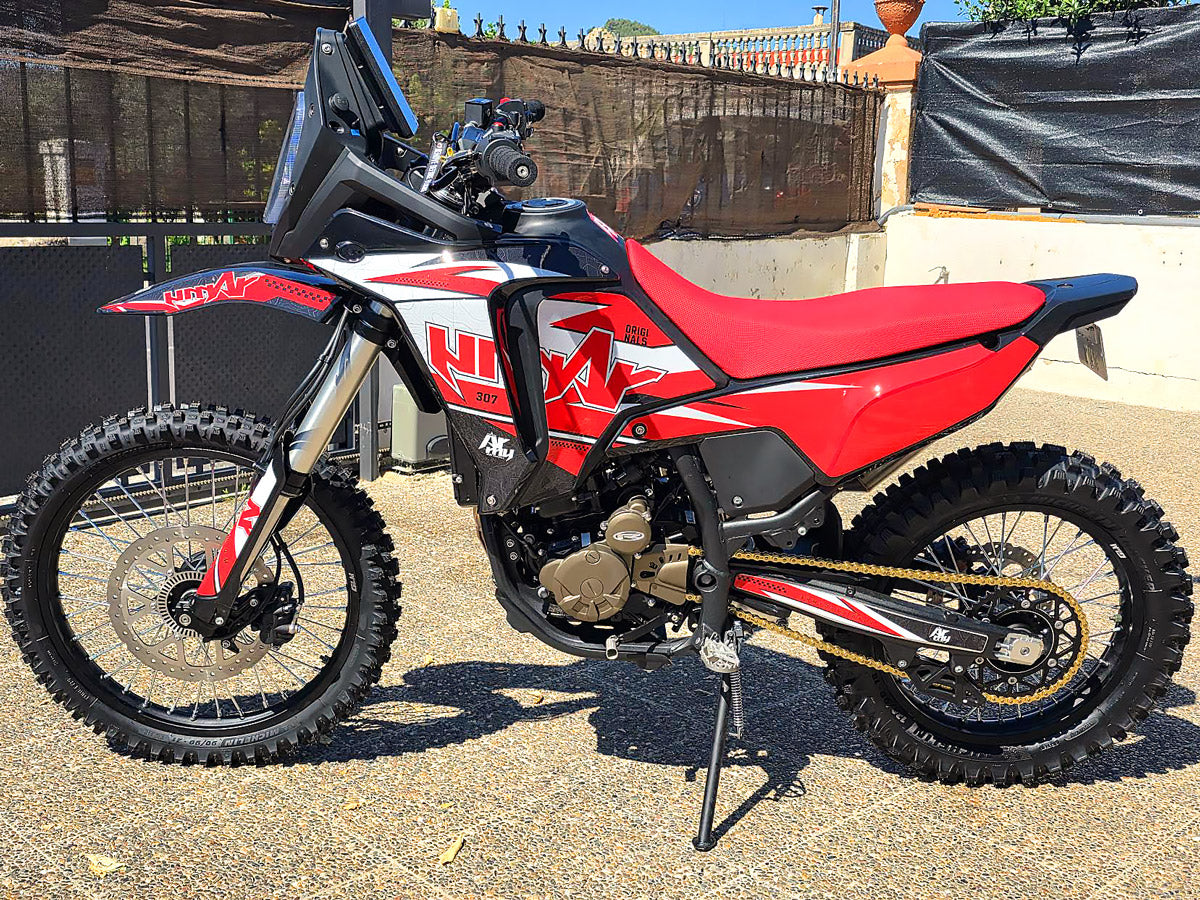
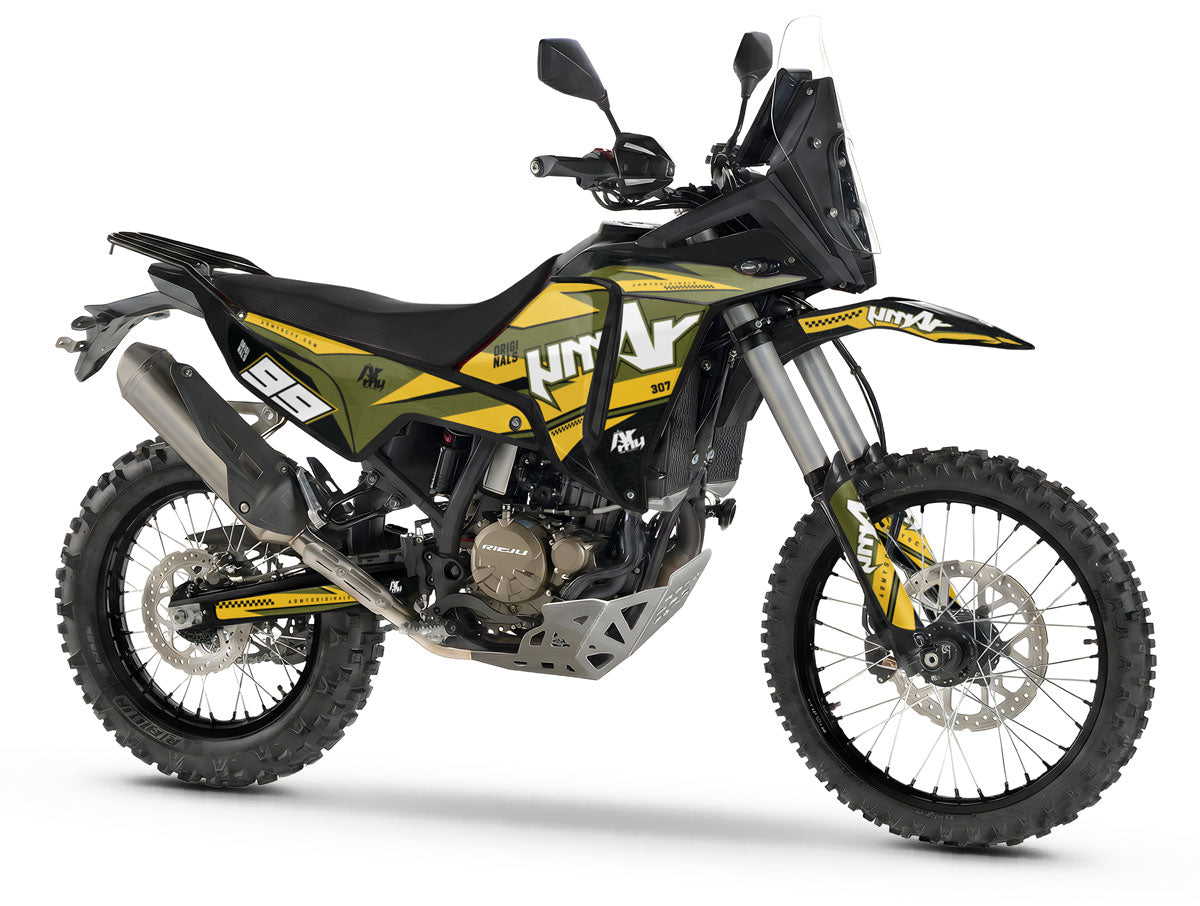
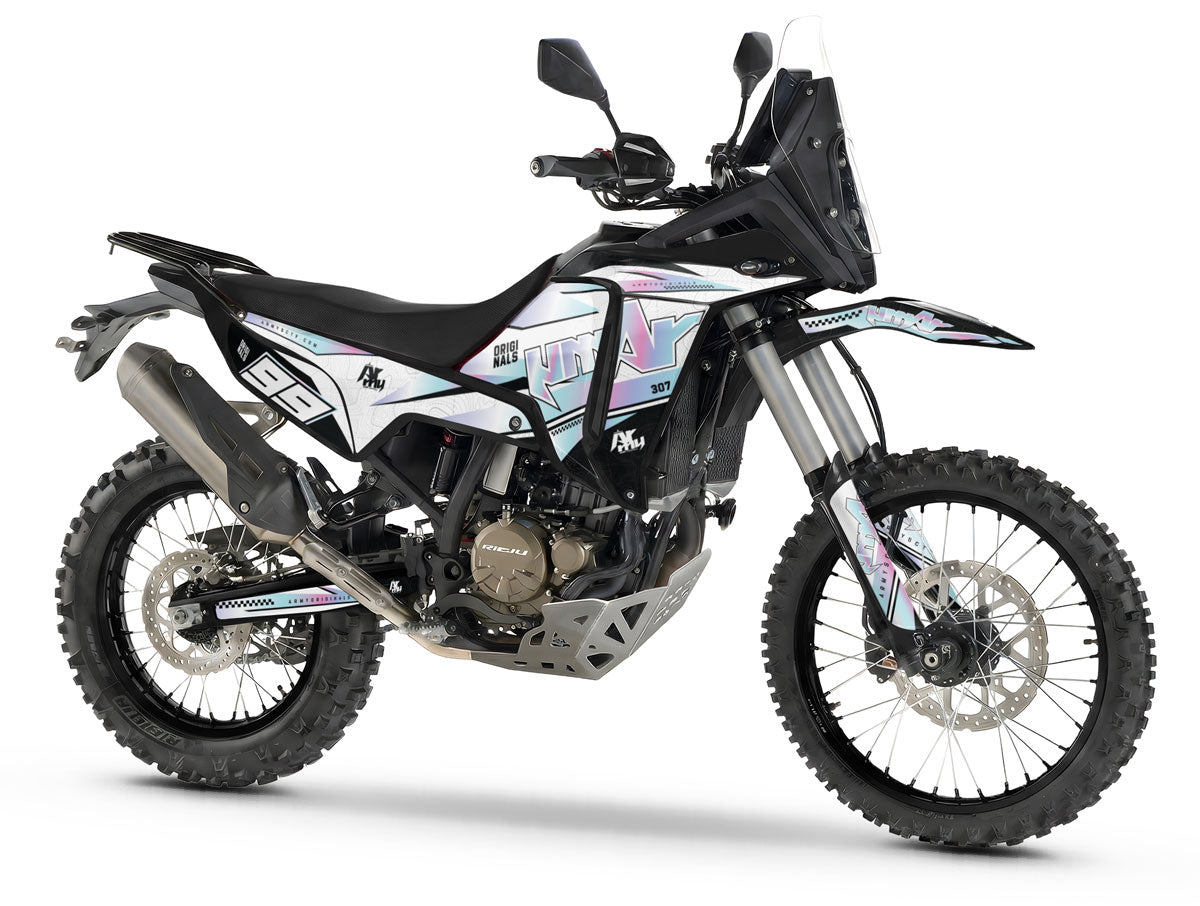


Rieju Aventura Rally 307 R Exodus Graphics kit
🛞 Wheel stickers + Up to €50 worth of gifts
No surprises and 100% control:
We don't print anything without your final approval!
Pose 100% inratable
Maquette sous 24/48h chrono
Retouches illimitées
Bouclier Premium (UV & chocs)
Our experts validate your model from a simple photo. SEND!


Description
The Exodus Graphics-kit for the Rieju Aventura 307R is much more than a simple sticker; it is an invitation to journey. Designed for the new 307R platform launched in January 2026, this model celebrates the spirit of the "Raid" and self-reliance. It gives your motorcycle the look of a support vehicle ready to map unknown areas.
The look of exploration for your Rieju 307R
The name "Exodus" means departure. This graphics-kit dresses the sharp lines of the new 307R with clever designs that evoke terrain and distance.
- Exodus Topo Design: Subtle contour lines (topographic lines) in the background, technical markings (GPS coordinates, stylized compass rose), and sharp contrasts (often Stone Gray, Khaki, or Sand). A refined "Overland" style that highlights the practical and adventurous nature of your Rieju Aventura 307R.
- Precise 2026 Templates: The 307R is slimmer and taller than its big sister, the 500. Our templates are specifically developed for this 2026 model year, perfectly covering the vertical rally fairing and the sides of the tank without stressing the vinyl.
- "Armor Tech" 450 Micron Vinyl: The unknown is harsh. Our thick vinyl acts like a second skin. It absorbs impacts from gravel on fast tracks and protects against scratches from dense vegetation.
- Easy Bubble-Free Application: Save your energy for riding. Installation is intuitive thanks to honeycomb adhesive technology that automatically expels air. A professional result, even applied in a dimly lit garage before departure.
Complete 307R kit contents:
A full visual outfit for adventure:
- Fairing and windscreen (Nav Tower Style)
- Front mudguard and fork guards
- Full covering of the tank and side vents
- Rear covers and swingarm
Recommended finishes
For the Exodus model, the Matte finish is the most fitting: it gives a technical, military, and anti-glare look perfect for reading the terrain. The Glossy finish will offer stronger contrast and a "New" look. The Holographic option can be interesting on the topographic lines to simulate a digital screen, but it is a bold choice.
24/7 email support
Our team is available to assist you before, during, and after your order.
We answer all your questions about customization, compatibility, installation, order tracking, or after-sales service.
📨 Email contact: support@armysctv.com
⏱ Average response time: within 24 hours (excluding Sundays and public holidays)
🤝 Free advice: choice of finishes, colors, design, care, and more…
If you need technical assistance or adjustments, we remain available until you have fully received your graphics kit.
You can also reach us via Instagram for any quick questions.
Fast, trackable delivery
🚚 Pickup point or home delivery
📦 Production: 3–5 business days
📮 Delivery: 2–5 business days (4-6 days in Europe)
🎁 Free delivery from €150 (France) and €200 (rest of the world)
🔎 Email tracking + assistance if there’s a problem
Technical information
🛡 Premium UV-resistant vinyl
🎨 HD 8-color printing
🔥 Protective lamination
✂️ Custom-cut
📏 Thickness: 400–600 microns
👍 Easy bubble-free application
These technical features ensure a durable graphic kit that is easy to install and designed to withstand both on-road and off-road riding.
Your order in 4 simple steps
How does it work for my order?
CUSTOMIZATION
Choose your design, specify your model (motorcycle/scooter), and add your numbers or sponsors.
DESIGN PROOF (B.A.T)
Our graphic designers adapt the design to your fairings. You receive a visual proof for approval before printing.
MANUFACTURING
High-definition printing and millimeter-precise cutting on our premium vinyl.
FAST DELIVERY
Receive your ready-to-install kit. Easy installation, guaranteed bubble-free on your machine.
💡 Recommandations
| Lamination ⇩ Impression ⇨ | Brillant | Mat | Holo / Chrome |
|---|---|---|---|
| BRILLANT | |||
| MAT | |||
| PAILLETTES HOLO | |||
| PAILLETTES ROUGES | |||
| PAILLETTES OR | |||
| PAILLETTES ARGENTÉS | |||
| HOLO PRISMATIQUE | |||
| HOLO FRACTURE | |||
| HOLO SUPER PAILLETTES |
The Exodus Graphics-kit for the Rieju Aventura 307R is much more than a simple sticker; it is an invitation to journey. Designed for the new 307R platform launched in January 2026, this model celebrates the spirit of the "Raid" and self-reliance. It gives your motorcycle the look of a support vehicle ready to map unknown areas.
The look of exploration for your Rieju 307R
The name "Exodus" means departure. This graphics-kit dresses the sharp lines of the new 307R with clever designs that evoke terrain and distance.
- Exodus Topo Design: Subtle contour lines (topographic lines) in the background, technical markings (GPS coordinates, stylized compass rose), and sharp contrasts (often Stone Gray, Khaki, or Sand). A refined "Overland" style that highlights the practical and adventurous nature of your Rieju Aventura 307R.
- Precise 2026 Templates: The 307R is slimmer and taller than its big sister, the 500. Our templates are specifically developed for this 2026 model year, perfectly covering the vertical rally fairing and the sides of the tank without stressing the vinyl.
- "Armor Tech" 450 Micron Vinyl: The unknown is harsh. Our thick vinyl acts like a second skin. It absorbs impacts from gravel on fast tracks and protects against scratches from dense vegetation.
- Easy Bubble-Free Application: Save your energy for riding. Installation is intuitive thanks to honeycomb adhesive technology that automatically expels air. A professional result, even applied in a dimly lit garage before departure.
Complete 307R kit contents:
A full visual outfit for adventure:
- Fairing and windscreen (Nav Tower Style)
- Front mudguard and fork guards
- Full covering of the tank and side vents
- Rear covers and swingarm
Recommended finishes
For the Exodus model, the Matte finish is the most fitting: it gives a technical, military, and anti-glare look perfect for reading the terrain. The Glossy finish will offer stronger contrast and a "New" look. The Holographic option can be interesting on the topographic lines to simulate a digital screen, but it is a bold choice.


Receive the mockup / design by email or Instagram
Modifications and Validation
Once your design has been created, we’ll send it to you for approval. Take the time to examine every detail: colors, logos, and placement. You can request adjustments until you’re completely satisfied with the result. As soon as you give us the green light, we’ll move on to the next step.

The printing and cutting workshop
Production of your graphic kit
After your approval, our experts prepare the files and start production. Your kit is printed in high definition on premium vinyl, then covered with an ultra-resistant protective film (scratch- and UV-resistant). Finally, it is cut with millimeter precision to fit your plastics perfectly.
© photo: 67weed420

Finalization and shipping
Packaging and shipping
Each piece of your graphics kit is carefully inspected before being carefully packaged to prevent any deformation or creasing during transport. Your order is then handed over to our carrier, and you will receive a tracking number while you wait for delivery to your home.