
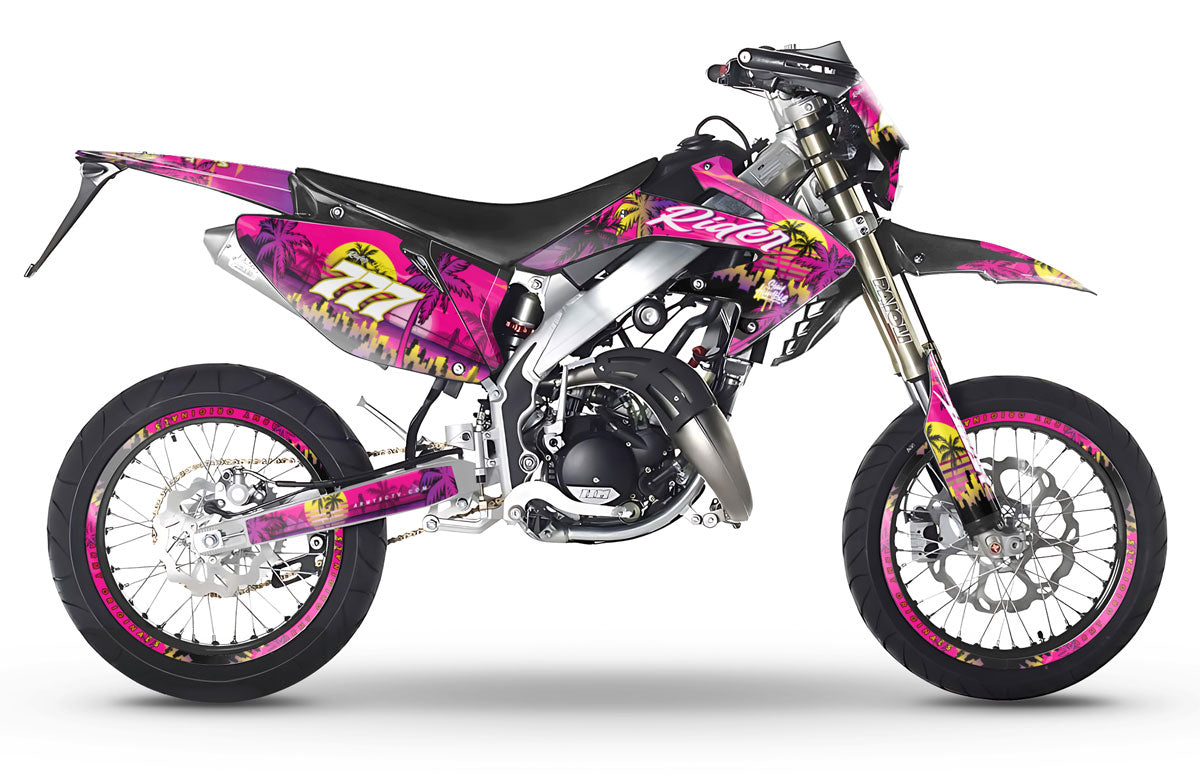
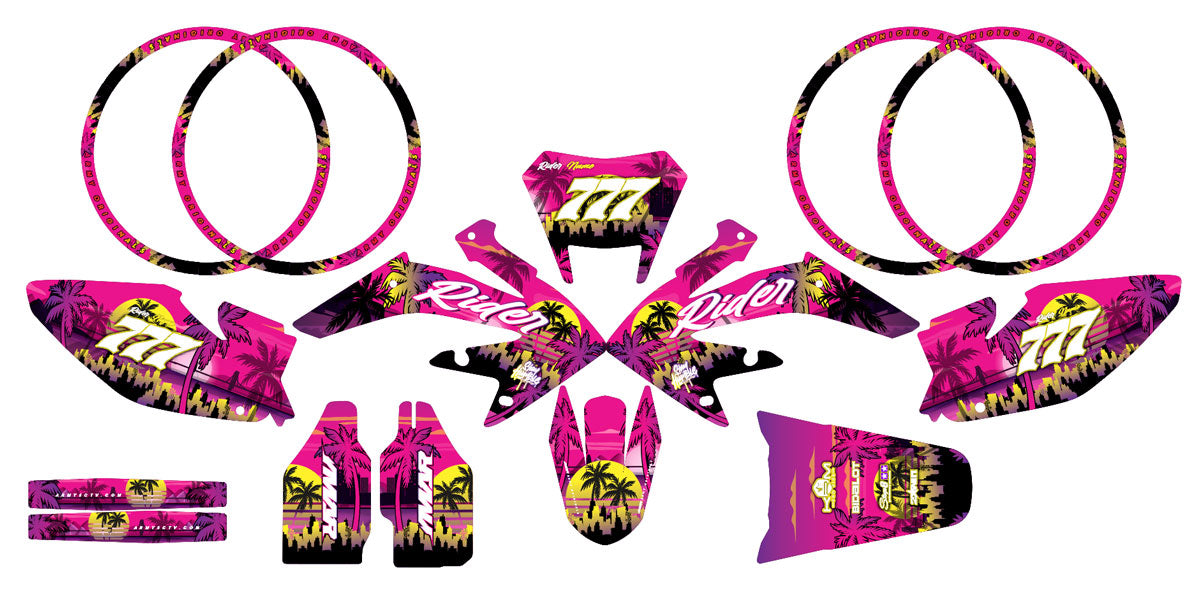


Graphics kit HM CRM 50 Derapage Miami Evo
Design approved before printing | no surprises!
Pose facile, sans bulles
Maquette 24/48h
Modifications illimitées
Vinyle premium anti-UV


Product description
Graphics kit HM CRM 50 Derapage – Miami Evo Model
Bring an explosion of style and color to your HM CRM 50 Derapage with the Graphics kit Miami Evo, an original creation by ArmySCTV. Inspired by retro-futuristic vibes and the graphic codes of urban culture, this unique design transforms your 50cc into a true visual masterpiece.
Made from ultra-resistant premium vinyl with anti-bubble adhesive, the Miami Evo kit ensures easy application, perfect adhesion, and exceptional durability. The 8-color HD printing offers vibrant colors, sharp details, and optimal resistance to UV, scratches, and weather.
Main features
- Exclusive “Miami Evo” design – colorful, bold, and inspired by street culture.
- 8-color high definition printing for a bright and professional finish.
- Premium finishes available: matte, glossy, holographic, chrome, glitter, textured, or fluorescent.
- Full customization: add name, number, logos, or color variants.
- Precise cutouts for a perfect fit on HM CRM 50 Derapage fairings.
Compatibility
This Graphics kit is specially designed for the HM CRM 50 Derapage. In case of fairing differences or modifications, we offer custom adaptation for a perfectly fitted result.
Why choose ArmySCTV?
- 50cc Graphics kit specialist: wide range for HM, Derbi, Beta, Fantic, Rieju, and more.
- Premium quality: durable vinyls, HD printing, and high-end finishes.
- Personalized service: graphic customization, included installation guide, and full support.
Installation tips
Clean and degrease your fairings carefully before application. The anti-bubble adhesive simplifies installation and allows precise repositioning. Use a gentle heat source for curved areas. Each kit includes a detailed installation guide for a professional result.
With the Graphics kit Miami Evo for HM CRM 50 Derapage, give your bike a unique, colorful, and stylish graphic identity. ArmySCTV transforms your 50cc into a true work of art ready to stand out.
Printable Vinyl Specifications
| Vinyl Type | Technical Features |
|---|---|
| Glossy | Flexible white polymer vinyl with FLO® technology, allowing bubble-free application and printing with intense colors. |
| Holographic | Holographic polymer vinyl with FLO® technology, offering bubble-free application and enhanced opacity thanks to a light gray pigmented adhesive. |
| Chrome | Ultra-adhesive vinyl for difficult plastics, available in Silver Chrome and Holographic Chrome. FLO® technology eliminates bubbles and eases installation. |
| Fluorescent / Neon | Neon cast vinyl with FLO® technology, featuring an ultra-aggressive adhesive for optimal grip on all surfaces. |
Lamination Vinyl Specifications
| Vinyl Type | Technical Specifications |
|---|---|
| Glossy | Flexible transparent vinyl film with optically clear acrylic adhesive. Ensures optimal protection and a glossy finish. |
| Glitter | Transparent glitter vinyl film with holographic effect. Provides a unique shine and long-lasting print protection. |
| Textured | Textured vinyl film offering improved grip. Ideal for enhanced protection and better traction. |
| Matte | Matte vinyl film with anti-glare finish. Durable protection while maintaining a discreet and elegant look. |
Installation Tips
Follow these 4 simple steps to install your holographic decal kit on your 50cc motorcycle decal kit and achieve a professional finish:
-
Surface Preparation:
Thoroughly clean the application area of your 50cc with a mild degreaser to remove dust, dirt, and oil traces. A clean surface is essential for your holographic decal kit to adhere properly.
-
Measuring and Marking:
Accurately measure the area to be decorated on your 50cc motorcycle decal kit. Use a non-permanent pencil to lightly mark the outlines to help align the vinyl during application.
-
Applying the Vinyl/Sticker:
Partially peel off the backing of the vinyl or sticker. Carefully position it on the marked area, then gradually remove the backing while smoothing the material with a squeegee or microfiber cloth to eliminate air bubbles and ensure perfect adhesion.
-
Finishing and Checking:
Check that the vinyl is firmly fixed over the entire surface of your 50cc motorcycle decal kit. Remove the protective film and make any necessary touch-ups to highlight the unique effect of your holographic decal kit.
Why choose our motorcycle, motocross, and scooter graphics kits?
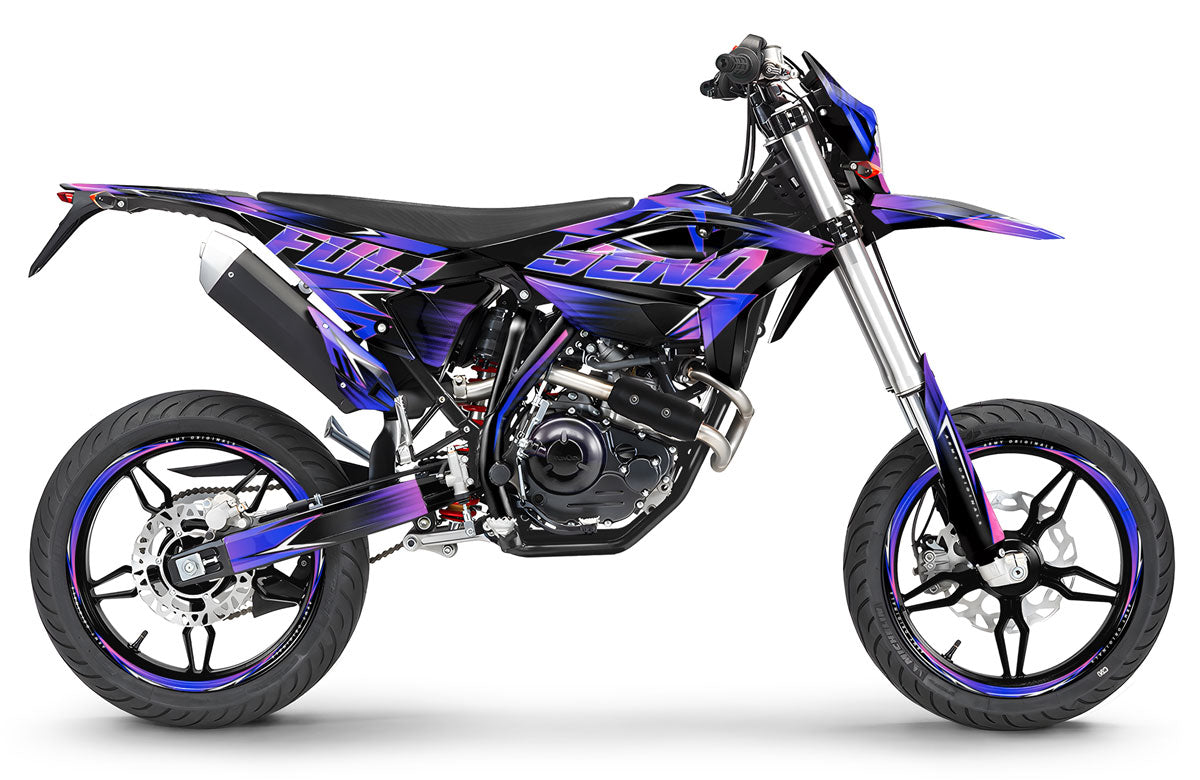
Premium graphic kits for all your vehicles: 50cc, 125cc (like this Beta RR), Motocross, Supermoto, as well as E-bikes and Maxi Scooters. Made with premium ArmySCTV materials, our stickers ensure easy bubble-free application and extreme durability. Choose a semi-custom or fully custom design and give your machine a unique style.
Can I customize my graphic kit (name, number, colors)?
Absolutely. We offer several levels of customization. With our “semi-custom” kits, you can modify the race number, the rider’s name, as well as the background and number-plate colors to match your fairings. For a complete modification (adding specific sponsors, radically changing the design), choose our “Full Custom” options or contact our graphic design team.
Can I see a proof before printing?
Yes, for any order that includes customization, we send a digital proof (artwork approval) by email. Production of your motorcycle/quad graphics kit only begins after your final approval. This ensures zero errors and a result that fully matches your expectations.
What is the thickness and quality of the vinyl used?
We use premium vinyl specially designed for extreme motorsports (Motocross, Enduro, Quad, Karting). Our kits offer a total thickness of between 300 and 500 microns (depending on the finish chosen), ensuring optimal resistance to scratches, impacts, stones, and boot scuffs.
Does the graphics kit withstand UV rays and pressure washing?
Yes. Our decals feature reinforced adhesive with strong bonding power and UV-resistant lamination. This prevents the colors from fading in the sun. You can wash your vehicle with a pressure washer, simply making sure to keep a safe distance (around 30–40 cm) and avoid lingering on the edges of the decals.
How can I easily apply my graphics kit without getting bubbles?
Installing our kits is made easier by our adhesive technology, which allows air to escape (“Bubble Free”). Here are the key steps for a successful installation:
- Thoroughly degrease the plastics (new or used) with brake cleaner or isopropyl alcohol.
- Lightly heat the vinyl with a heat gun or hair dryer to make it flexible.
- Apply it from the center outward.
- Let the kit rest for 24 to 48 hours before riding so the adhesive can fully cure (harden).
Does the kit fit original and aftermarket plastics (UFO, Acerbis, Cycra)?
Our templates are extremely precise. When placing your order, it is crucial to specify the year, exact model, and whether you have replaced your fairings with brands such as UFO, Acerbis, Polisport or Cycra. We will adjust the cutouts accordingly for a perfect fit.
What are the manufacturing and shipping times?
As each kit is printed to order to ensure the adhesive stays fresh, please allow:
- Design: 2 to 4 business days.
- Production (Printing & Drying): 3 to 5 business days after approval.
- Delivery: 24 to 48 hours via our partner carriers.
Please allow approximately 8 to 10 business days in total to receive your custom graphics kit at home.
Premium Finishes:
Holographic, Chrome & Glossy Vinyls

PRINTING
Holo / Chrome
Dynamic holographic reflections for a futuristic, personalized finish.

PRINT
Glossy / Matte
Glossy intensifies, while matte offers a refined, understated style.

PRINTING
Fluorescent / Neon
Ultra-bright colors for a modern racing style and maximum visibility.

FINISH
Galactic Series
Cosmic glitter finish for a luxurious, deep, and exclusive look.

FINISH
Holo Spectrum
Multicolored holographic effect with spectacular prismatic reflections.

FINISH
Ultracurve
Glossy surface with fluid gradients for a modern, premium style.