
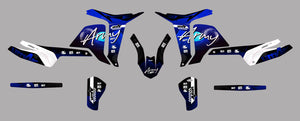
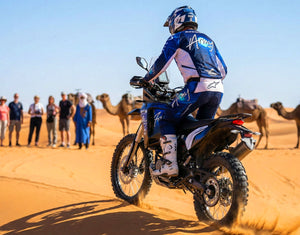
Kit pegatinas Rieju Aventura Rally 307 R Evento
🛞 Pegatinas para llantas + Hasta 50 € en regalos
Cero sorpresas y 100% de control:
¡No imprimimos nada sin su aprobación final!
Pose 100% inratable
Maquette sous 24/48h chrono
Retouches illimitées
Bouclier Premium (UV & chocs)
Nuestros expertos validan tu modelo con una simple foto. ¡ENVIAR!


Descripción
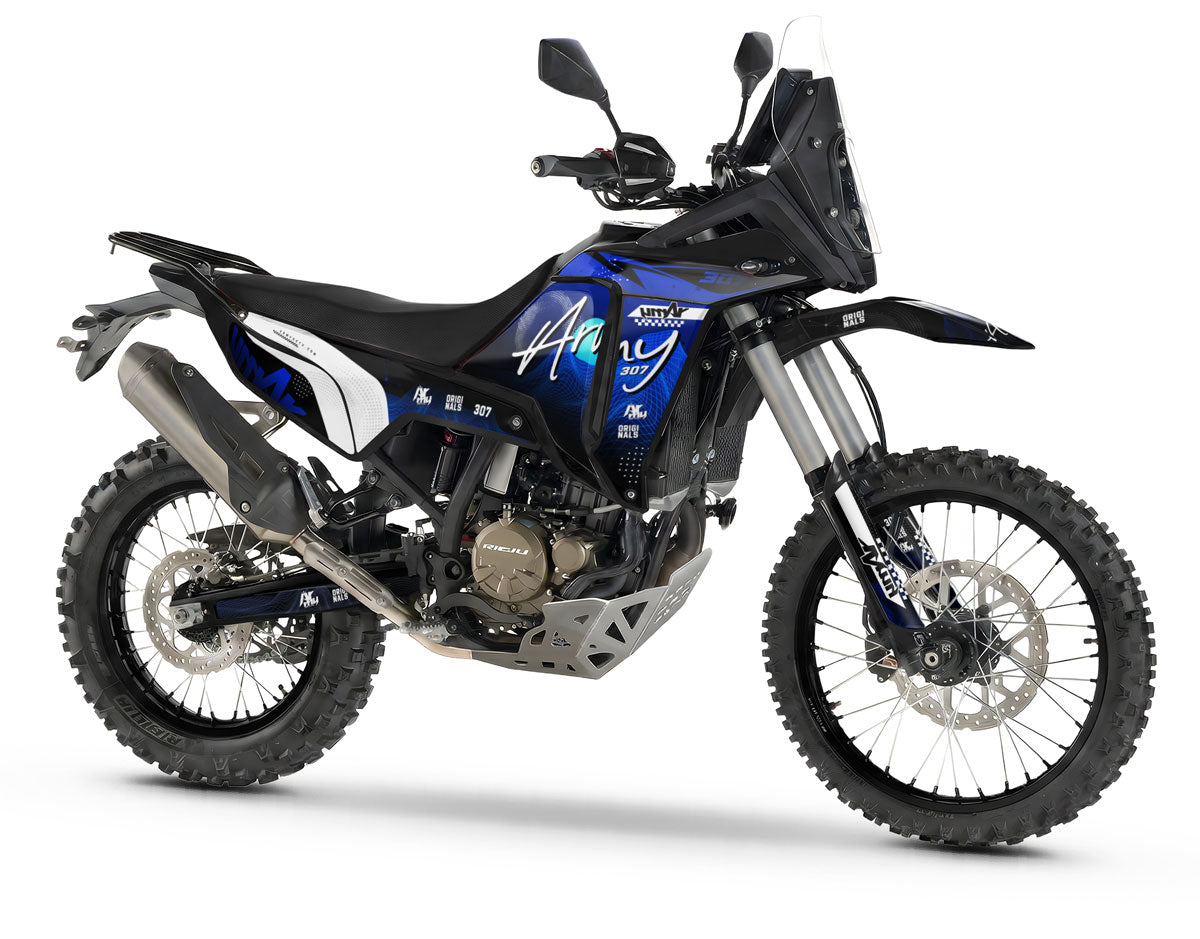
El Kit de pegatinas Event para la Rieju Aventura 307R fue creado por una sola razón: atraer todas las miradas. La 307R es la novedad trail del año 2026; el diseño Event la realza dándole la apariencia de una serie limitada o un prototipo de salón. Es el acabado ideal para quienes quieren una moto que no se parezca a ninguna otra en la carretera o en la pista.
Un look "Show Bike" para tu Rieju 307R
El diseño Event juega con la sofisticación gráfica. No se limita a llenar espacios, estructura la moto con líneas técnicas y marcajes "Sponsor" estilizados para un acabado de alta gama.
- Diseño Event Exclusivo: Una composición compleja que mezcla tipografías modernas, texturas de fondo (como tramas o hexágonos) y destellos de colores vivos (a menudo Rojo neón/Gris, Azul Cian/Negro o Amarillo ácido/Carbono). Un estilo que grita "Rendimiento" y "Exclusividad".
- Plantillas 2026 de Precisión: Este kit está calibrado al milímetro para la nueva carrocería de la 307R. Cubre la cabeza de horquilla vertical y el depósito afinado sin romper las líneas del diseño, ofreciendo una continuidad visual perfecta.
- Vinilo "Armor Tech" 450 Micrones: Una moto de show que rueda. Nuestra protección adhesiva industrial mantiene tu pintura nueva a salvo de impactos, rayos UV y rozaduras. Puedes brillar en la ciudad y atacar los caminos el fin de semana sin miedo.
- Colocación Fácil Sin Burbujas: La exigencia del resultado sin la complejidad de la instalación. La tecnología de adhesivo alveolado permite expulsar el aire fácilmente para un acabado liso, digno de una colocación en fábrica.
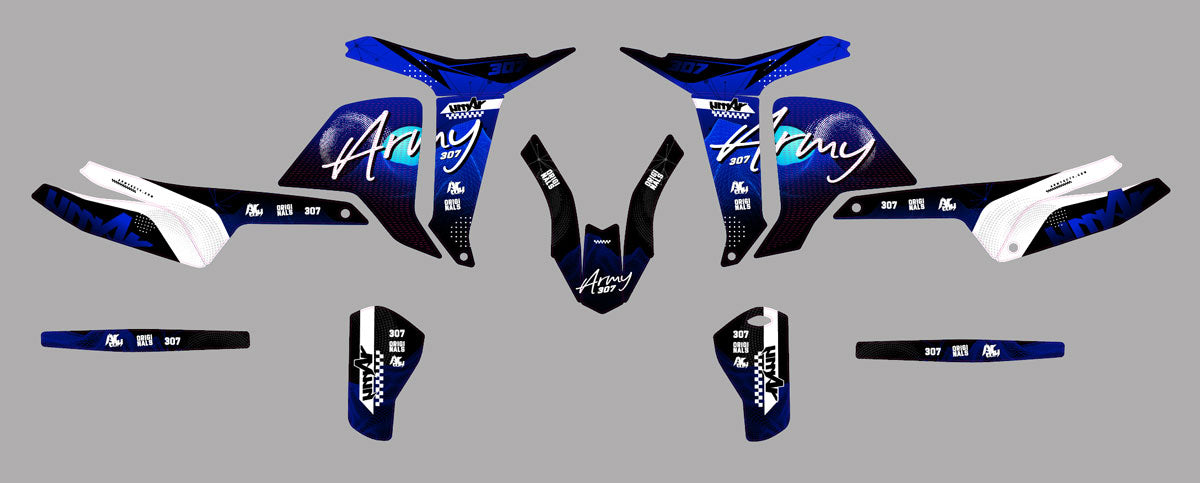
Contenido del kit completo 307R:
Un acabado "Full Option" para tu trail:
- Cabeza de horquilla Rally y burbuja alta (Diseño Signature)
- Guardabarros delantero y protecciones de horquilla
- Revestimiento integral del depósito y las tomas de aire
- Carcasas traseras, alerón y brazo oscilante
Acabados recomendados
Para el modelo Event, el acabado Brillante es la referencia: da ese aspecto de "Barniz Profundo" de las motos de exposición. El acabado Con Purpurina (Glitter) o Holográfico transformará tu 307R en una verdadera atracción bajo el sol, reforzando el lado "Evento". El acabado Mate es posible para un resultado más discreto tipo "Prototipo Secreto".
Asistencia por correo electrónico 24/7
Nuestro equipo está disponible para ayudarte antes, durante y después de tu pedido.
Respondemos a todas tus preguntas: personalización, compatibilidad, instalación, seguimiento del pedido o servicio posventa.
📨 Contacto por email: support@armysctv.com
⏱ Tiempo medio de respuesta: en menos de 24 h (excepto domingos y festivos)
🤝 Asesoramiento gratuito: elección de acabados, colores, diseño, mantenimiento…
En caso de necesitar asistencia técnica o realizar algún ajuste, seguiremos disponibles hasta que recibas tu kit de decoración completo.
También puedes contactarnos a través de Instagram para cualquier consulta rápida.
Envío rápido y con seguimiento
🚚 Punto de recogida o domicilio
📦 Producción: 3–5 días laborables
📮 Entrega: 2–5 días laborables (4-6 días en Europa)
🎁 Envío gratuito a partir de 150€ (Francia) y 200€ (resto del mundo)
🔎 Seguimiento por email + asistencia en caso de incidencia
Información técnica
🛡 Vinilo premium resistente a los rayos UV
🎨 Impresión HD de 8 colores
🔥 Laminado protector
✂️ Corte a medida
📏 Grosor de 400–600 micras
👍 Fácil instalación, sin burbujas
Estas características técnicas garantizan un kit de decoración duradero, fácil de instalar y diseñado para resistir tanto en carretera como fuera de ella.
Tu pedido en 4 sencillos pasos
¿Cómo funciona mi pedido?
PERSONALIZACIÓN
Elige tu diseño, indica tu modelo (moto/scooter) y añade tus números o patrocinadores.
MAQUETA (B.A.T)
Nuestros diseñadores gráficos adaptan el diseño a sus carenados. Recibirá una vista previa para aprobarla antes de la impresión.
FABRICACIÓN
Impresión de alta definición y corte milimétrico en nuestro vinilo premium.
ENTREGA RÁPIDA
Recibe tu kit listo para instalar. Instalación fácil y garantizada sin burbujas en tu máquina.
💡 Recommandations
| Lamination ⇩ Impression ⇨ | Brillant | Mat | Holo / Chrome |
|---|---|---|---|
| BRILLANT | |||
| MAT | |||
| PAILLETTES HOLO | |||
| PAILLETTES ROUGES | |||
| PAILLETTES OR | |||
| PAILLETTES ARGENTÉS | |||
| HOLO PRISMATIQUE | |||
| HOLO FRACTURE | |||
| HOLO SUPER PAILLETTES |
El Kit de pegatinas Event para la Rieju Aventura 307R fue creado por una sola razón: atraer todas las miradas. La 307R es la novedad trail del año 2026; el diseño Event la realza dándole la apariencia de una serie limitada o un prototipo de salón. Es el acabado ideal para quienes quieren una moto que no se parezca a ninguna otra en la carretera o en la pista.
Un look "Show Bike" para tu Rieju 307R
El diseño Event juega con la sofisticación gráfica. No se limita a llenar espacios, estructura la moto con líneas técnicas y marcajes "Sponsor" estilizados para un acabado de alta gama.
- Diseño Event Exclusivo: Una composición compleja que mezcla tipografías modernas, texturas de fondo (como tramas o hexágonos) y destellos de colores vivos (a menudo Rojo neón/Gris, Azul Cian/Negro o Amarillo ácido/Carbono). Un estilo que grita "Rendimiento" y "Exclusividad".
- Plantillas 2026 de Precisión: Este kit está calibrado al milímetro para la nueva carrocería de la 307R. Cubre la cabeza de horquilla vertical y el depósito afinado sin romper las líneas del diseño, ofreciendo una continuidad visual perfecta.
- Vinilo "Armor Tech" 450 Micrones: Una moto de show que rueda. Nuestra protección adhesiva industrial mantiene tu pintura nueva a salvo de impactos, rayos UV y rozaduras. Puedes brillar en la ciudad y atacar los caminos el fin de semana sin miedo.
- Colocación Fácil Sin Burbujas: La exigencia del resultado sin la complejidad de la instalación. La tecnología de adhesivo alveolado permite expulsar el aire fácilmente para un acabado liso, digno de una colocación en fábrica.
Contenido del kit completo 307R:
Un acabado "Full Option" para tu trail:
- Cabeza de horquilla Rally y burbuja alta (Diseño Signature)
- Guardabarros delantero y protecciones de horquilla
- Revestimiento integral del depósito y las tomas de aire
- Carcasas traseras, alerón y brazo oscilante
Acabados recomendados
Para el modelo Event, el acabado Brillante es la referencia: da ese aspecto de "Barniz Profundo" de las motos de exposición. El acabado Con Purpurina (Glitter) o Holográfico transformará tu 307R en una verdadera atracción bajo el sol, reforzando el lado "Evento". El acabado Mate es posible para un resultado más discreto tipo "Prototipo Secreto".


Recibe la maqueta / el diseño por correo electrónico o por Instagram
Modificaciones y validación
Una vez creado tu diseño, te lo enviamos para que lo apruebes. Tómate el tiempo de revisar cada detalle: colores, logotipos y ubicaciones. Puedes solicitar ajustes hasta que el resultado te convenza por completo. En cuanto nos des luz verde, pasamos al siguiente paso.

El taller de impresión y corte
Producción de tu kit de decoración
Tras su aprobación, nuestros expertos preparan los archivos y ponen en marcha la fabricación. Su kit se imprime en alta definición sobre un vinilo premium y, después, se recubre con una película protectora ultrarresistente (antirrayones y resistente a los rayos UV). Por último, se corta con precisión milimétrica para adaptarse perfectamente a sus plásticos.
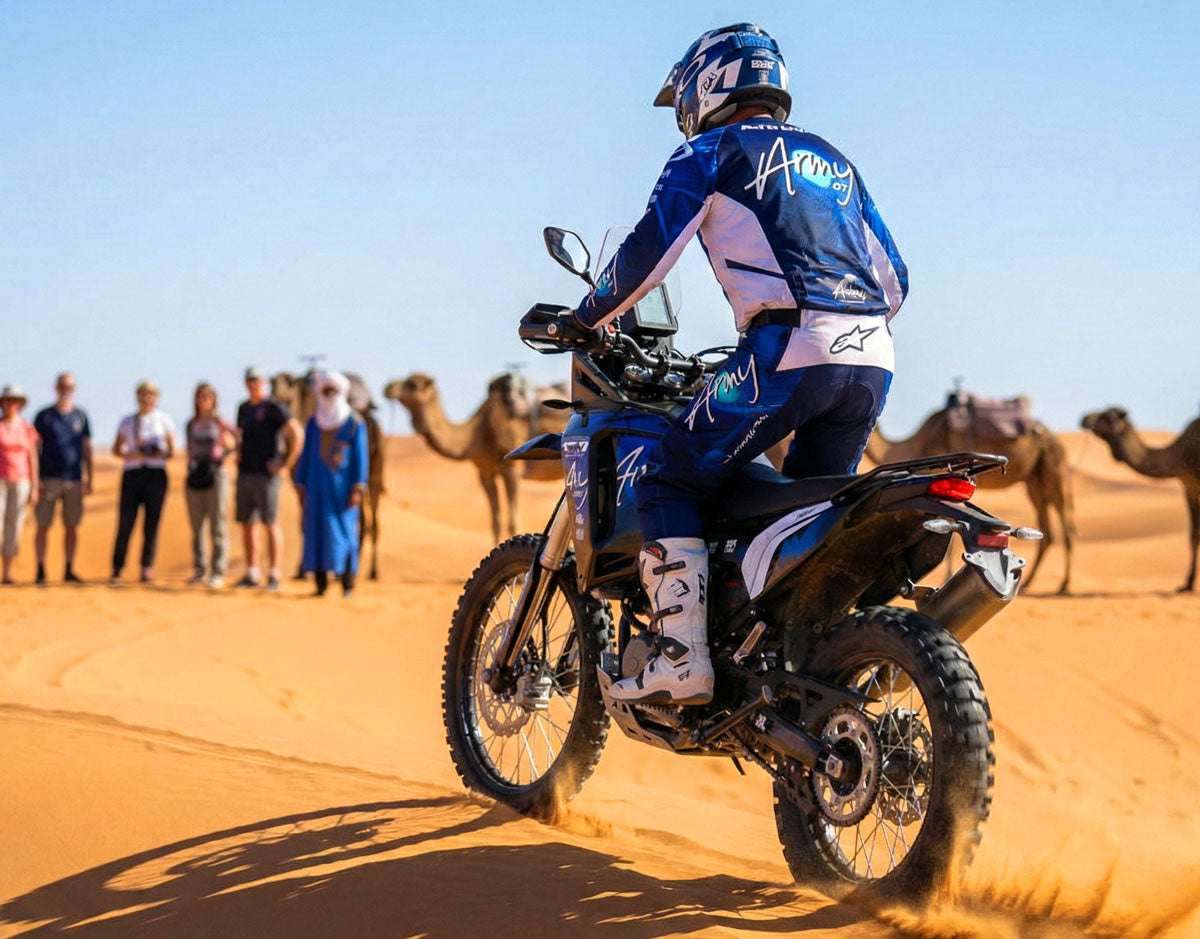
© foto: 67weed420

Finalización y envío
Embalaje y envío
Cada pieza de tu kit de decoración se revisa minuciosamente antes de embalarla con cuidado para evitar cualquier deformación o pliegue durante el transporte. Después, tu pedido se entrega a nuestro transportista y recibirás un número de seguimiento para que puedas esperar hasta la entrega en tu domicilio.