
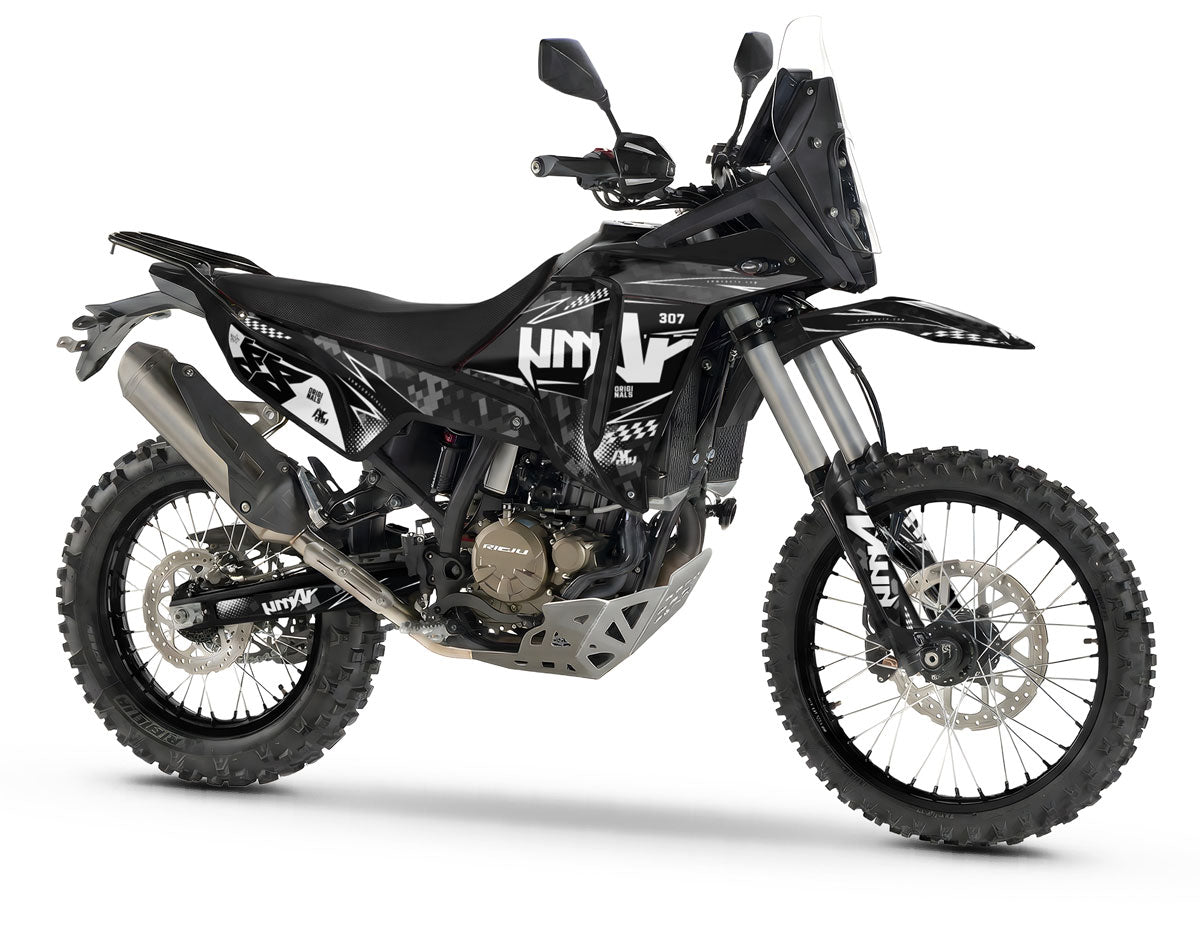
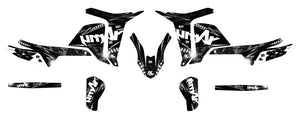
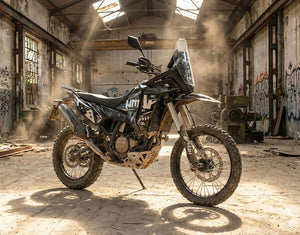
Graphics kit Rieju Adventure Rally 307 R Domination
Proof approved before printing | no surprises!
Pose facile, sans bulles
Maquette 24/48h
Modifications illimitées
Qualité premium
Unsure about the model? Send a photo for confirmation. SEND


Product description
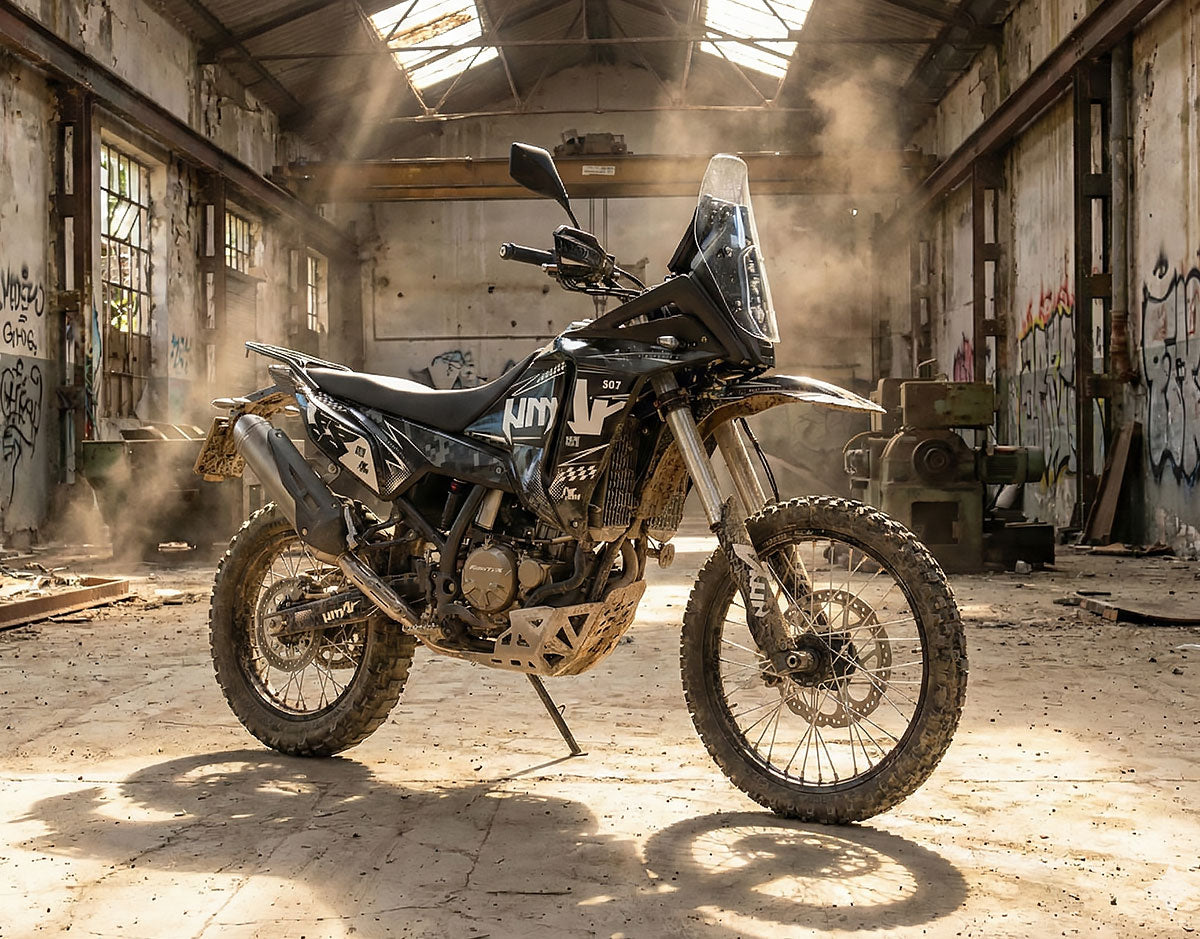
The Graphics-kit Domination for the Rieju Aventura 307R is not here just for show. While the 307R (released in January 2026) excels in versatility, this design reveals its dark and powerful side. It is the ultimate covering for those who ride their trail bike like a competition enduro: strong, fast, and without hesitation.
A strong Racing character for your Rieju 307R
The Domination design shapes the motorcycle around the idea of speed and impact. It abandons "nature" patterns for "competition" graphics that intimidate the rivals.
- Aggressive Domination Design: Large blocks of color (often Blood Red/Black, Yellow/Black, or Electric Blue/Grey), sharp lines, and integrated race numbers. A style that visually strengthens the rally headlight fairing and the tank of the Rieju 307R.
- 2026 "Ready-to-Race" Templates: Precision is our watchword. This kit is developed specifically for the refined plastics of the 2026 model year. It covers the areas exposed to rubbing (sides, tank) with a perfect cut that leaves nothing to chance.
- "Armor Tech" 450 Micron Vinyl: To dominate, you must endure. Our thick vinyl withstands impacts, high-speed gravel splashes, and boot scratches. Your motorcycle keeps its predator look season after season.
- Easy Bubble-Free Application: Installation is quick and efficient. The honeycomb glue technology allows bubble-free application, even on the complex curves of the tank. Professional results guaranteed.
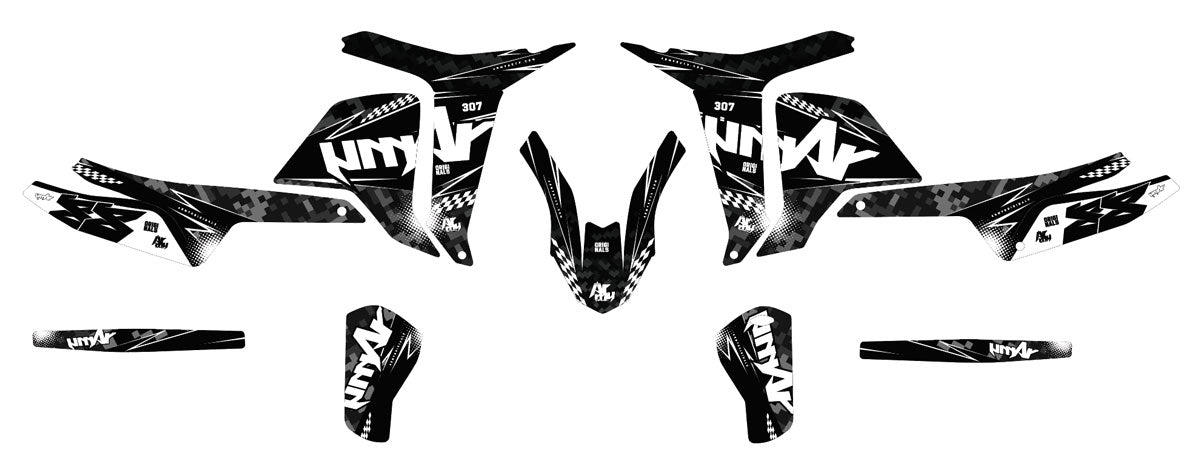
Contents of the complete 307R kit:
A radical transformation for your machine:
- Rally headlight fairing and windscreen (Racing Look)
- Front mudguard and fork guards
- Complete covering of the tank and side air scoops
- Rear fairings and swingarm
Recommended finishes
For the Domination model, the Glossy finish is the Racing standard: it makes the colors pop and gives a "Factory Sponsor" look. The Matte finish turns the motorcycle into a stealthy and threatening intervention vehicle. The Holographic or Chrome option on numbers or logos adds a touch of aggressive prestige.
Printing Vinyl Specifications
| Vinyl Type | Technical Features |
|---|---|
| Glossy | Flexible white polymer vinyl with FLO® technology, allowing bubble-free application and printing with intense colors. |
| Holographic | Holographic polymer vinyl with FLO® technology, offering bubble-free application and enhanced opacity thanks to a light gray pigmented adhesive. |
| Chrome | Ultra-adhesive vinyl for difficult plastics, available in Silver Chrome and Holographic Chrome. FLO® technology eliminates bubbles and eases installation. |
| Fluorescent / Neon | Neon cast vinyl with FLO® technology, featuring an ultra-aggressive adhesive for optimal grip on all surfaces. |
Lamination Vinyl Specifications
| Vinyl Type | Technical Specifications |
|---|---|
| Glossy | Flexible transparent vinyl film with optically clear acrylic adhesive. Ensures optimal protection and a glossy finish. |
| Glitter | Transparent glitter vinyl film with holographic effect. Provides a unique shine and long-lasting print protection. |
| Textured | Textured vinyl film offering improved grip. Ideal for enhanced protection and better traction. |
| Matte | Matte vinyl film with anti-glare finish. Durable protection while maintaining a discreet and elegant look. |
Installation tips
Follow these 4 simple steps to install your holographic decal kit on your 50cc motorcycle decal kit and achieve a professional finish:
-
Surface Preparation:
Thoroughly clean the application area of your 50cc with a mild degreaser to remove dust, dirt, and oil traces. A clean surface is essential for your holographic decal kit to adhere properly.
-
Measuring and Marking:
Accurately measure the area to be decorated on your 50cc motorcycle decal kit. Use a non-permanent pencil to lightly mark the outlines to help align the vinyl during application.
-
Applying the Vinyl/Sticker:
Partially peel off the backing of the vinyl or sticker. Carefully position it on the marked area, then gradually remove the backing while smoothing the material with a squeegee or microfiber cloth to eliminate air bubbles and ensure perfect adhesion.
-
Finishing and Checking:
Check that the vinyl is firmly fixed over the entire surface of your 50cc motorcycle decal kit. Remove the protective film and make any necessary touch-ups to highlight the unique effect of your holographic decal kit.
| Lamination ⇩ Impression ⇨ | Brillant | Mat | Holo / Chrome |
|---|---|---|---|
| BRILLANT | |||
| MAT | |||
| PAILLETTES HOLO | |||
| PAILLETTES ROUGES | |||
| PAILLETTES OR | |||
| PAILLETTES ARGENTÉS | |||
| HOLO PRISMATIQUE | |||
| HOLO FRACTURE | |||
| HOLO SUPER PAILLETTES |