


50cc Graphics kit Moto & Scooter | +500 Premium Customizable Designs – ArmySCTV
Want to customize your motorcycle? Discover our must-have collection of 50cc graphic kits, designed to transform the look of your 50cc geared bike. Our high-resistance decals and stickers fit perfectly on the fairings of the biggest brands: Derbi, Beta, Rieju, Sherco, Yamaha, Aprilia and Fantic. Give your two-wheeler a unique design, long-lasting protection, and a premium finish. Browse our catalog and find the perfect 50cc graphic kit to stand out on the road!


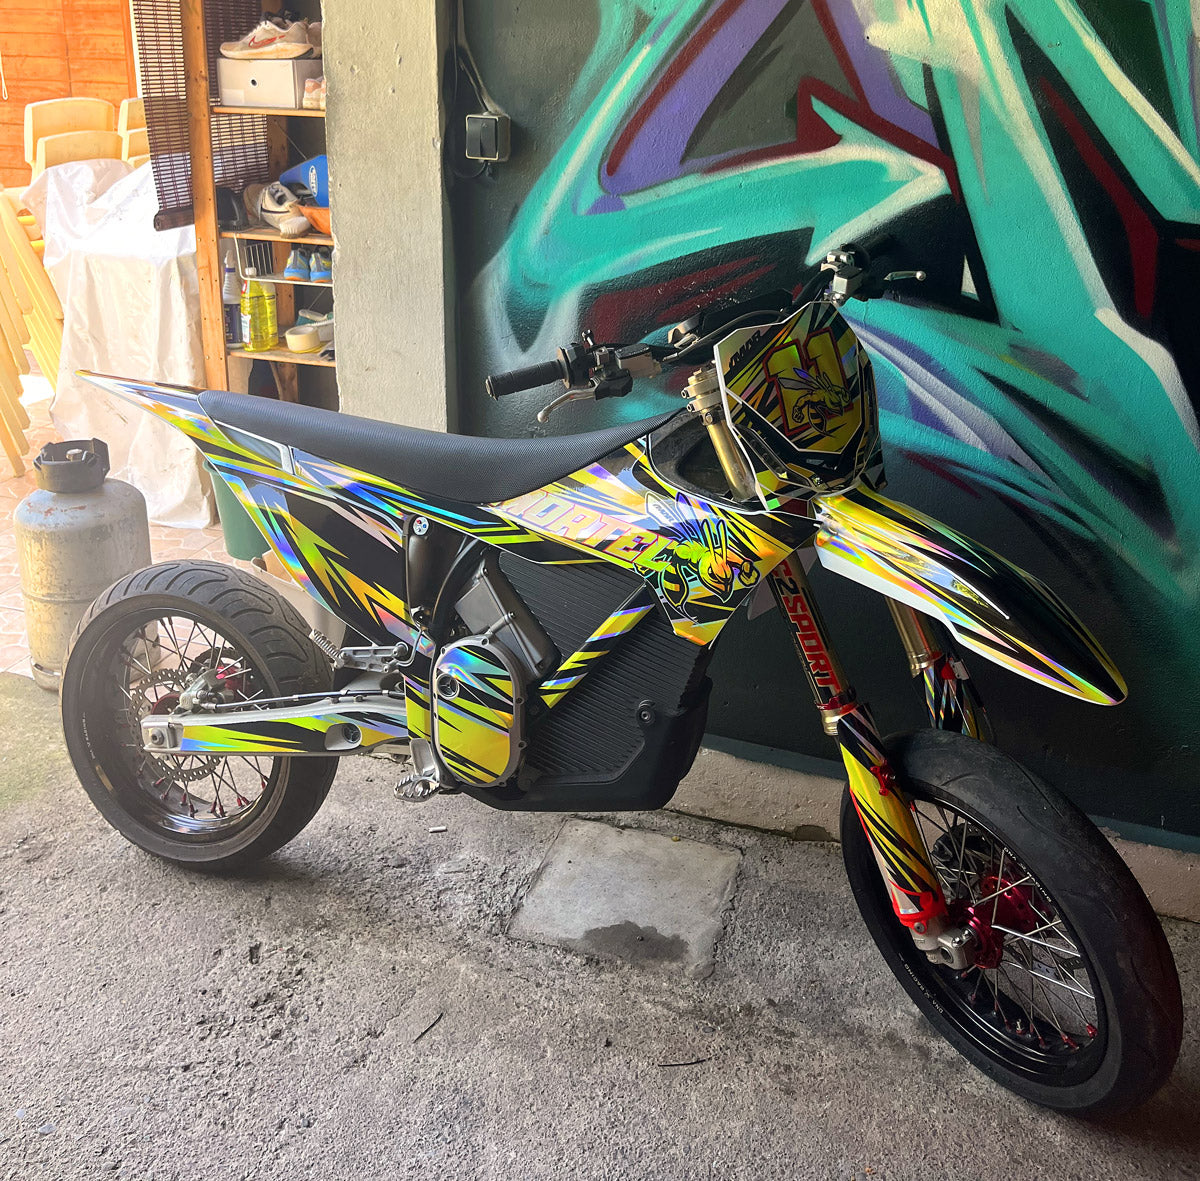

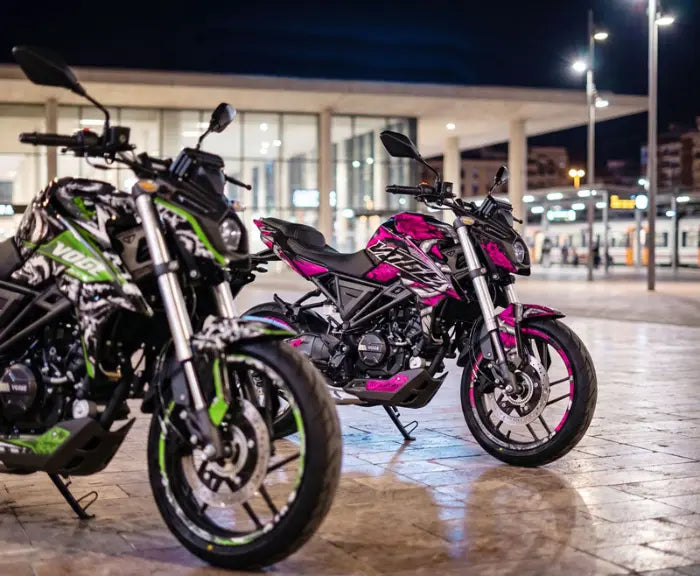


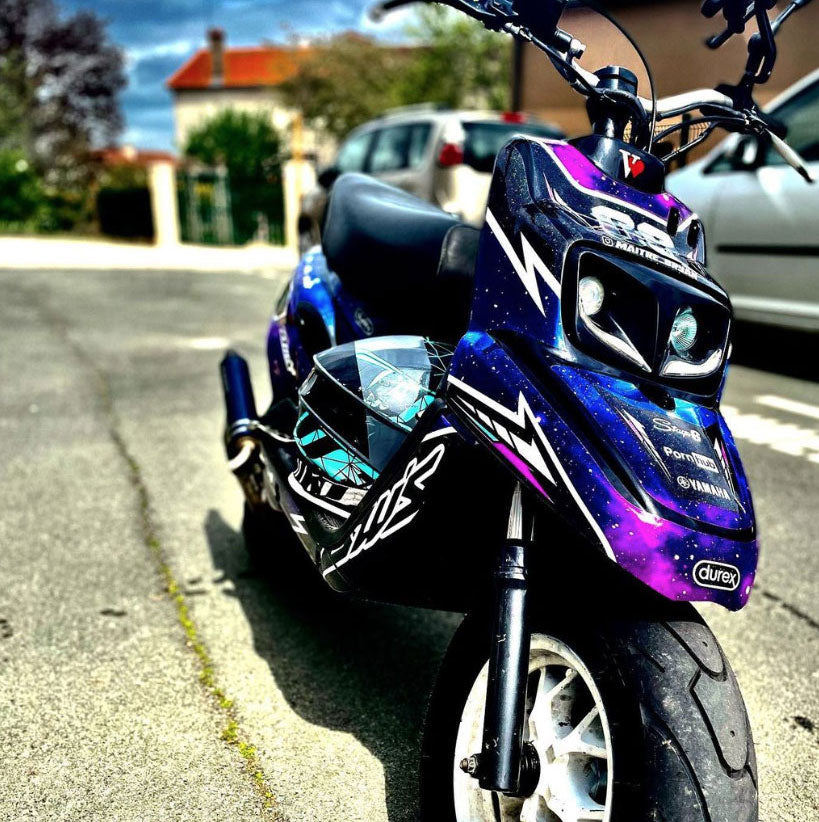

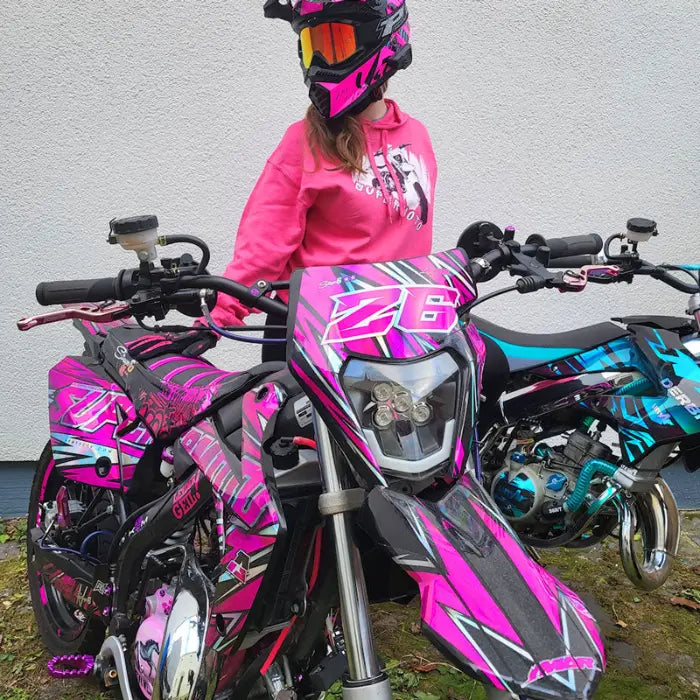


Graphics kit Rieju NKD 125 (2026) Viper

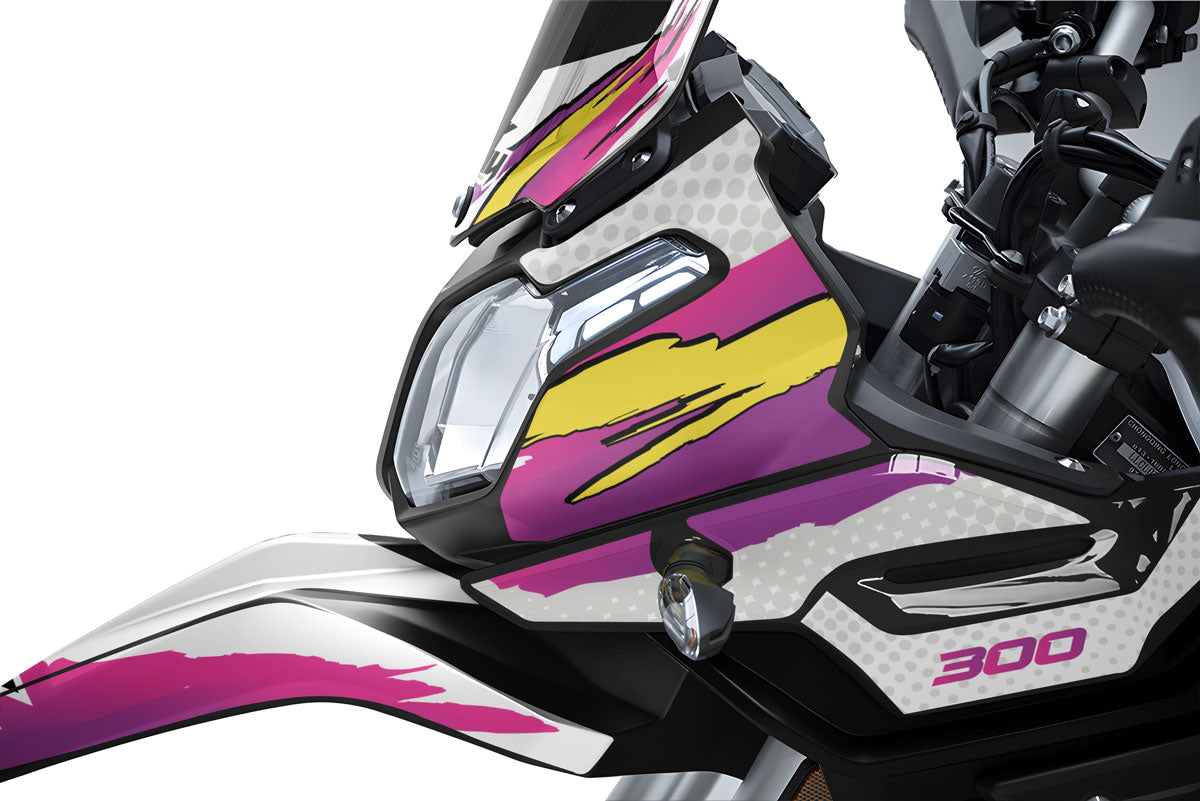

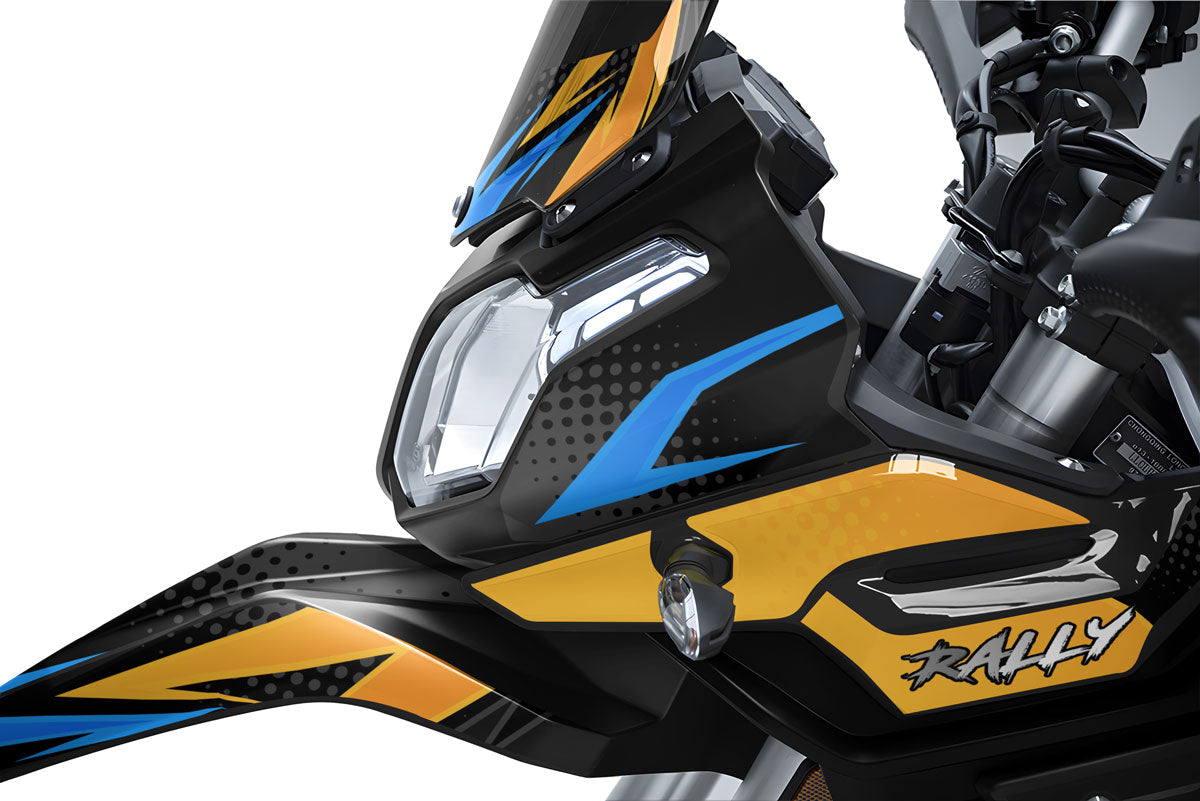

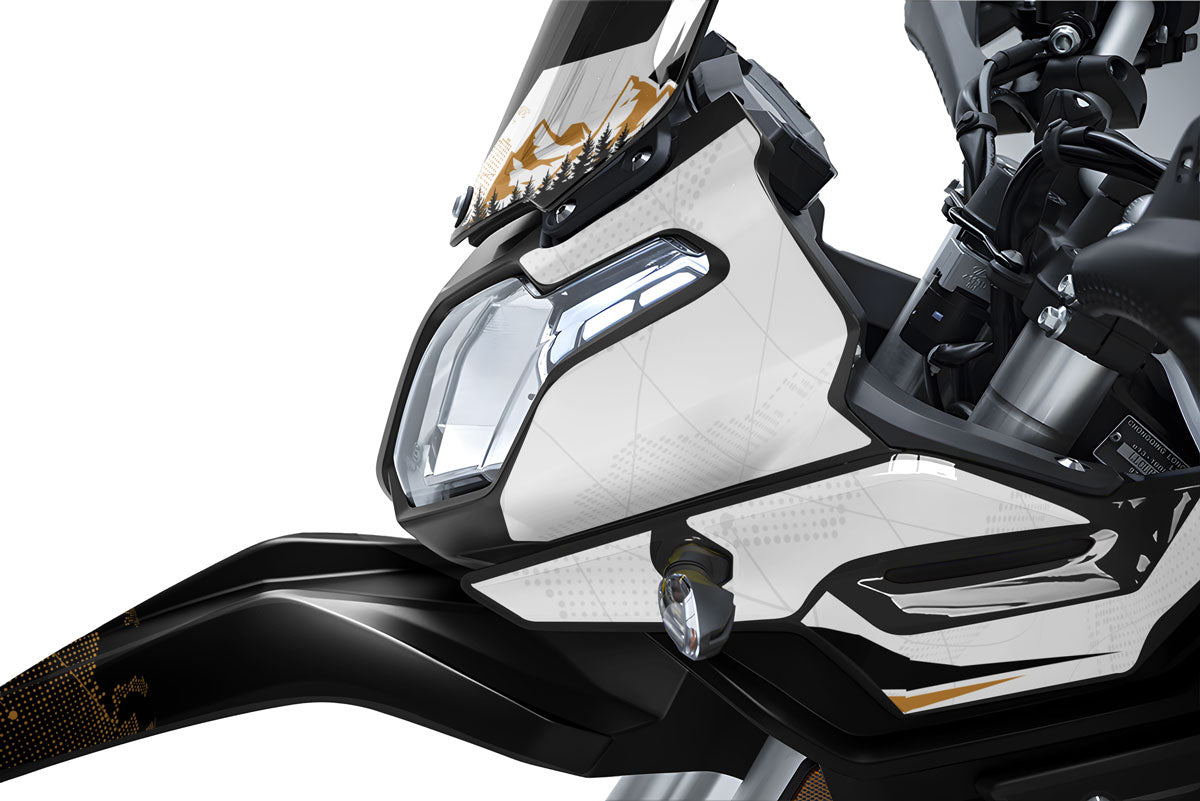

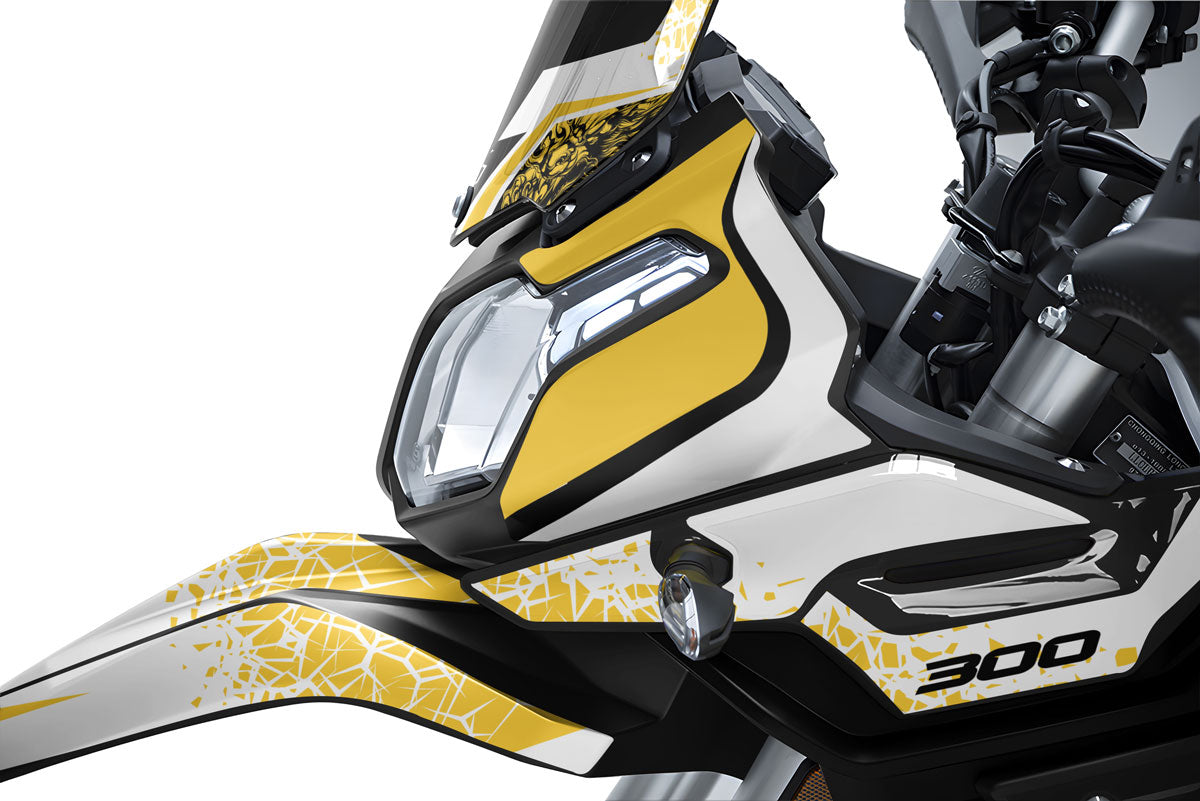

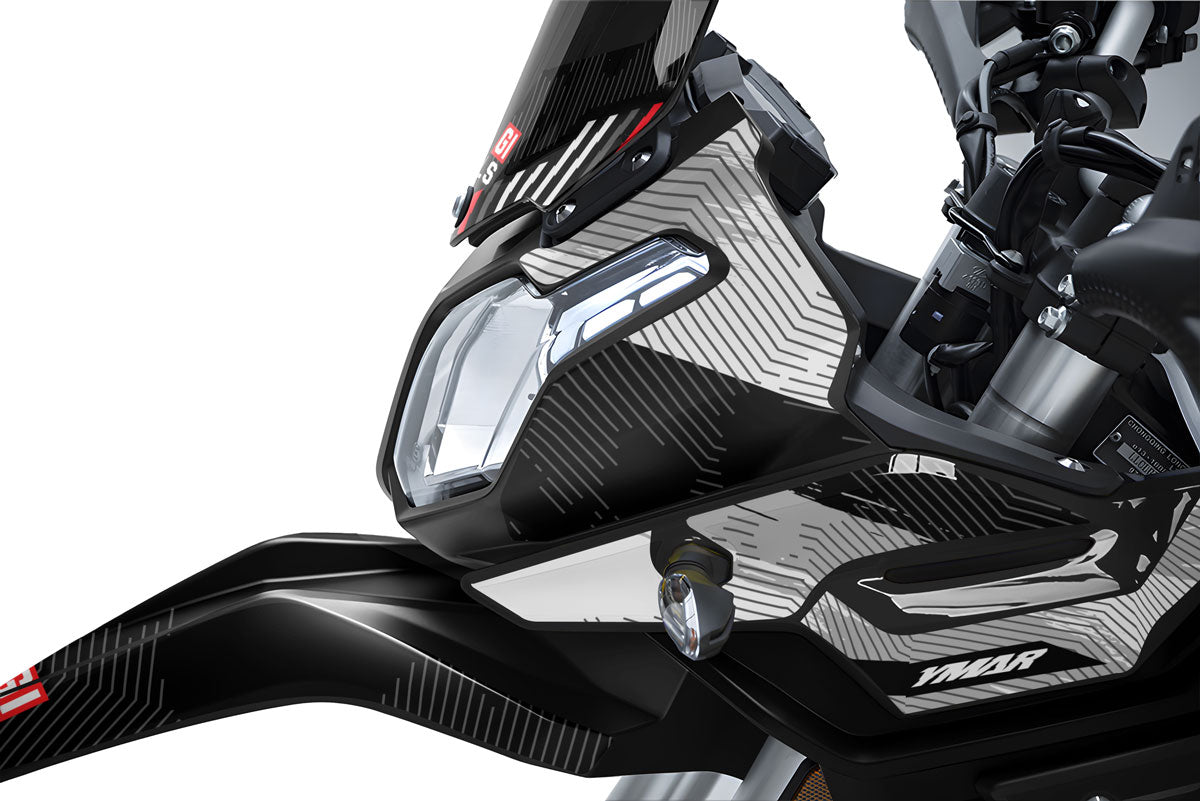

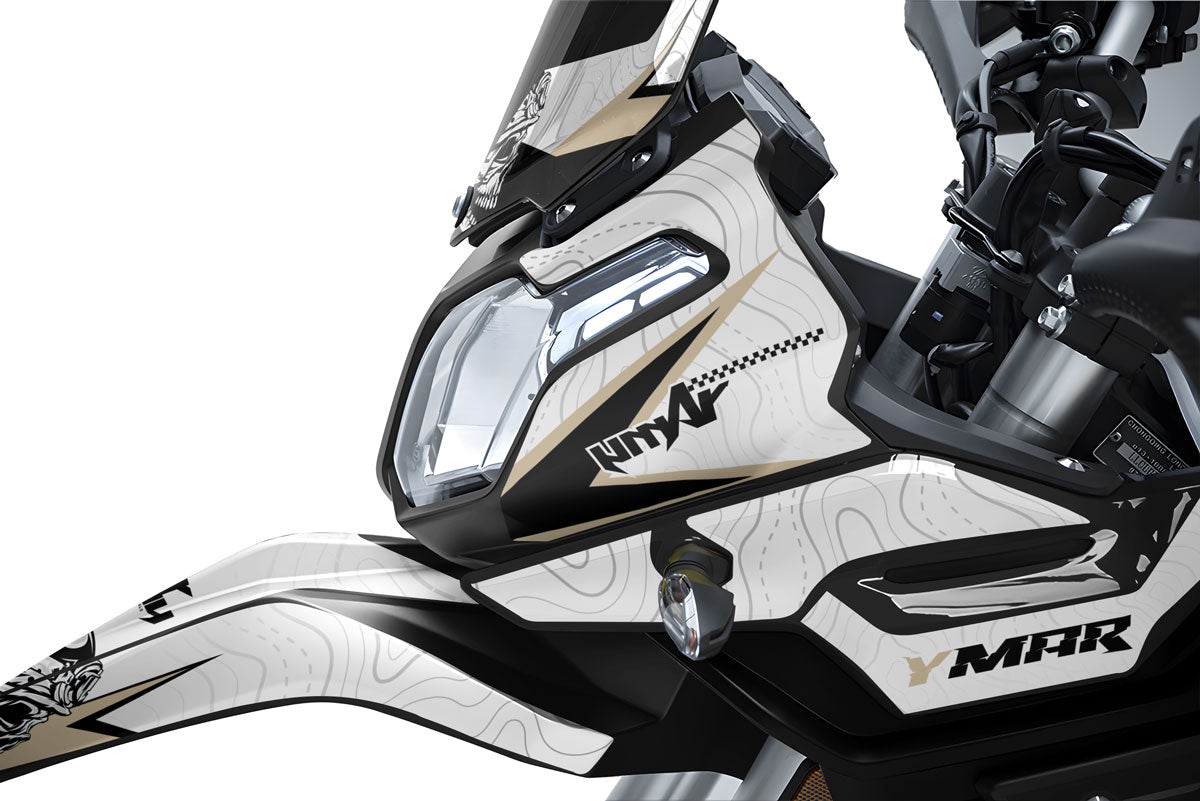

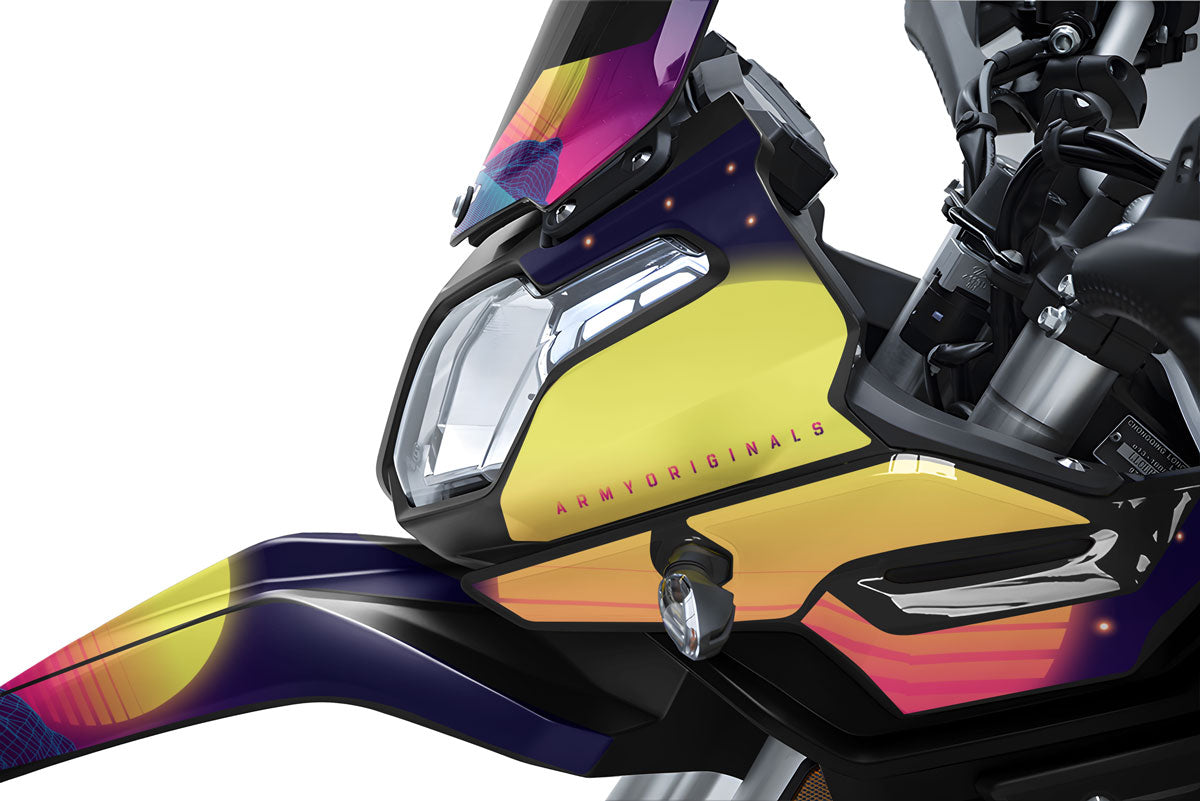

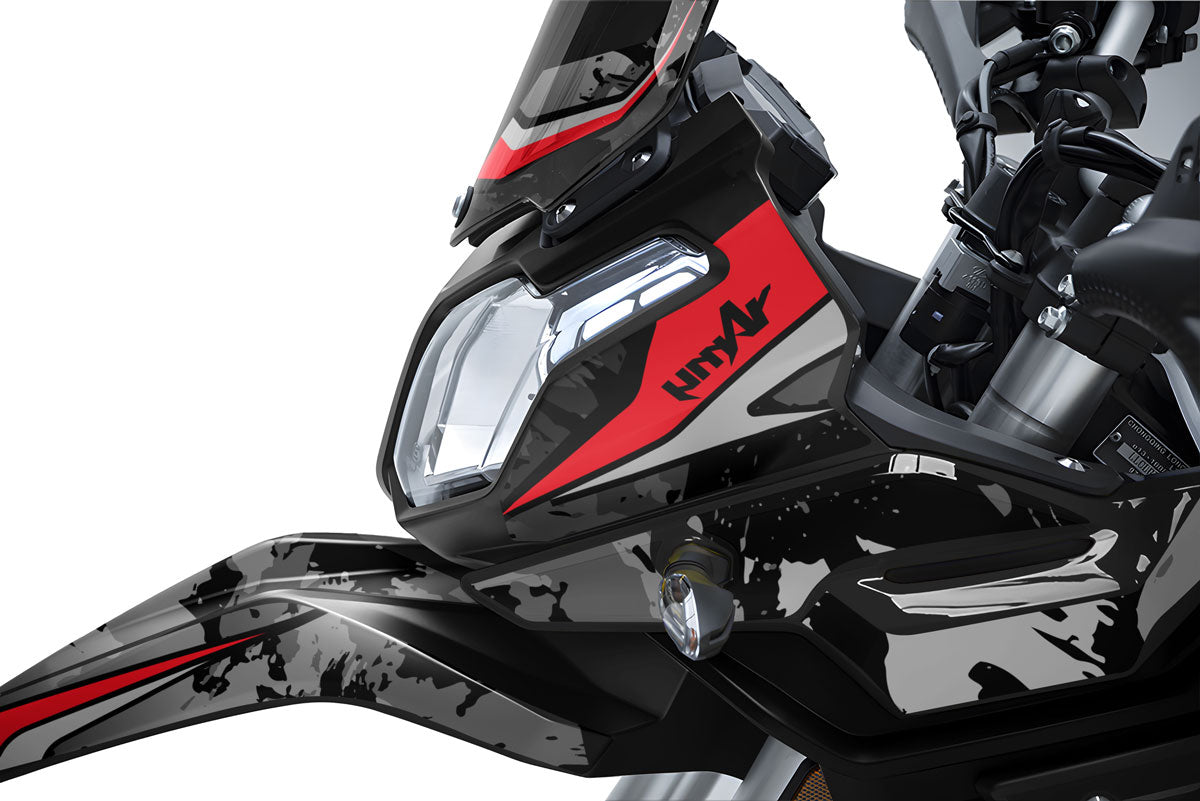


Graphics kit Rieju Aventura 500 2023-2026 Nestah


Graphics kit Rieju Aventura 500 2023-2026 Miami


Graphics kit Rieju Aventura 500 2023-2026 Geometry


Graphics kit Rieju Aventura 500 2023-2026 Executor
The ultimate reference for 50cc Graphics kit in France for Supermotard and Enduro
Radically transform the look of your geared bike with our exclusive designs, created by enthusiasts to dominate the road and dirt tracks. Our catalog covers the entire 50cc geared bike market, ensuring high-definition print quality and lasting protection for your fairings.
Wide compatibility: Derbi, Rieju, Beta and other geared bikes
Look no further for the ideal template - we have it. Our graphic kits are custom-developed to perfectly fit the plastics of both the most popular and more specific models:
- Derbi Senda: X-Treme, X-Race, DRD Racing and Pro (with perimeter or tubular frames).
- Rieju: MRT, MRT Pro and Trophy.
- Beta RR 50: Track and Enduro (all years).
- Other must-have brands: Yamaha DT 50, Sherco, Aprilia SX/RX, Gilera SMT/RCR and Fantic.
Premium quality and 450-micron thickness
An ArmySCTV 50cc motorcycle graphics kit offers formidable protection. Developed to meet motocross demands, our 450-micron-thick stickers form an impenetrable barrier against scratches, boot scuffs, gravel impacts and UV rays. Thanks to our next-generation adhesive featuring honeycomb technology (anti-bubble), installation is smooth and stress-free: air escapes with a simple press of your finger.
Total customization and high-end finishes
Stand out at gatherings with a 100% unique bike. All our kits can be configured according to your preferences. Choose your style from our Matte or Glossy finishes, or opt for our premium variations: Holographic, Glitter and Chrome. You can also take advantage of the semi-custom option to add your name, race number and favorite sponsors to the design.
The complete pack includes everything needed for a full wrap: radiator scoops, front and rear fenders, swingarm, fork guards and headlight plate.
Select your motorcycle's brand below to start transforming your two-wheeler.

Fantic Graphics kit
Extra-Bright Holographic
Discover our premium collection of printing materials with Premium Holographic and an Extra-gloss finish. Elevate the style of your 50cc with high-end graphics kits that capture the light and turn every gathering into a visual spectacle.

Rieju MRT graphics kit
Premium and extra-shiny chrome
Premium chrome printing material with a glossy Ultracurve high-gloss finish. Excellence in decals.

Peugeot scooter Graphics kit
glossy white vinyl and Prismatic Spectrum finish
White printing material. Premium vinyl with extra-strong adhesive and a glossy finish / protection.
FAQ: Everything you need to know about our complete Graphics-kit collection
Do you offer graphics kits compatible with all motorcycle, electric bike, and scooter brands?
Our catalog covers a very wide range of two-wheelers, from 50cc and 125cc motorcycles to urban and electric vehicles. Whether you ride a geared bike or a larger-displacement motorcycle (Aprilia, Beta, Derbi, Fantic, Gilera, HM, Rieju, Voge), a new-generation electric model (Talaria, Sur-Ron), or a scooter (Kymco, MBK, Peugeot, Piaggio), we have the exact templates for your plastics.
As fairings regularly change from one generation to the next, it is essential to select your vehicle's brand, model, and exact year when ordering. Our templates are custom-designed to ensure millimeter-precise cutting that perfectly follows the lines of your machine.
What is the quality and thickness of the vinyl used for your graphics kits?
The demands of daily or sporty riding require flawless materials. Our graphic kits are made from premium patented vinyls, specifically developed for the world of two-wheelers.
- Maximum protection (300 to 400 microns): This substantial thickness acts as a true shield for your plastics against scratches, rubbing, gravel impacts, and everyday wear.
- High-strength adhesive: Designed to withstand extreme weather conditions (rain, temperature fluctuations) as well as frequent pressure-washer cleaning.
- UV-resistant lamination: A transparent protective film is applied over the print to prevent the colors from fading in the sun, ensuring lasting vibrancy season after season.
How can you customize a design from your collection to make it unique?
Each graphics kit in our collection is a starting point that you can customize to your heart’s content to create a two-wheeler that’s 100% you. From the product page, you can:
- Add your identifiers: Easily add a race number, your name, nickname, or even your team/crew logo.
- Change the color scheme: Adjust the design’s colors so they perfectly match your motorcycle or scooter accessories (rims, grips, seat).
- Choose special finishes: Elevate your kit with premium visual effects. Replace the standard gloss with a sleek, aggressive matte finish, mirror-like chrome, holographic effects with rainbow reflections, or fluorescent accents for maximum visual impact.
Is installing a graphics kit difficult, and how can you prevent bubbles from forming?
Thanks to advances in adhesive technology, applying a graphics kit is now accessible to everyone, even without prior experience. Our vinyl wraps feature a micro-channelled adhesive that allows air to escape easily under pressure. Here are our expert recommendations for a flawless result:
- Thorough degreasing: This is the most crucial step. Clean your plastics (new or used) with brake cleaner or rubbing alcohol to remove all traces of grease, silicone, or mould-release wax.
- Heat-forming: Use a heat gun (or a hair dryer). Gently heating the vinyl makes it more flexible and allows it to conform to the complex curves, angles, and edges of your fairings.
- Apply from the centre: First apply the centre of the sticker, then push the air towards the edges using a felt squeegee or your thumb. The vinyl can be repositioned during the first few minutes to ensure perfect alignment.