


Customizable Motorcycle, Scooter & Quad Graphics-kit
Create a customizable, made-to-measure decal kit for your motorcycle, scooter or quad and give your bike, scooter or quad a unique style. Choose your graphic theme, pick your colors and customize your design to create decals that truly reflect your personality. Whether you're into motocross, supermoto, 50cc scooters, sport bikes or quads, design a custom decal kit to transform the look of your ride.
Our customizable decal kits are made for motorcycle, scooter and quad enthusiasts who want to stand out with an original design. Go for a racing, competition, tuning or freestyle style and create made-to-measure graphics to suit your taste. Customize your vehicle's look with unique graphics and a style unlike any other.

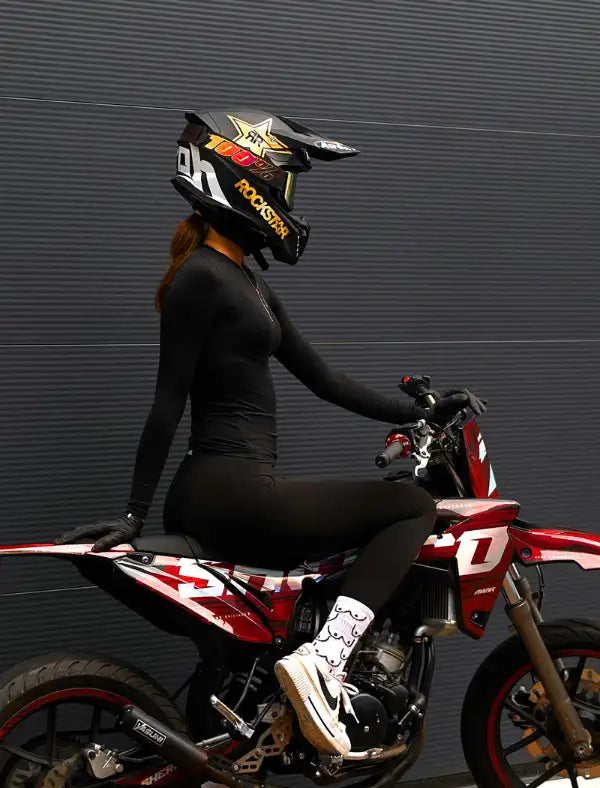
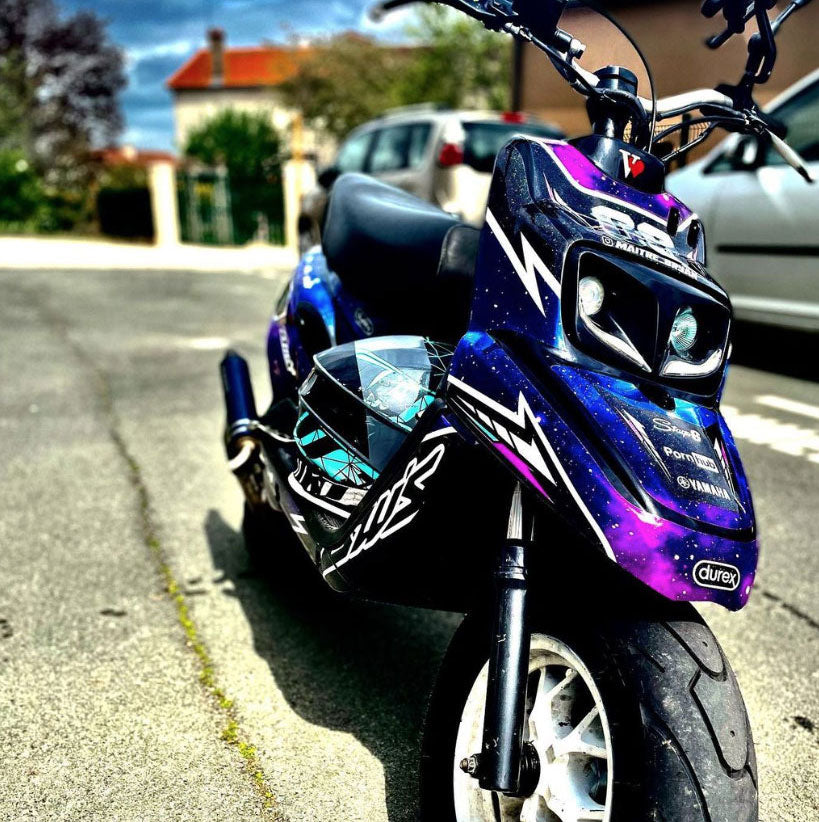


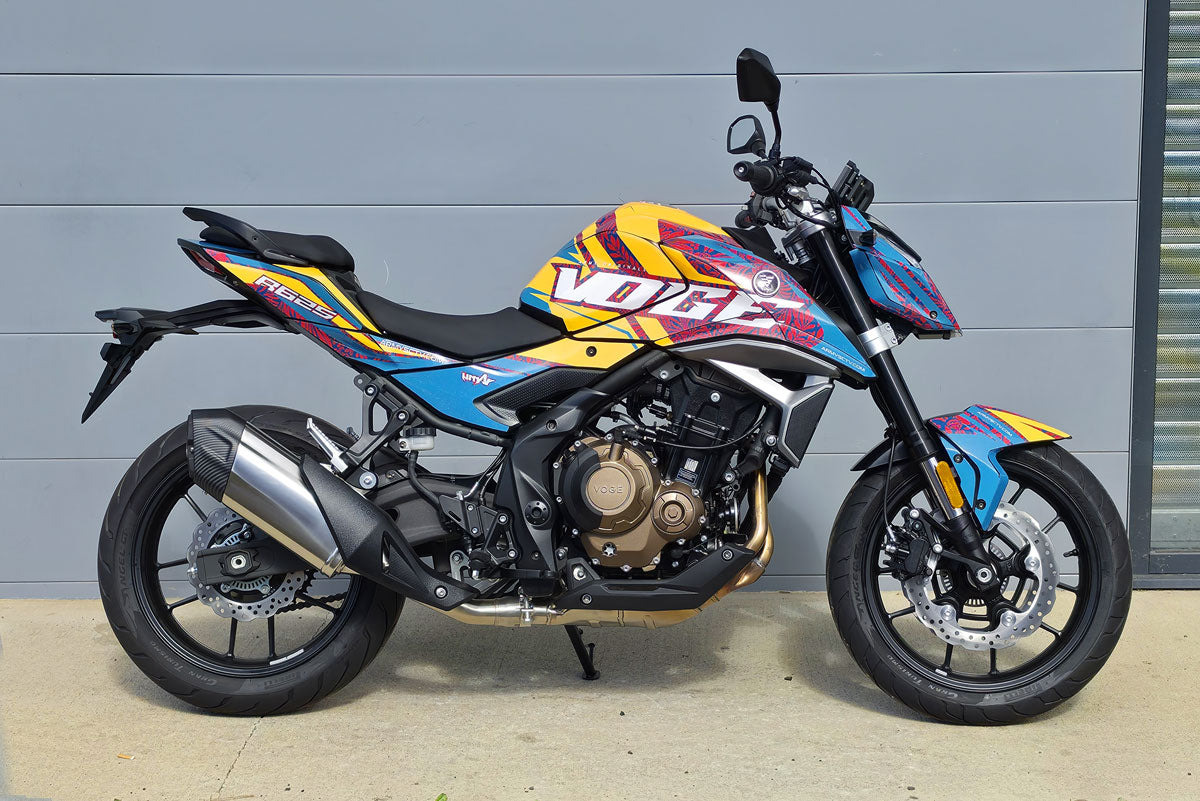


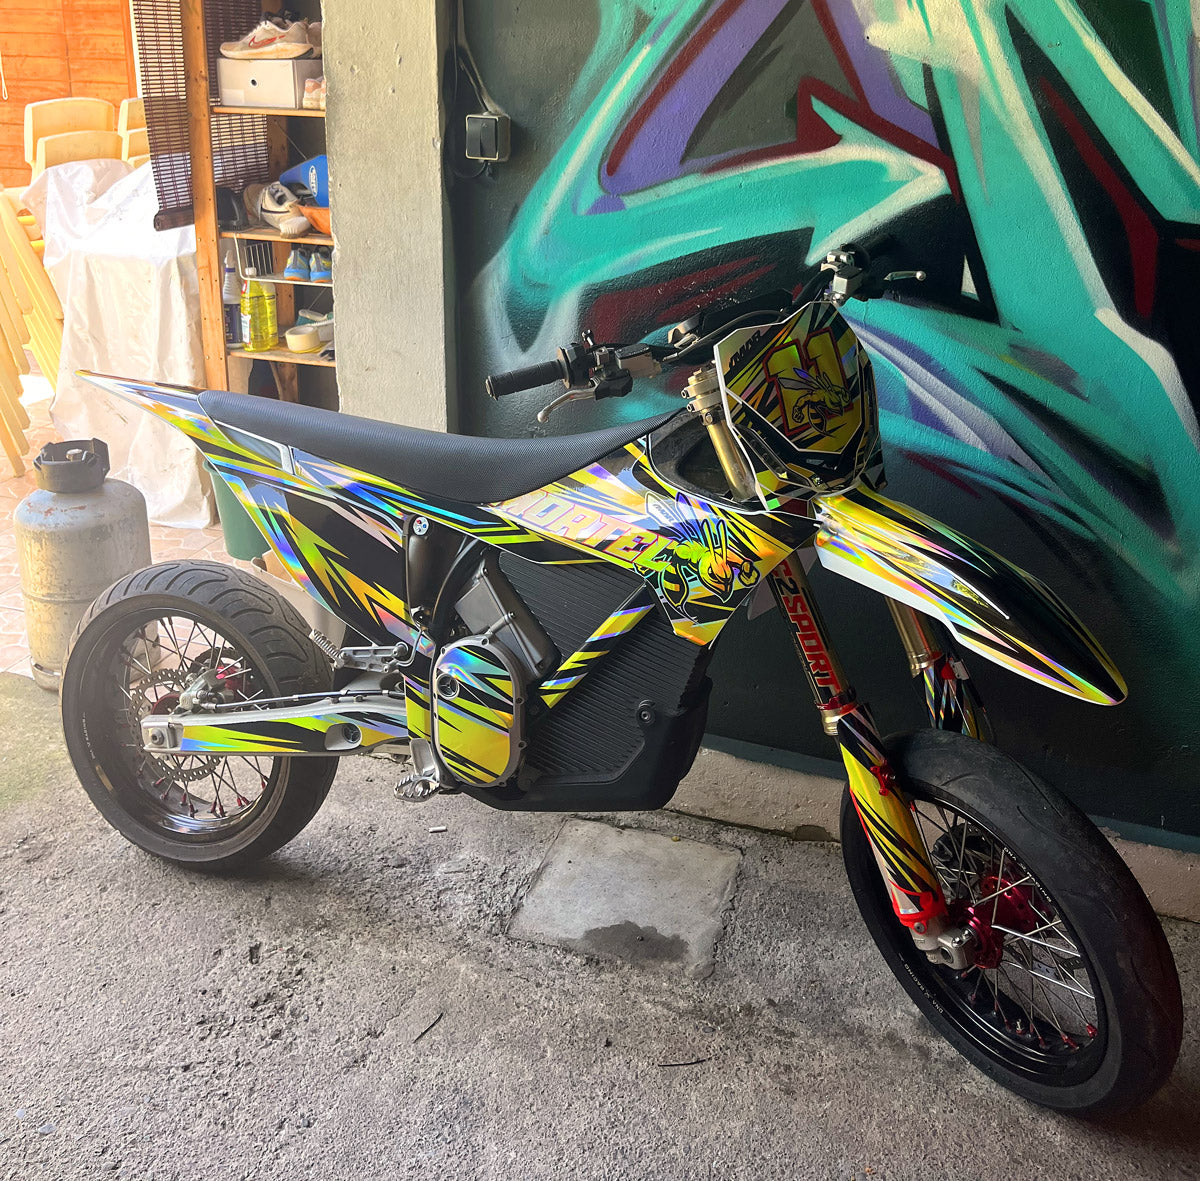


Graphics kit Fantic
Extra-Bright Holographic
Discover our premium collection of print materials, featuring Premium Holographic and Extra-Gloss finishes. Take your 50cc style to the next level with high-end graphic kits that catch the light and turn every meetup into a visual spectacle.

Graphics kit Rieju MRT
Premium, extra-glossy chrome
Premium chrome print material with an ultra-curve, high-gloss finish. L'excellence in decals.

Graphics kit Peugeot scooter
glossy white vinyl and Spectrum Prismatic finish
White print material. Premium vinyl with extra-strong adhesive and a glossy finish/protective coating.
FAQ: Everything you need to know about our global collection of Graphics-kit
Do you offer graphics kits compatible with all motorcycle, electric bike, and scooter brands?
Our catalog covers a wide range of two-wheelers, from 50cc and 125cc motorcycles to urban and electric vehicles. Whether you ride a geared 50cc or a larger-displacement motorcycle (Aprilia, Beta, Derbi, Fantic, Gilera, HM, Rieju, Voge), a new-generation electric bike (Talaria, Sur-Ron), or a scooter (Kymco, MBK, Peugeot, Piaggio), we have precise templates for your plastics.
Since bodywork regularly changes from one generation to the next, it’s essential to select the make, model, and exact year of your vehicle when placing your order. Our templates are custom-made to ensure a millimeter-precise fit that follows your bike’s lines perfectly.
What is the quality and thickness of the vinyl used for your graphic kits?
L'exacting demands of everyday or sport riding call for flawless materials. Our graphic kits are made from patented premium vinyls, specifically developed for the two-wheel world.
- Maximum protection (300 to 400 microns): This substantial thickness acts as a real shield for your plastics against scratches, scuffs, gravel impacts and everyday wear.
- Extra-strong adhesive: Designed to withstand extreme weather conditions (rain, temperature fluctuations) and frequent pressure-washer cleaning.
- UV-resistant lamination: A transparent protective film is applied over the print to prevent the colors from fading in the sun, ensuring lasting vibrancy season after season.
How can you customize a design from your collection to make it unique?
Every graphics kit in our collection is a starting point you can customize to suit your style and create a two-wheeler that’s 100% you. From the product page, you can:
- Add your personal details: Easily add a race number, your name, your nickname, or even your team/crew logo.
- Change the color scheme: Adjust the design’s colors to perfectly match your motorcycle or scooter accessories (rims, grips, seat).
- Choose special finishes: Take your kit to the next level with premium visual effects. Swap the standard gloss for a sleek, aggressive matte finish, mirror-like chrome, holographic rainbow reflections, or fluorescent accents for maximum visual impact.
Is applying a graphic kit difficult, and how can you avoid air bubbles forming?
Thanks to advances in our adhesive technology, applying a graphics kit is now easy for everyone, even without prior experience. Our vinyl features a micro-channel adhesive that lets air escape easily under pressure. Here are our expert recommendations for a flawless result:
- Thorough degreasing: This is the most crucial step. Clean your plastics (new or old) with brake cleaner or rubbing alcohol to remove all traces of grease, silicone, or release wax.
- Heat forming: Use a heat gun (or a hair dryer). Gently heating the vinyl makes it more flexible, allowing it to conform to the complex curves, angles, and edges of your fairings.
- Apply from the center: First apply the center of the sticker, then push the air outward using a felt squeegee or your thumb. The vinyl can be repositioned during the first few minutes to get it perfectly aligned.