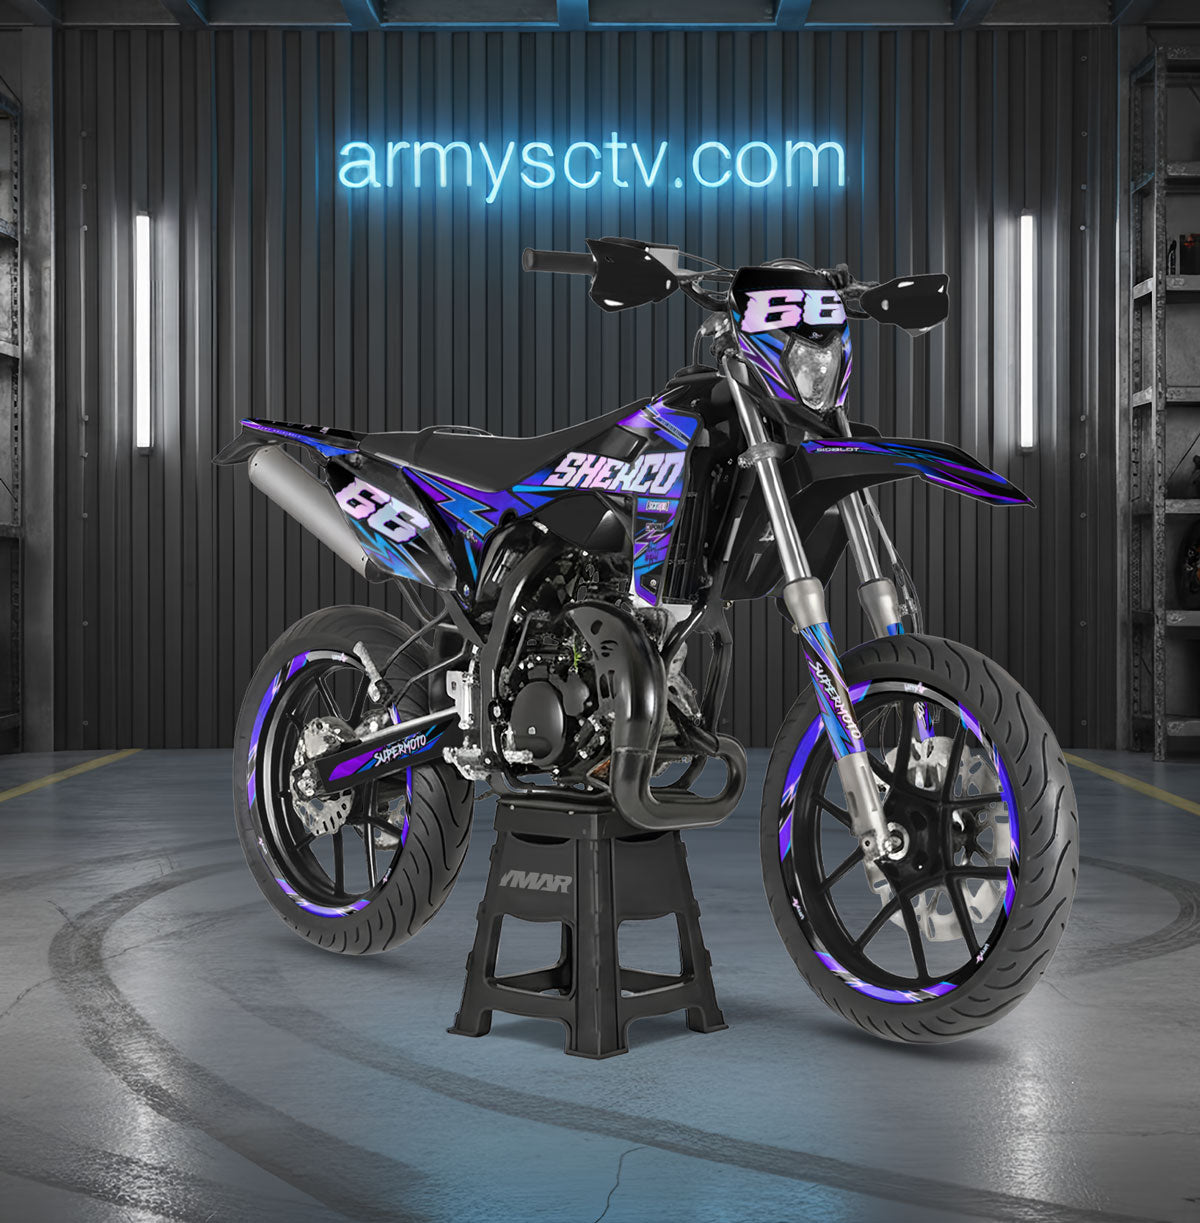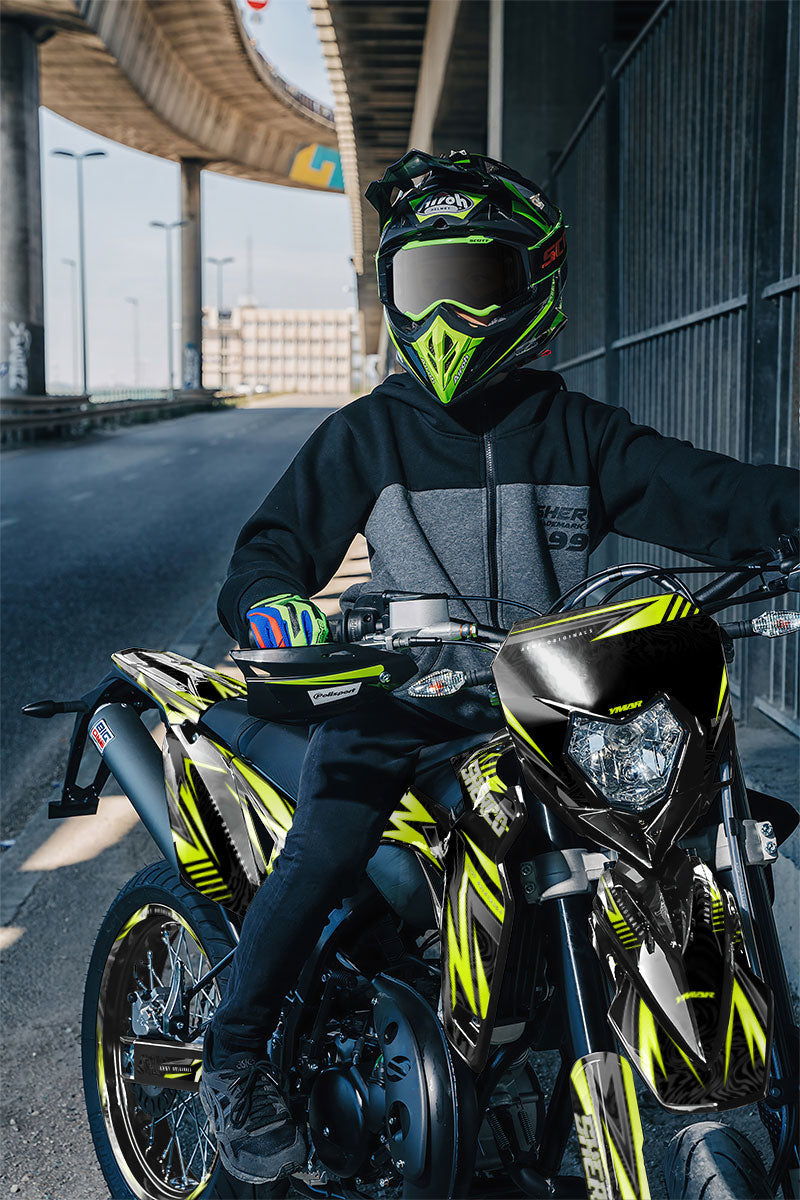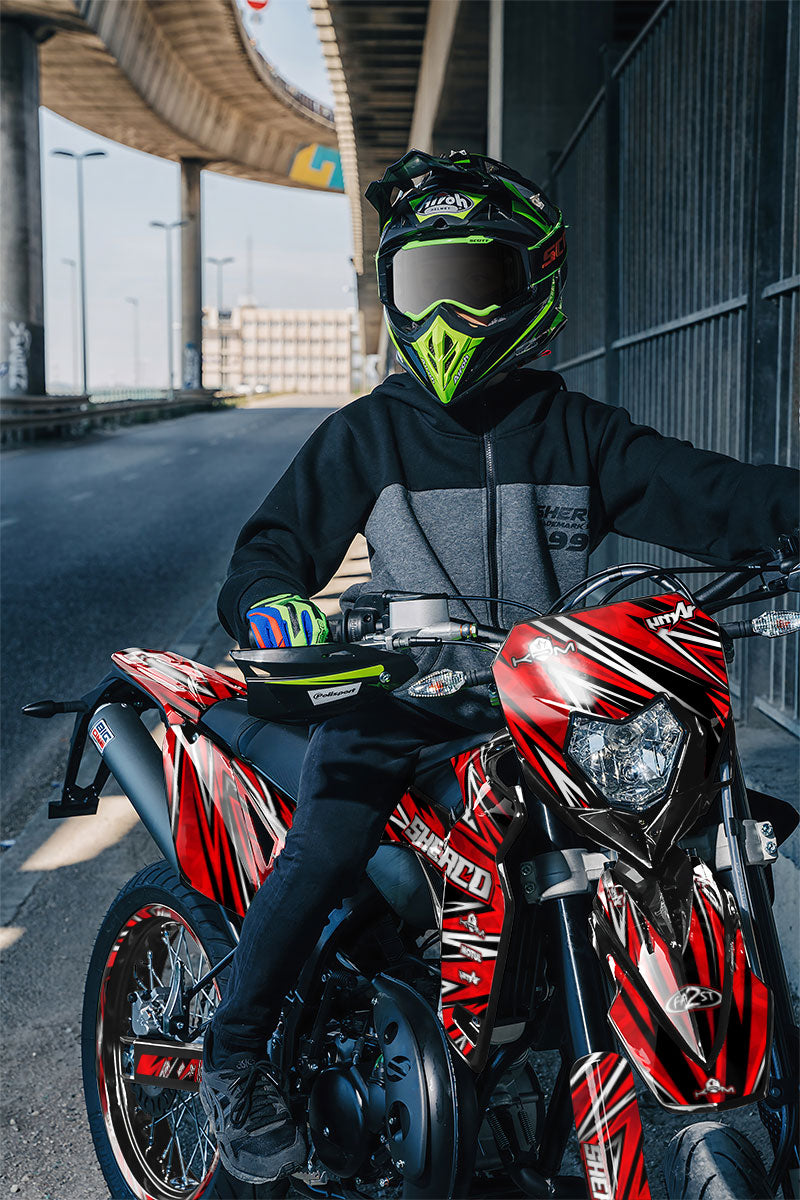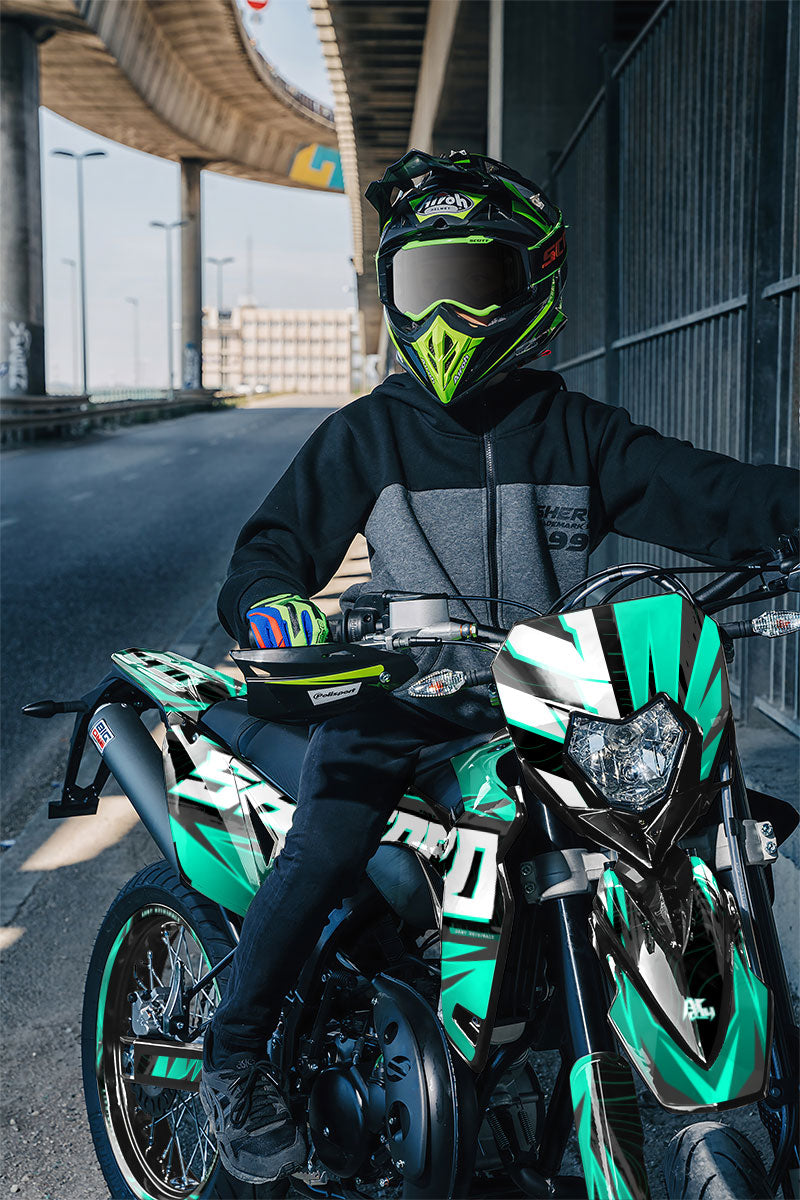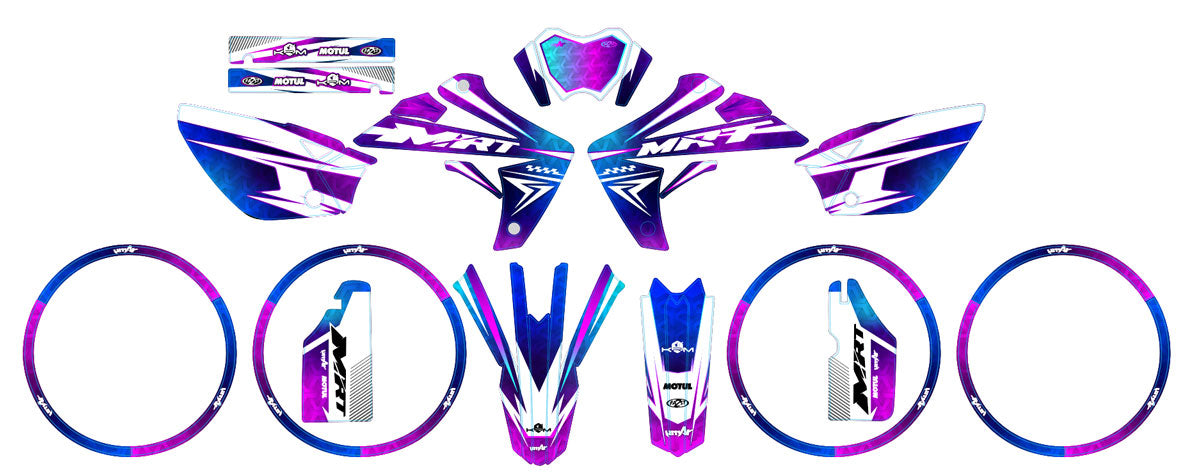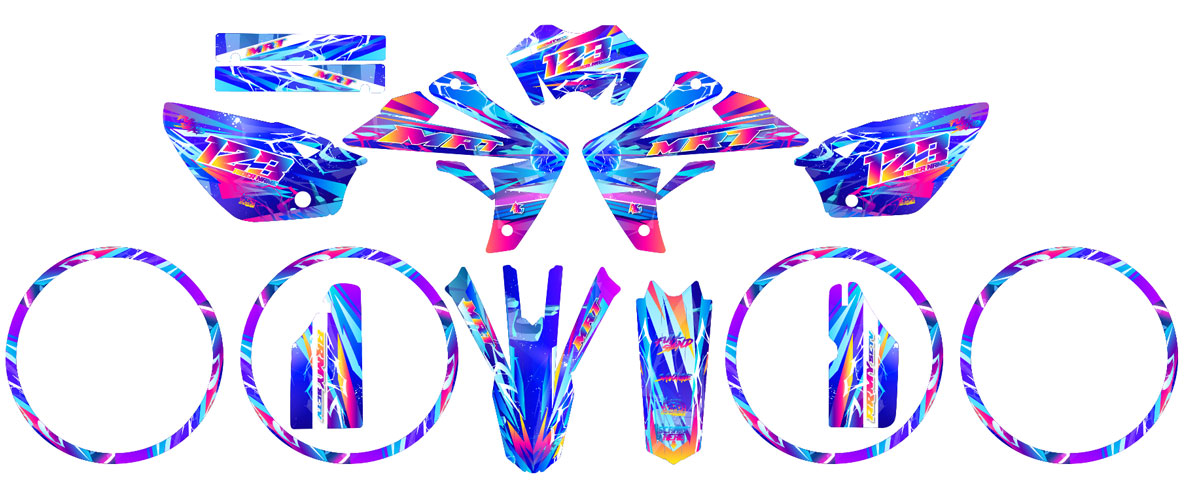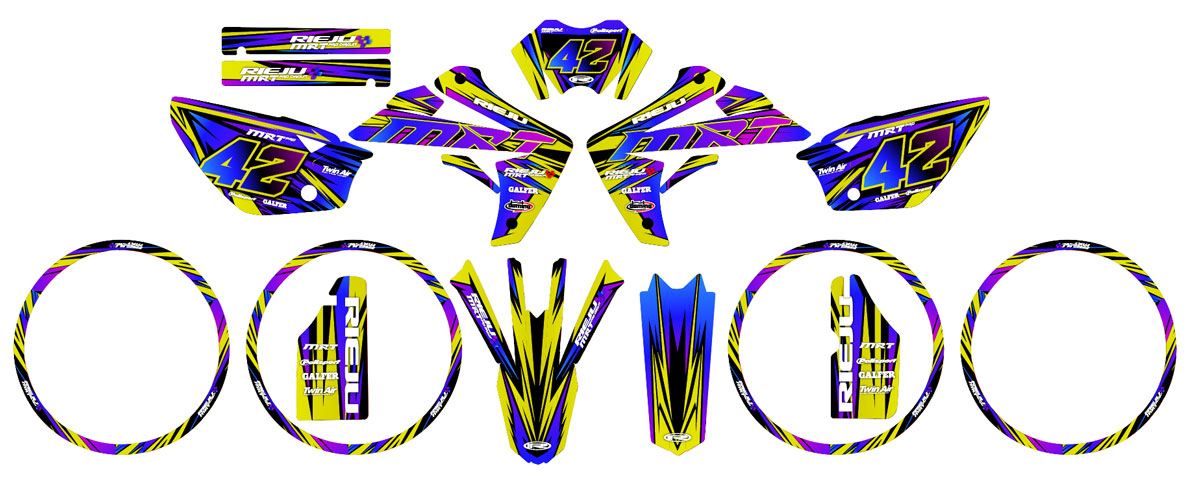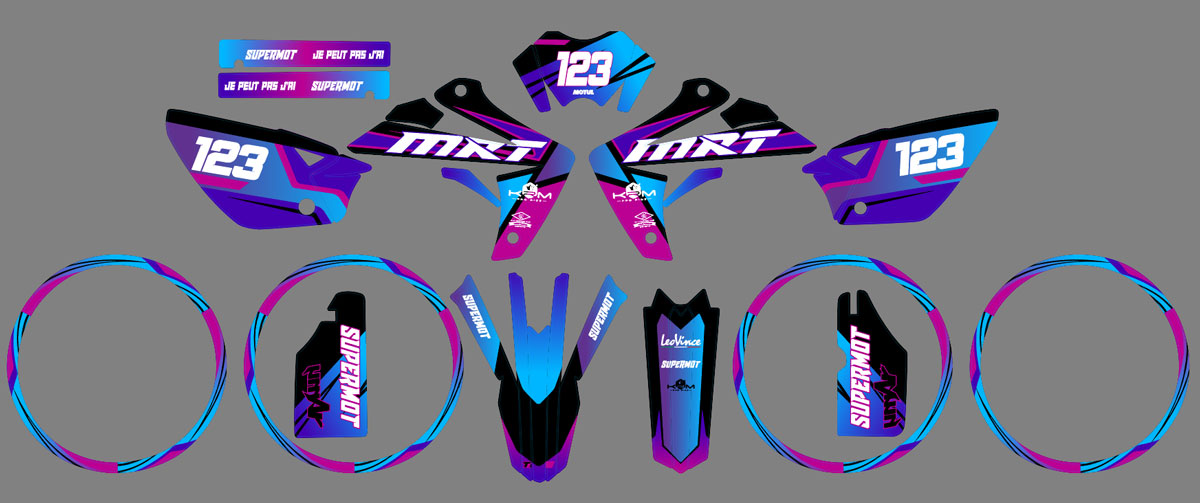
50cc Graphics kit 100% custom CPI SMX 2005-2015
Pose facile, sans bulles
Maquette 24/48h
Modifications illimitées
Vinyle premium anti-UV
Description
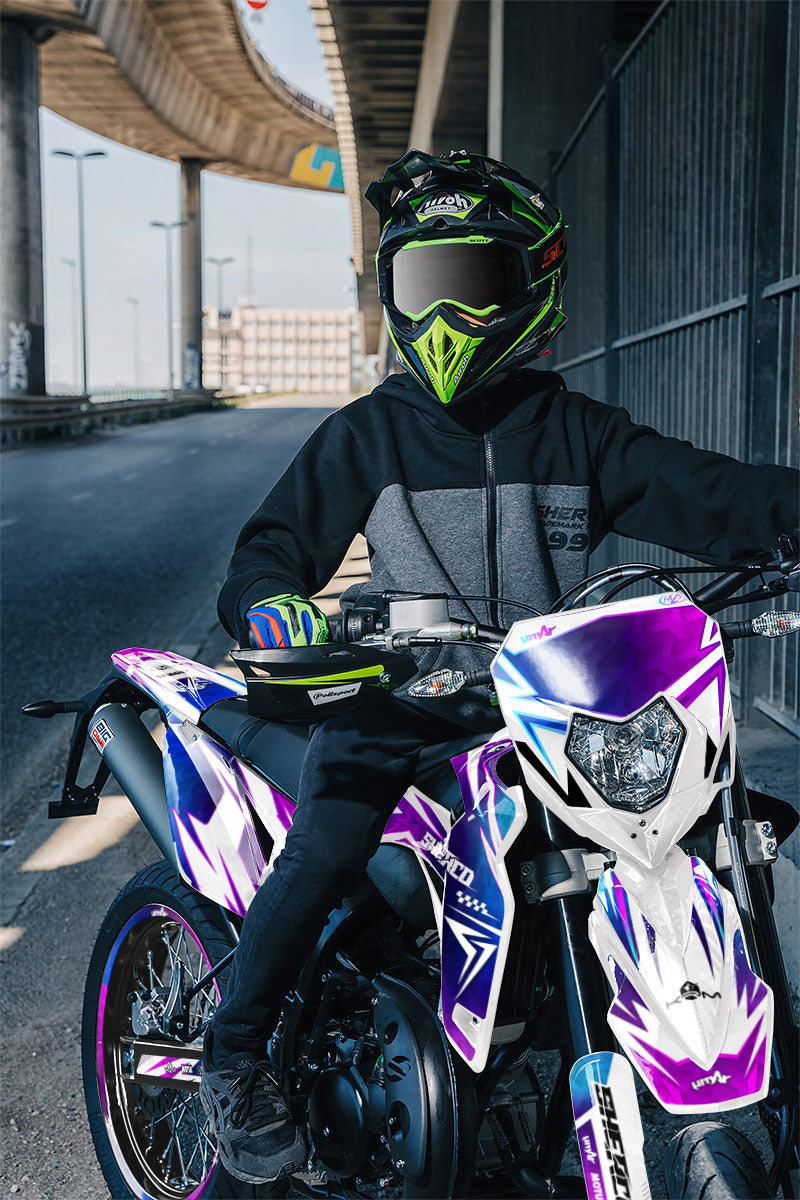
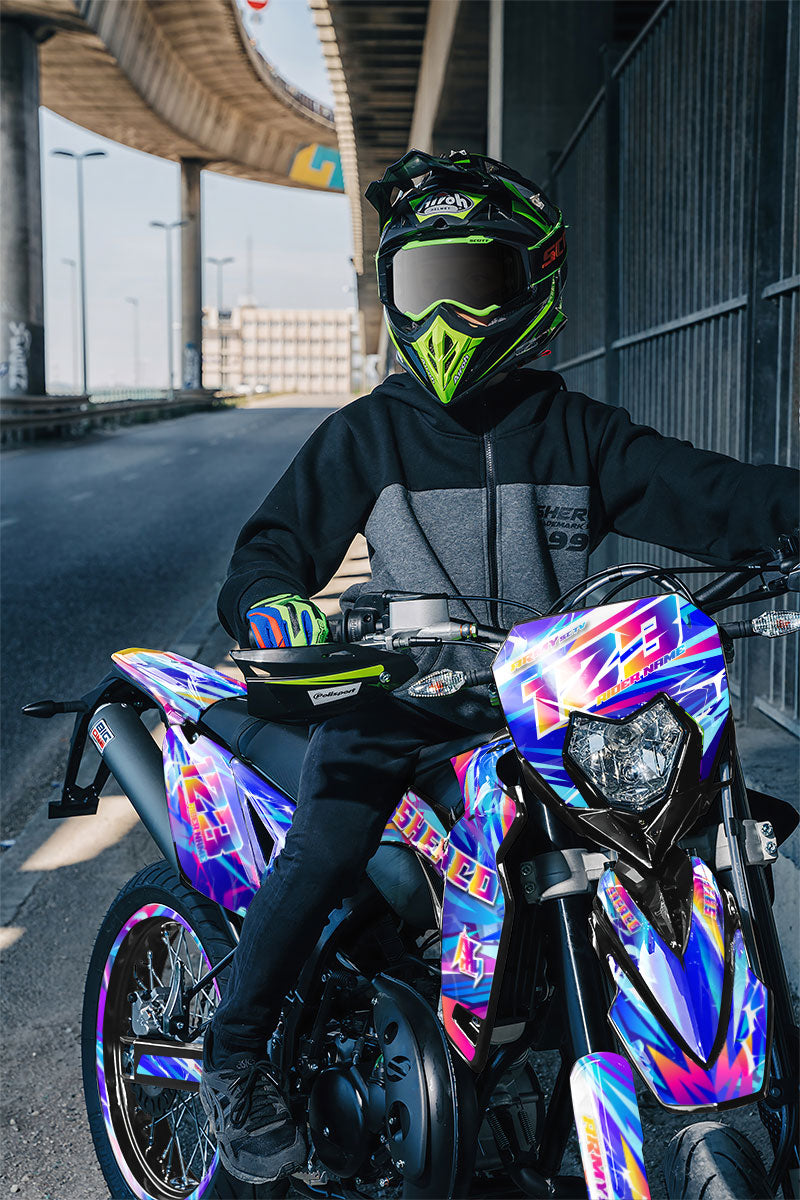
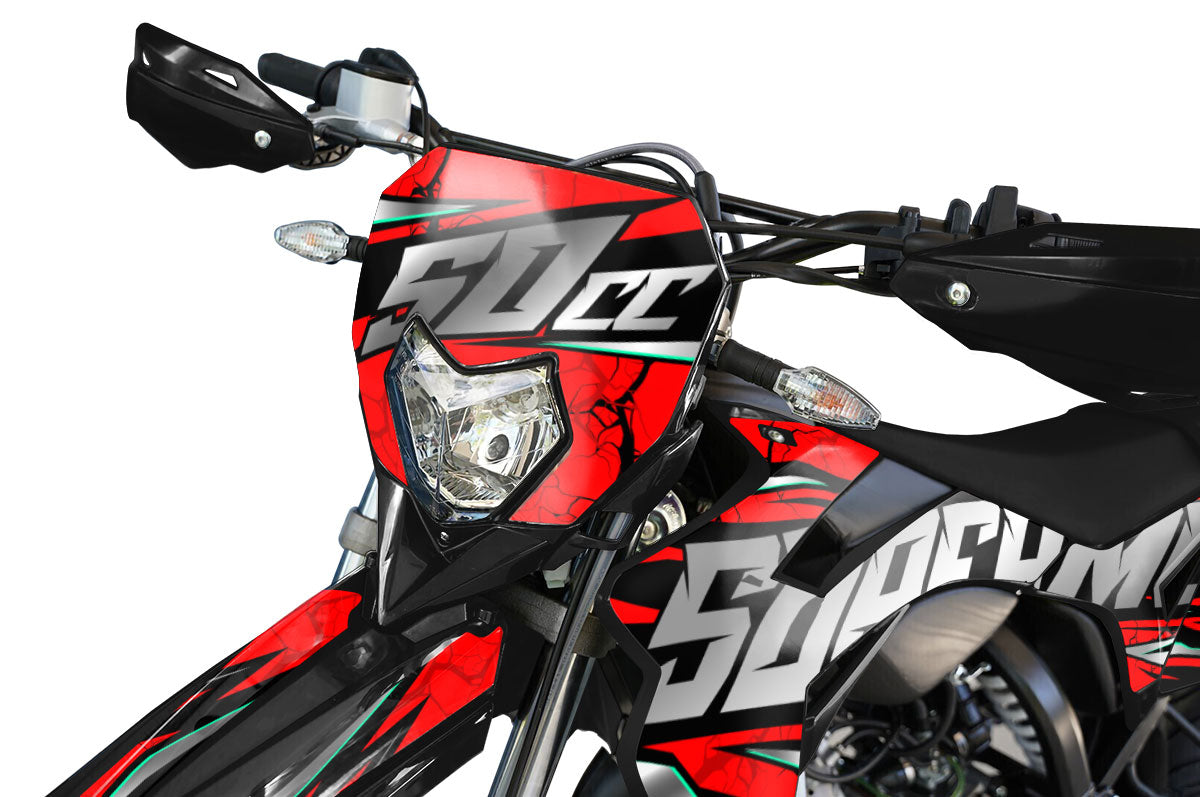
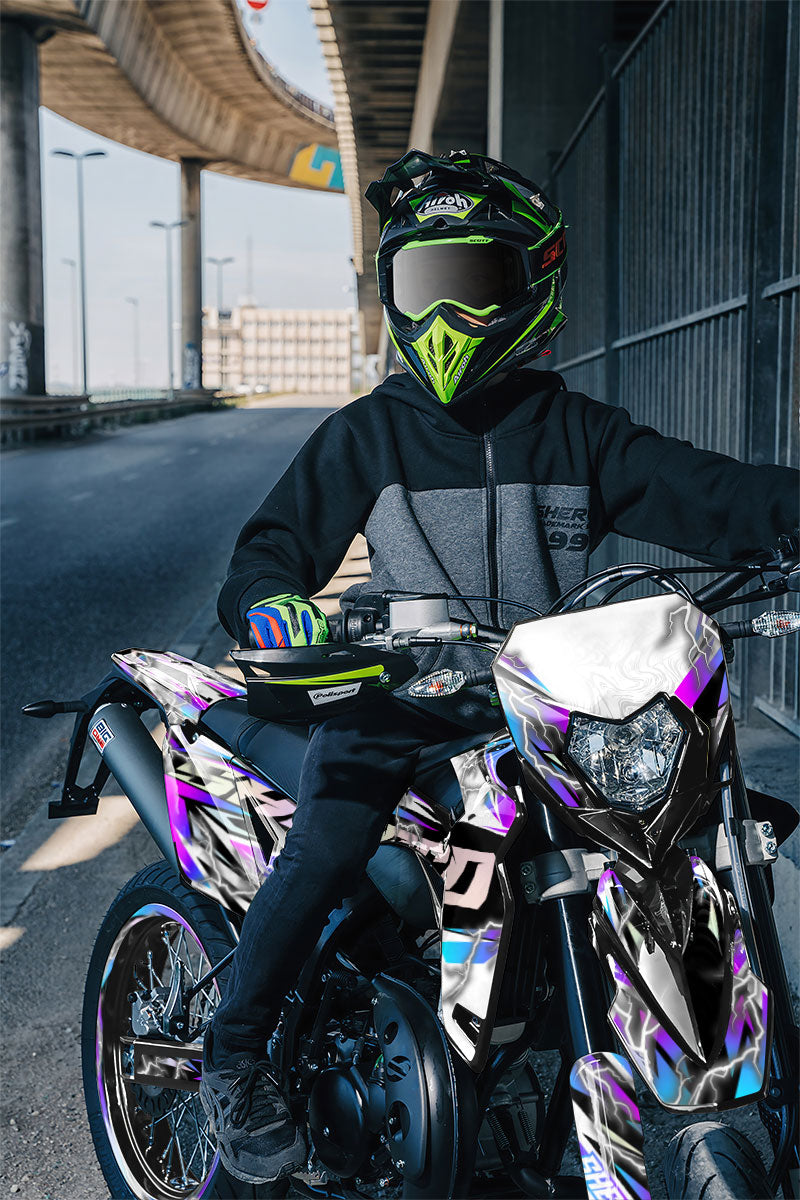
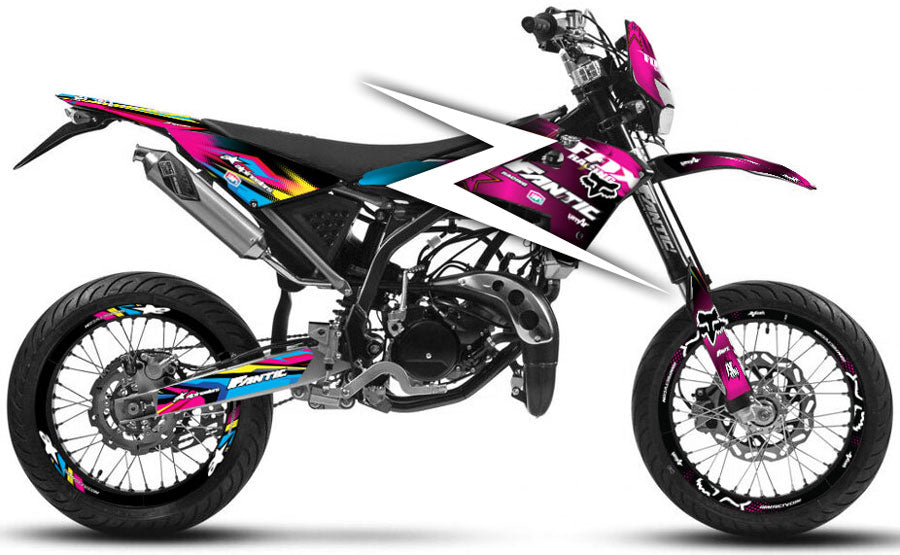
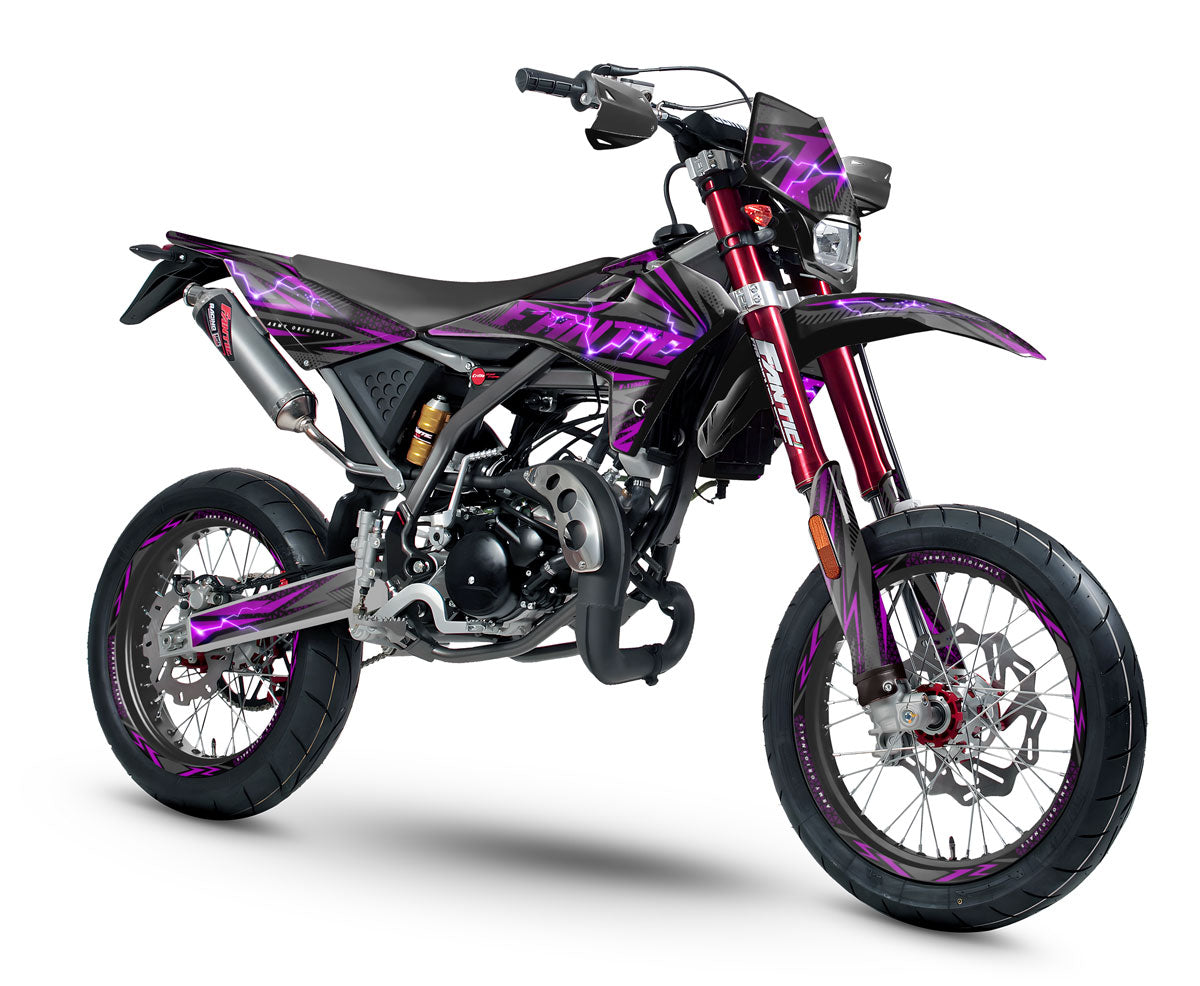
The Graphic decals for CPI SMX 50cc is the perfect solution to create a bike that reflects your image. Design a custom look that showcases your unique style and enjoy premium materials for optimal durability and protection of your fairings.
✅ Main features:
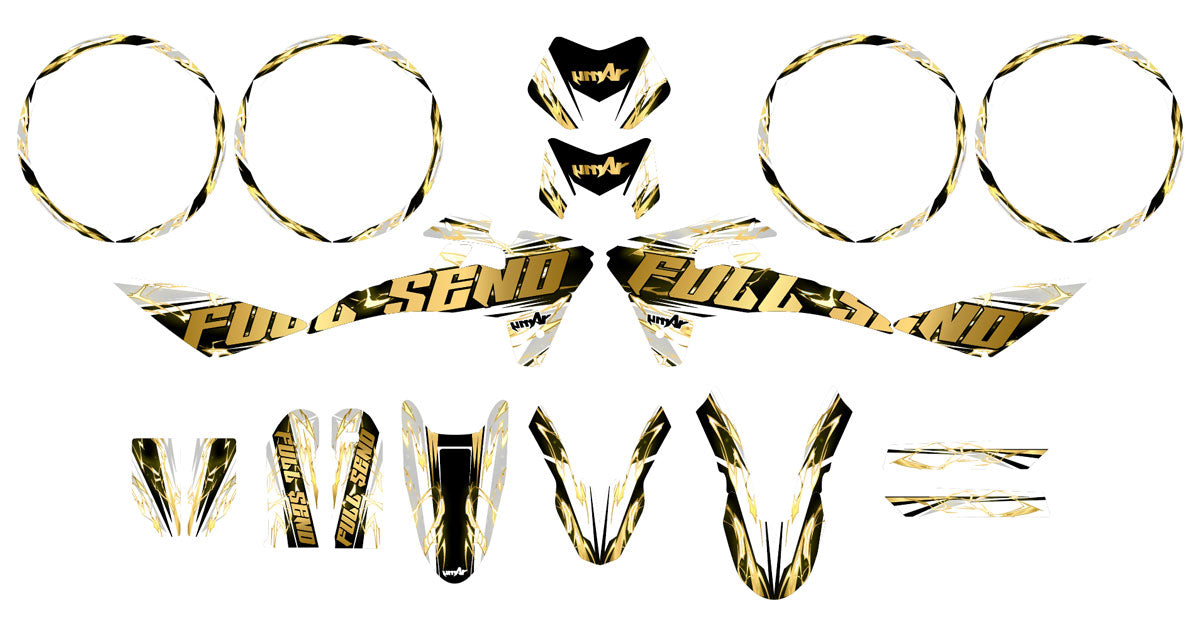
- 100% personalized: Create a tailor-made graphic kit in collaboration with our graphic designers, perfectly suited to your CPI SMX 50cc.
- Premium Materials: Made with scratch, UV and weather resistant stickers, ensuring exceptional quality and durability.
- Easy installation: Featuring bubble-free FLO technology and extra strong glue, guaranteeing quick, precise and flawless installation.
- Finishing options: Available in glossy, holographic, chrome or matte finishes, with a glitter option for an even more personalized and unique look.
- Reinforced protection: Effectively protects your fairings against scratches, minor impacts and daily wear and tear, while enhancing the style of your motorcycle.
🎨 Graphic decals 100% custom for CPI SMX 50cc : Transform your bike into a unique work of art with premium stickers and a complete customization service.
24/7 assistance by email
Our team is available to assist you before, during, and after your order.
We answer all your questions: customization, compatibility, installation, order tracking, or after-sales service.
📨 Contact email: contact@armysctv.com
⏱ Average response time: within 24 hours (excluding Sundays and public holidays)
🤝 Free advice: choice of finishes, colors, design, maintenance…
If technical assistance or adjustments are needed, we remain available until you have fully received your decoration kit.
We are also reachable via Instagram for any quick questions.
Fast & tracked delivery
🚚 Relay point or home delivery
📦 Production: 3–5 business days
📮 Delivery: 2–5 business days (4-6 days Europe)
🎁 Free delivery from €150 (France) and €200 (rest of the world)
🔎 Email tracking + support in case of issues
Satisfied or refunded
🔄 Return within 14 days
🛠 Free reshipment in case of error
🤝 Support after purchase
Our deadlines
We work custom-made to ensure a perfect finish for your motorcycle.
🖌 Mockup creation
24 hours to 4 business days depending on the complexity of the design.
✔️ Client approval
You receive the mockup by email.
Any requested changes may slightly adjust the deadline.
🖨 Production & printing
Once approved, manufacturing takes on average 3 to 5 business days.
📦 Shipping
Tracked delivery within 3 to 7 business days, depending on the destination.
⚡ Express Mockup Option
24-hour mockup option available at purchase
Technical information
🛡 Premium anti-UV vinyl
🎨 8-color HD printing
🔥 Protective lamination
✂️ Custom cutting
📏 Thickness 400–600 microns
👍 Easy bubble-free application
These technical features guarantee a durable decoration kit, easy to apply and designed to withstand both on-road and off-road conditions.
Our premium finishing materials


Before / After
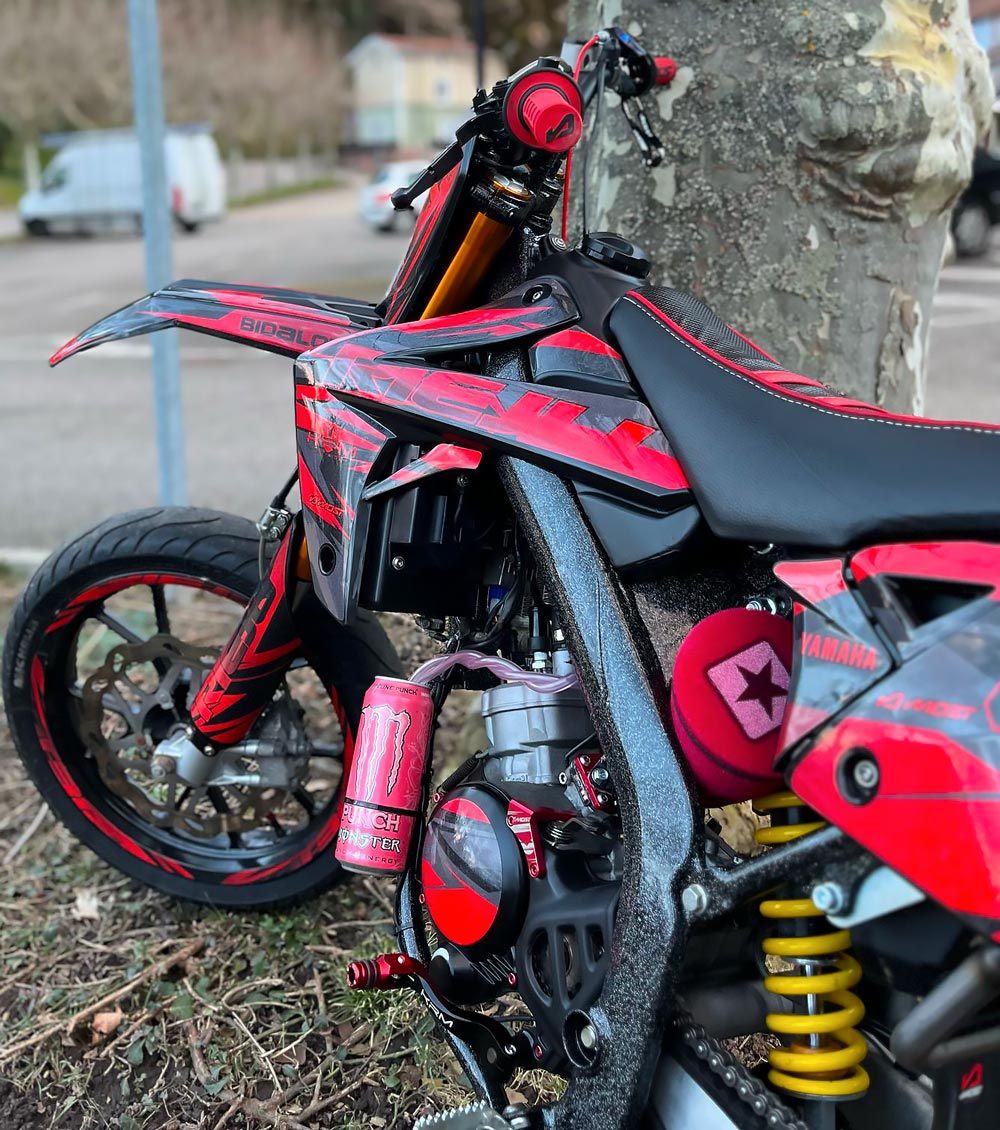
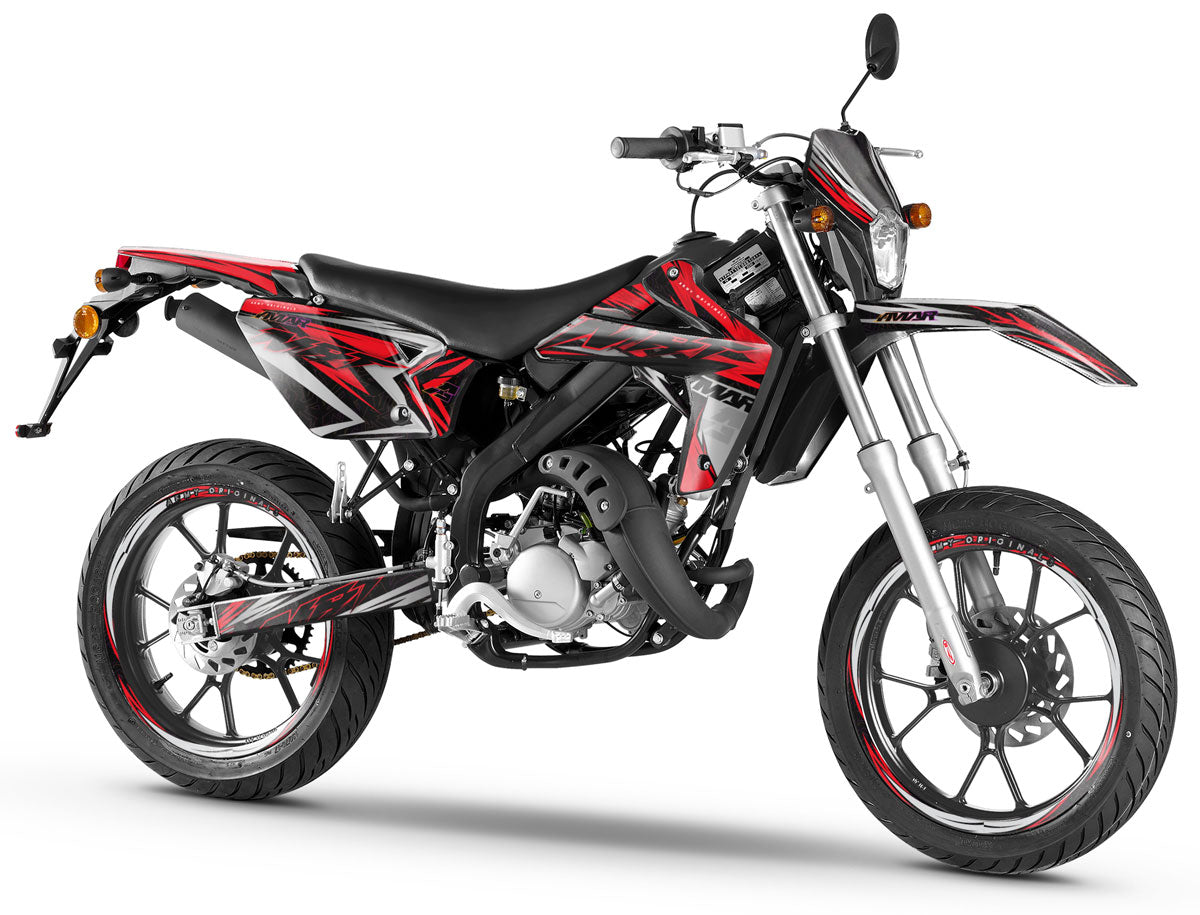
The result of a personalized 50cc decal kit
Discover the difference with a custom or semi-custom 50cc decal kit: the motorcycle transforms from an original look to a premium, unique, and protected style. Our bubble-free vinyl, resistant to UV and scratches, perfectly fits the fairings for a clean, durable, and professional finish.
50cc Graphics kit semi-customized: ready design, style your way
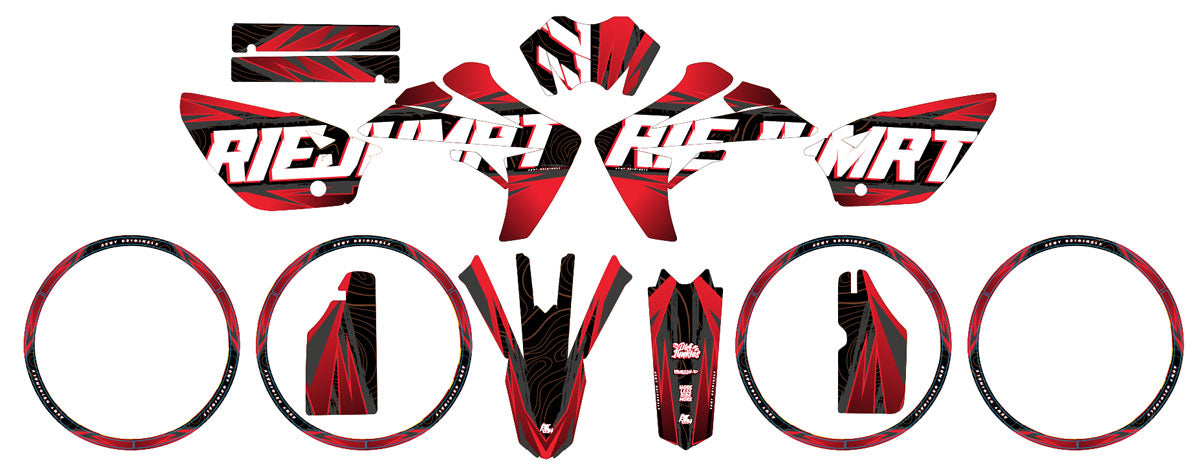
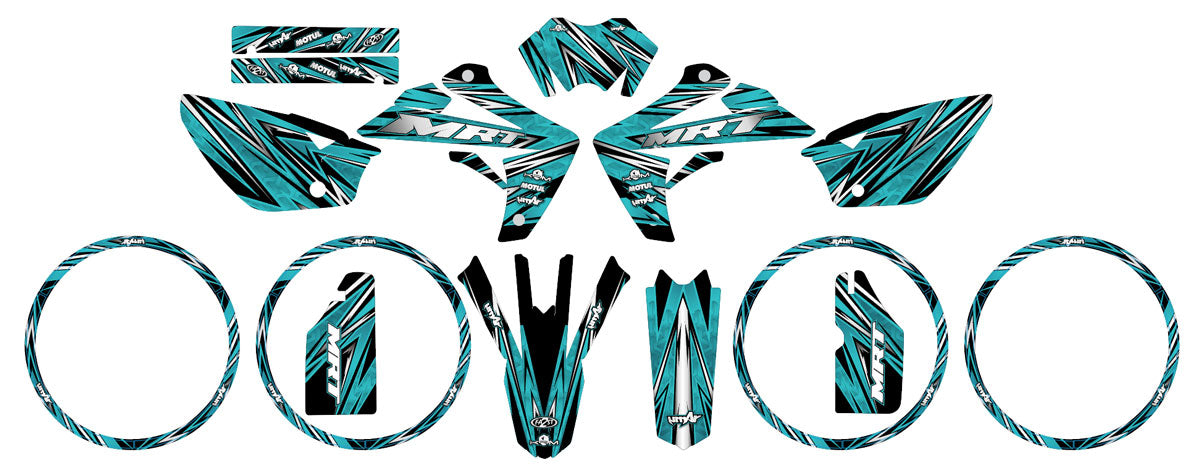
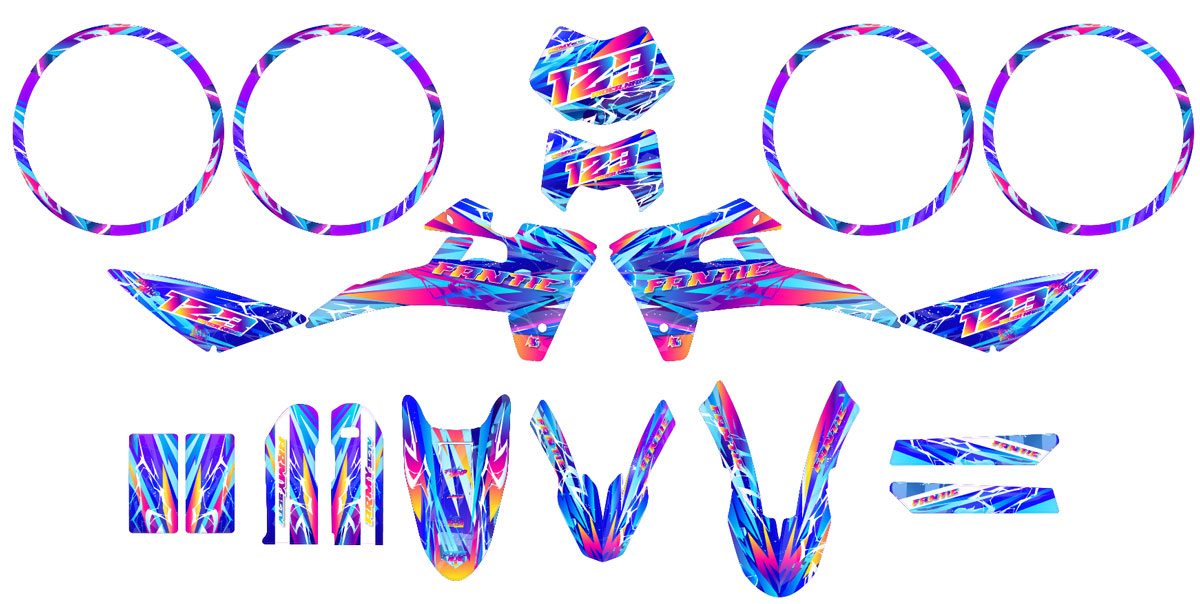
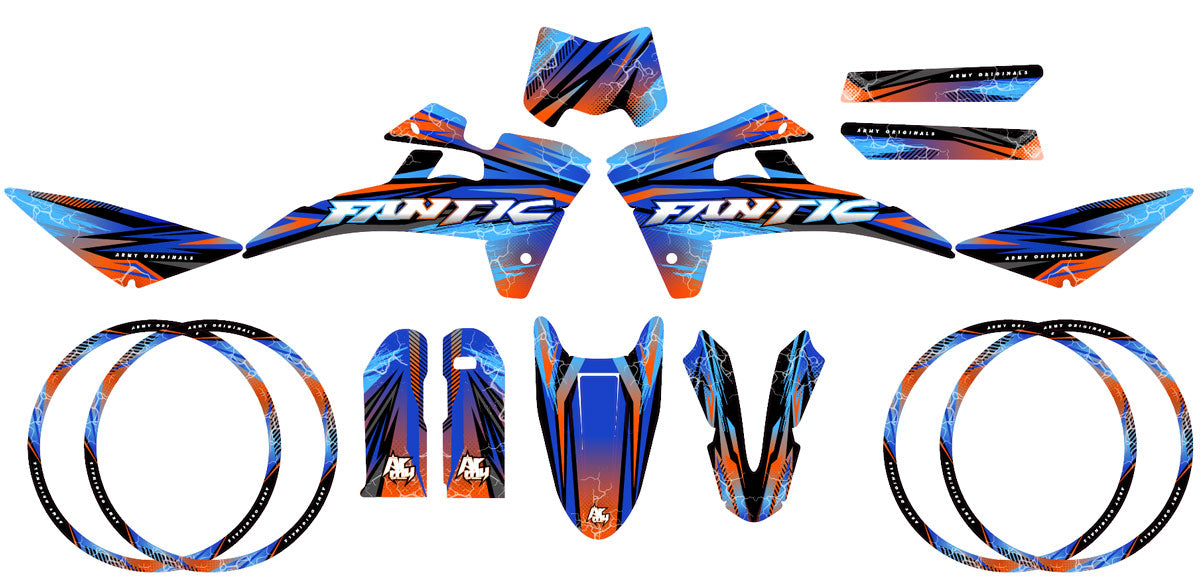
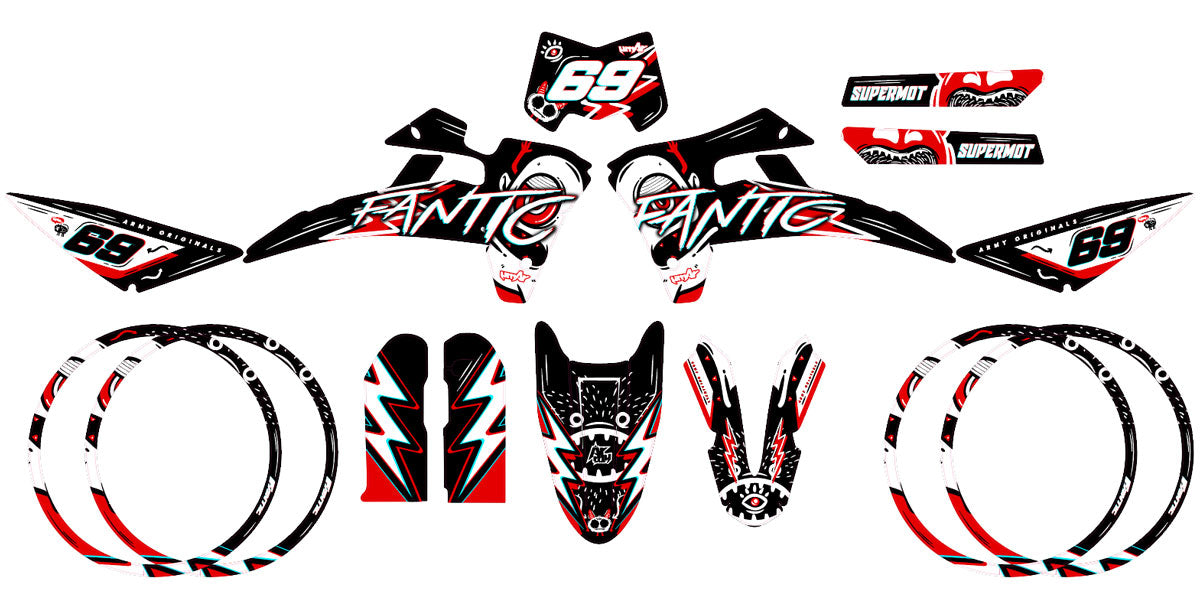
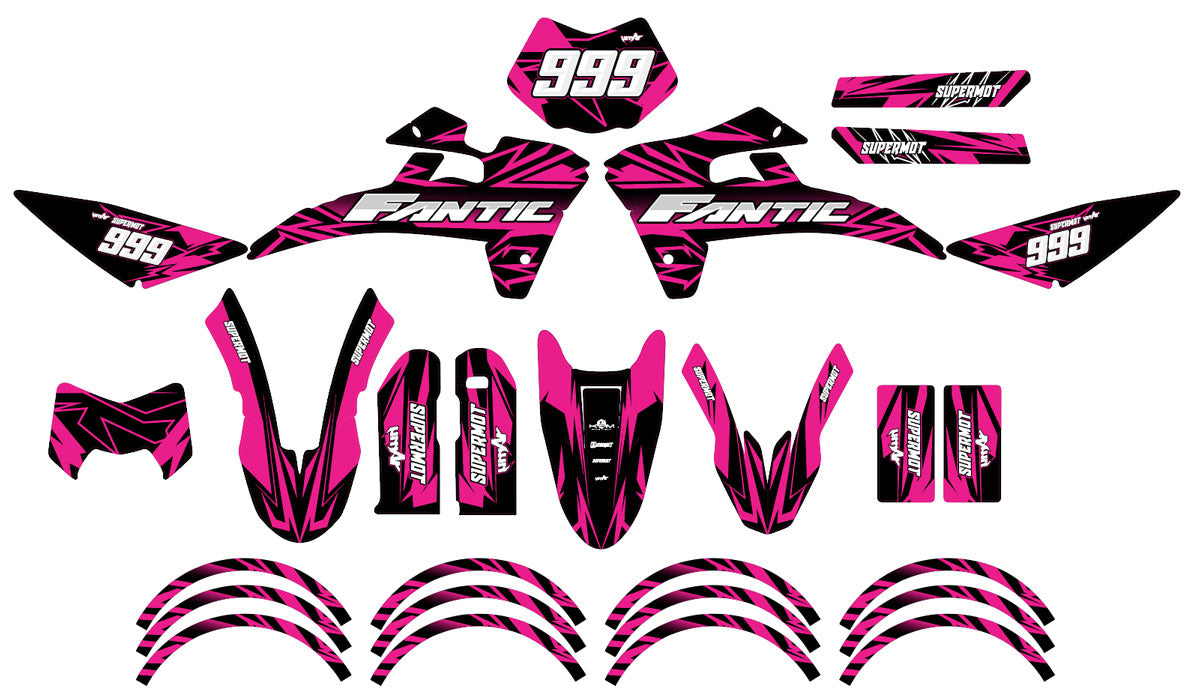
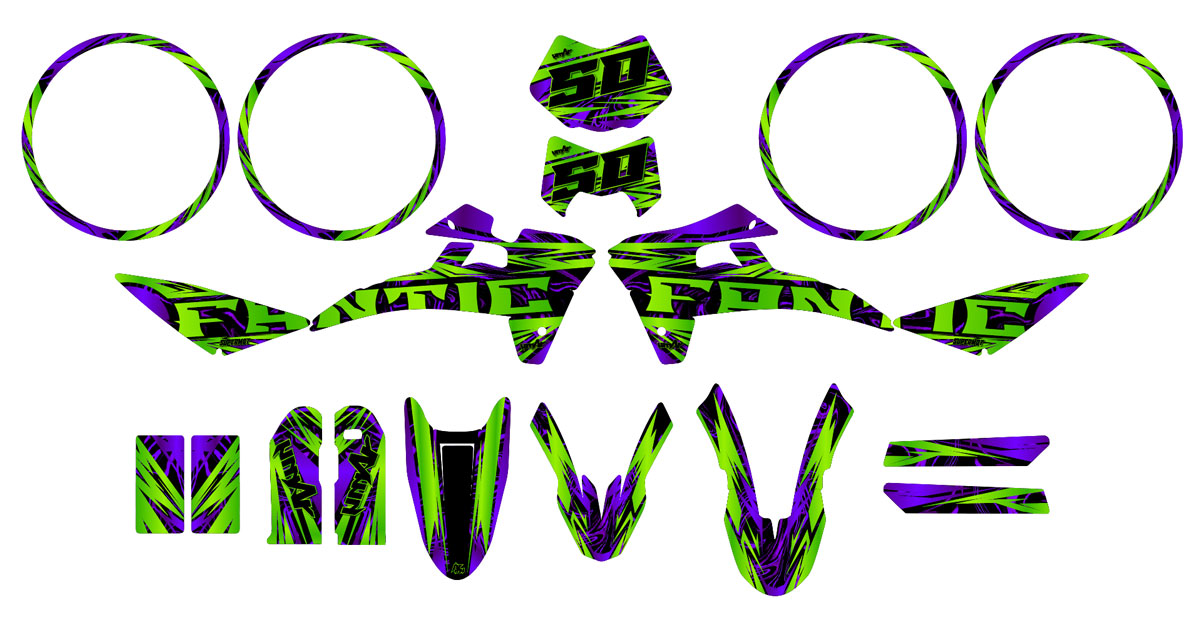
At ArmySCTV, our semi-custom 50cc decal kits are designed to make your life easier: you start with a ready-made design, optimized for your motorcycle, and customize the essential elements so it truly reflects you.
Each kit is printed on premium UV-resistant vinyl with a protective laminate, to withstand scratches, washes, and extreme conditions while keeping vibrant colors for years.
You choose your model, adjust the colors, your number, your nickname, or some graphic details, and we send you a mockup by email before printing so you can approve or make adjustments.
How it works
You choose your model from the semi-custom range.
You adjust the colors, number, name, and some options.
We prepare your design and send you a mock-up.
You request your small changes if needed.
Once approved, we start the production of your kit.
You receive a kit ready to apply on your 50.
Advantages of our semi-custom kits
Design base already optimized for your motorcycle.
Faster and more affordable than a fully custom design.
Customization of key information: number, nickname, colors.
Professional UV-resistant vinyl, scratch-resistant lamination.
Easy application thanks to bubble-free adhesive.
Responsive customer support by 50cc graphic designers.
Is the kit resistant to high-pressure washing?
Yes — thanks to the protective lamination, the kit withstands high pressure, provided you do not stay too close to the edges during washing.
Can the kit be removed without damaging the motorcycle?
Yes — the adhesive is designed to be removed cleanly, without leaving any glue (provided it is slightly heated before removal).
What is the lifespan of the decoration kit?
Between 3 and 7 years depending on sun exposure, maintenance, and usage conditions.
Does the kit fit all models?
Yes — each kit is custom cut for the selected model and year.


