Skip to content
Black Month: 15% off from €129 Up to €100 in free gifts Discount applied automatically at checkout 3 gift levels: €150, €250, €350
armysctv.com - kit déco 50cc
1 item in cart

Cart

1
Estimated total $51.00
Graphics kit fitted on a 50cc bike fender, edges pressed down by hand
Install in 6 steps

Motorcycle and Scooter Decal Kit Installation Guide

Thick, printed in 8 colours in our own workshop, with extra-strong adhesive and hot-applied lamination: our graphics kits are built to last. Here's how to fit yours like a pro: tools, prep, install, finishing and care.

We won't lie to you: take your time to get a perfect result. Allow 1 to 1.5 hours.

Download the PDF guide PDF · 4 printable pages to keep in your workshop

Problems, sorted

Troubleshooting and mistakes to avoid

The questions we get asked most, and how to sort them out.
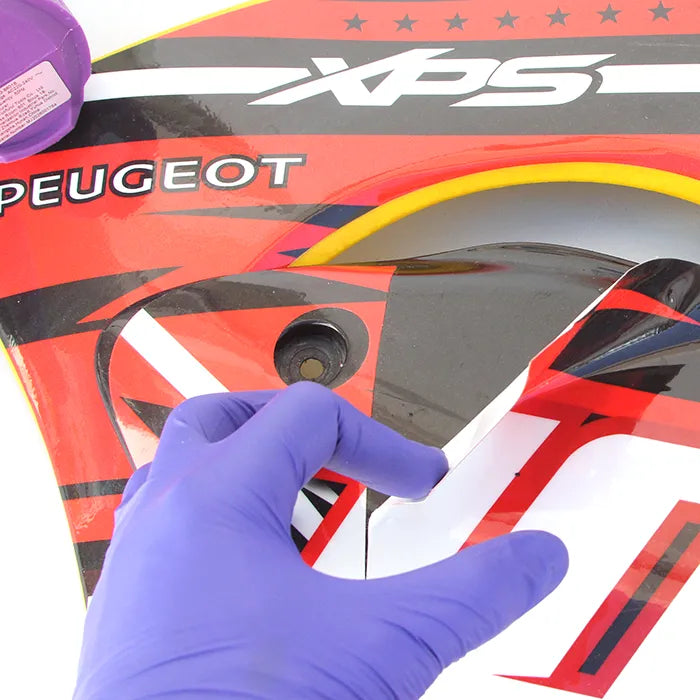
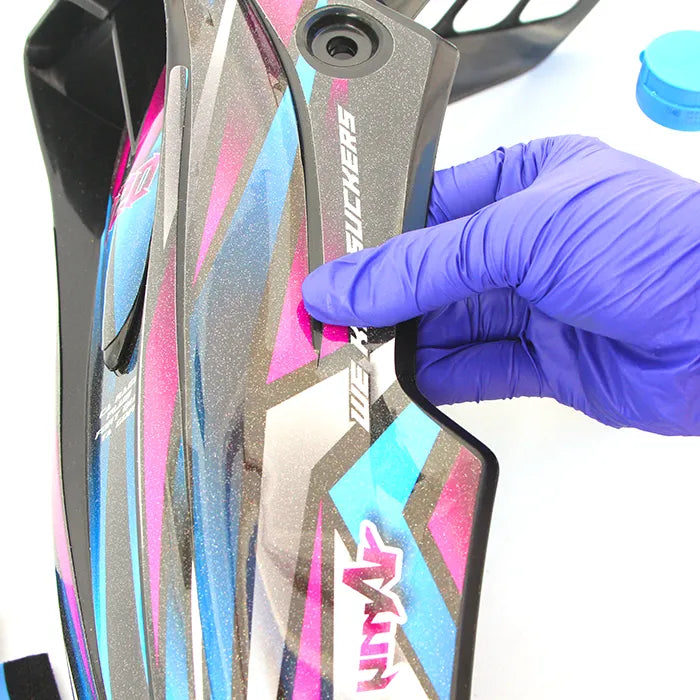
  • Peeling an old graphics kit off a Peugeot XPS plastic

    Removing the old kit

    • Warm the old decal for a few minutes with a hair dryer or heat gun to soften the glue.
    • Lift a corner with your fingernail and pull slowly, flat, while you keep heating.
    • Remove all glue residue, then wash and degrease as in step 3.
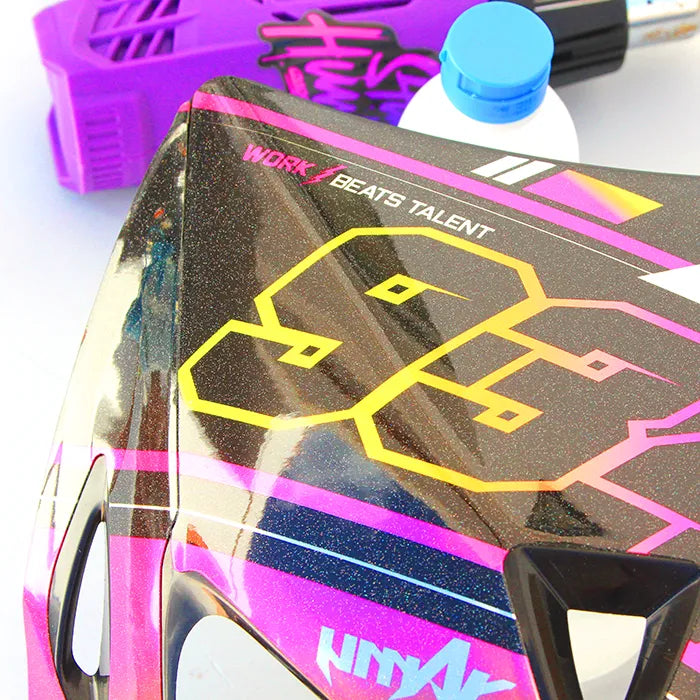
  • Headlight plate with a glitter chrome graphics kit fitted bubble-free

    Got an air bubble?

    • Right after applying, first try to push it to the edge with the squeegee.
    • If it stays, gently peel the decal back to the bubble, warm it slightly and lay it down again while pushing the air outwards.
    • Don't prick it: the tiny hole can cause problems when washing or cleaning with products such as alcohol.
  • Fitting a graphics kit decal on a KTM EXC LED headlight plate

    Mistakes to avoid

    • Stretching cold vinyl: it distorts and ends up peeling. Warm it first, then pull gently.
    • Overheating: keep the heat gun 25-30 cm away, always moving, on the lowest setting.
    • Ideal spot: fit it indoors, between 20 and 30 °C, so the glue activates properly and evenly everywhere.
    • Washing too soon: wait 3 to 4 days before the first wash.
  1. Tools to fit a graphics kit: heat gun, squeegees, degreaser and microfibre cloth

    Step 1

    Tools

    Before you start, get ready:

    • Soapy water and a cloth
    • Isopropyl alcohol to degrease
    • Soft, dry cloths
    • A felt squeegee or a microfibre cloth
    • A hair dryer or a heat gun

    Work in a clean, dust-free spot at room temperature (avoid the cold). Remove the plastics if you can: it makes the install much easier.

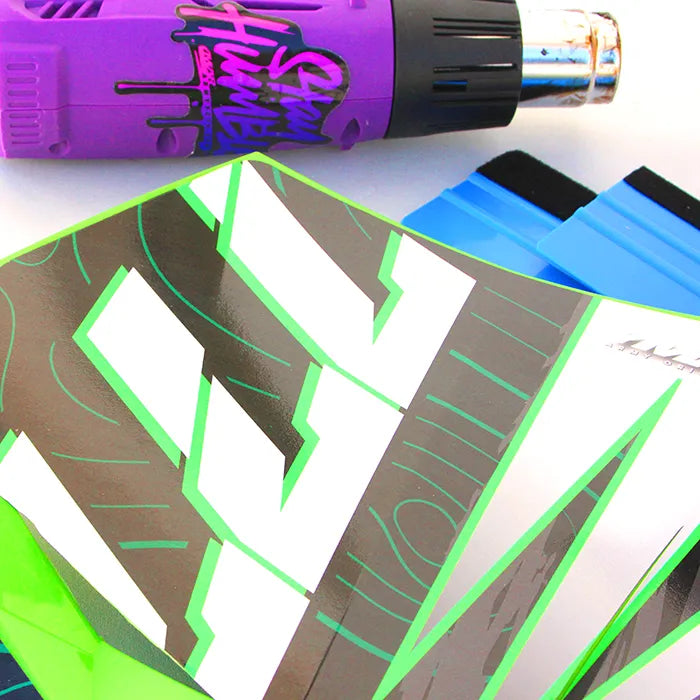
  2. 50cc graphics kit sheets laid out and checked before fitting, next to the heat gun

    Step 2

    Identify your parts

    Before cleaning anything, unpack your kit and lay out all the sheets. Hold each decal on its part without removing the backing: fenders, side panels, shrouds, headlight plate, tank covers.

    Tip: use the photos on your product page and the screw holes to work out which decal goes where.

  3. Prepping a fender with a soft cloth before fitting the graphics kit

    Step 3

    Prep the plastics

    First wash each plastic with a cloth and soap. Degrease thoroughly with isopropyl alcohol, then wipe with a soft cloth so the surfaces are perfectly dry. A clean, dry surface is the key to a kit that holds.

    Tip: if an old kit is fitted, peel it off and remove all glue residue.

  4. Lining up a graphics kit decal on a 50cc bike fender

    Step 4

    Line up the decal

    Hold the decal on its part, peel back just a small piece of the backing and lightly stick one end. This lets you line the decal up properly before sticking it for good.

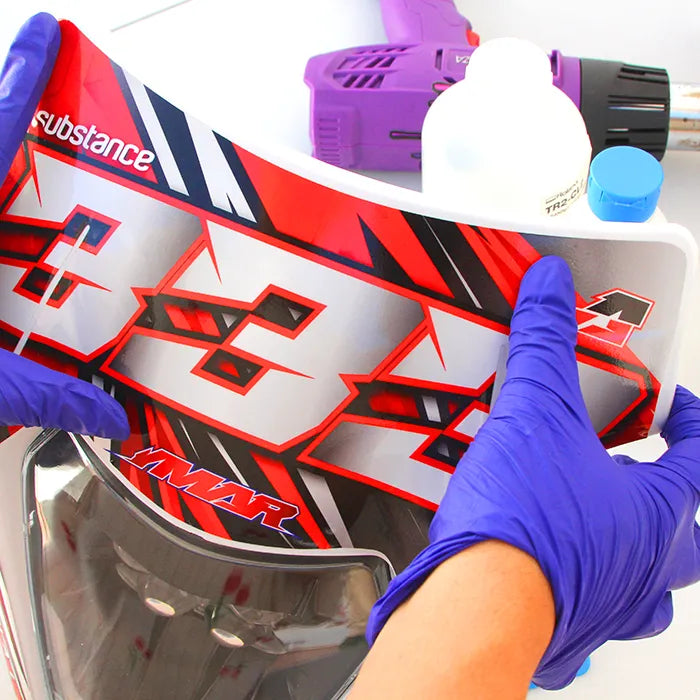
  5. Applying a graphics kit with a squeegee on a fender

    Step 5

    Apply with heat

    Once your base is in place, remove the backing bit by bit while pushing the air outwards. Warm the plastic too, before and while you apply: the adhesive grips much better on warm plastic.

    Don't be afraid to start again if the decal is off: in our workshop we sometimes stick and peel it 2 or 3 times until it's spot on.

  6. Finishing a graphics kit with a heat gun on a fender

    Step 6

    Finishing

    Once the decal is on, go over the whole plastic one last time with heat and press the edges down firmly. Focus on curves and corners: the heat softens the kit so it follows the shape perfectly.

Straight from the workshop

Part-by-part tips

What we've learned from fitting graphics kits every day.

  • 50cc motorbike side panels with their screws, ready for graphics kit fitting

    Side panels with screw holes

    • Peel back a small piece of backing next to the screw hole (the hole in the decal).
    • Lightly place and line up the end furthest from the hole, pull slightly and lay the decal down.
    • Now you have a good base: remove the rest of the backing while pushing the air outwards.
    • Warm both the plastic and the decal, especially on curves and corners: the decal softens and the adhesive grips better.
  • Fitting a graphics kit decal on the side of a 50cc motorbike front fender

    Front fender

    Pretty much the same as the plastics, as it has curves too.

    • On the Acerbis Evo fender: line up the holes at the top of the fender and lay it towards the front.
    • Pull well while pushing the air out, a quick blast of heat on the fender and the decal, and it's stuck.
    • Go over it everywhere with light heat, pressing the edges down firmly.
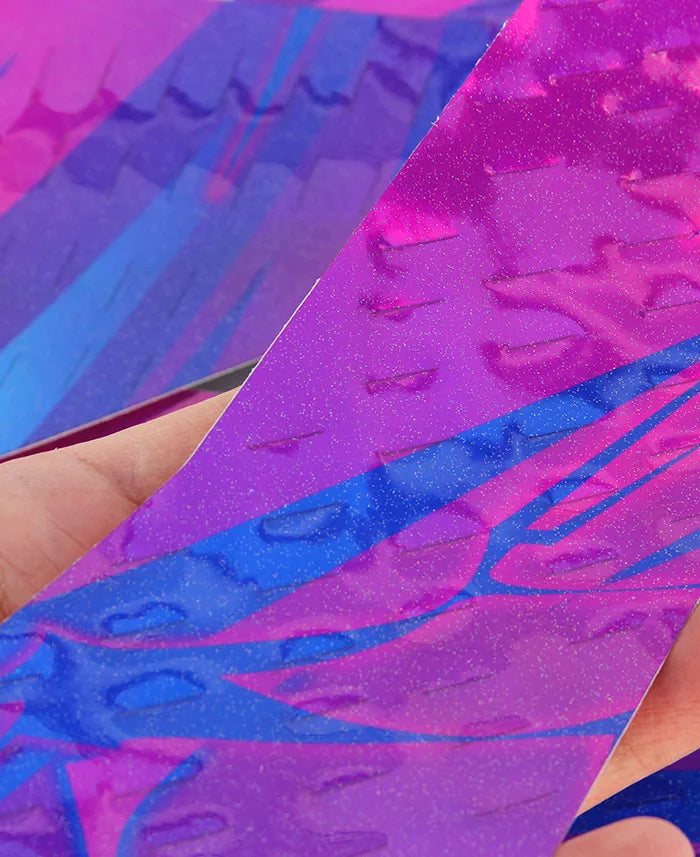
  • Plastic tank cover decal with cuts that let fuel vapours escape

    Plastic tank covers

    • Important: one degrease is enough on the plastics, but here you need to insist. Degrease 2 to 3 times with isopropyl alcohol, then wipe with a dry cloth.
    • Lightly warm the tank and the decal, apply it in one go and press hard.

    Why? Plastic tanks aren't 100% airtight: some gas always escapes. So your decal has to be stuck down really well.

  • 50cc graphics kit headlight plate decal softened with a heat gun, next to the squeegees

    Headlight plate

    • Take it off if you can: flat on the workbench, fitting is much easier.
    • First line the decal up with the light cut-outs (headlight, LED). That's your reference for everything else.
    • The plate is very curved: warm the plate and the decal slightly, then work from the centre to the edges, bit by bit.

Why does my decal have lots of little cuts inside it?

That's normal, and it's on purpose. Decals made for plastic fuel tanks have cuts that let the fuel vapours escape as they evaporate through the plastic.

Without these cuts, the decal wouldn't last more than a month.

After install

Kit care

  • Wait 3 to 4 days before washing the bike
  • Keep the pressure washer away from the edges
  • Wash with soapy water and a soft sponge
  • No solvents or abrasive products on the kit

Need help with the install?

A question about your kit or a tricky part? Write to us and we'll get back to you quickly.

Workshop quality

Why our kits last

A good install is half the job. The other half is the kit. At Army we don’t make cheap graphics kits: we make kits that last.

  • Thick decals

    A thick vinyl that stands up better to boot rub and off-road use.

  • 8-colour printing

    Dense colours and sharp gradients, true to our designers’ artwork.

  • Extra-strong adhesive

    Solid grip on plastics, made to handle vibrations, washes and rides.

  • Hot-applied lamination

    The protective film is applied hot for better durability: your kit keeps its colours longer.

An artists’ collective since 2014: real graphic designers who love bikes, and our own in-house workshop, no outsourcing.

FAQ

Your fitting questions

How long does it take to fit a graphics kit?

Allow 1 to 1.5 hours for a full kit. Take your time: in our workshop we sometimes redo a decal 2 or 3 times until it's spot on.

What's the best temperature for fitting?

Between 20 and 30 °C, indoors. The adhesive then activates evenly everywhere. Avoid direct sun and cold plastics.

Should I heat the plastic or only the decal?

Both. In our workshop we heat the plastic before, during and after fitting: the adhesive grips much better on warm plastic. Keep the heat gun 25-30 cm away and always moving.

What should I degrease the plastics with?

Isopropyl alcohol, after washing with soapy water and drying with a soft cloth. On a plastic tank, degrease 2 to 3 times.

I've got an air bubble, what do I do?

First push it to the edge with the squeegee. If it stays, gently peel back to the bubble, warm slightly and lay it down again. Never prick it with a needle.

When can I wash my bike after fitting?

Wait 3 to 4 days before the first wash, so the adhesive can fully set.

4.9/5

They fitted their kit4.9/5.0

See all reviews

Every photo in this guide was taken in our workshop: no staging, no studio, just the real thing.
© Army Originals – All rights reserved